22 L-Shaped Kitchen Ideas That Improve Workflow
The L-shaped kitchen is one of the most common layouts for a reason — it keeps the workspace compact, leaves the center of the room open, and adapts to everything from small apartments to large open-plan homes. But “common” doesn’t mean it automatically works well. A poorly planned L-shape can leave you with wasted corner storage, awkward appliance spacing, and countertops that never seem long enough.
What separates a good L-shaped kitchen from a frustrating one usually comes down to a few deliberate decisions: where you place the sink relative to the stove and fridge, how you handle the corner, and whether you add an island, a peninsula, or nothing at all. These 22 ideas cover the layout, storage, surface, and styling choices that make L-shaped kitchens function as well as they look.
Every idea is practical enough to apply whether you’re renovating from scratch or improving a kitchen you already have.
1. Position the Sink Between the Fridge and Stove for a Natural Workflow
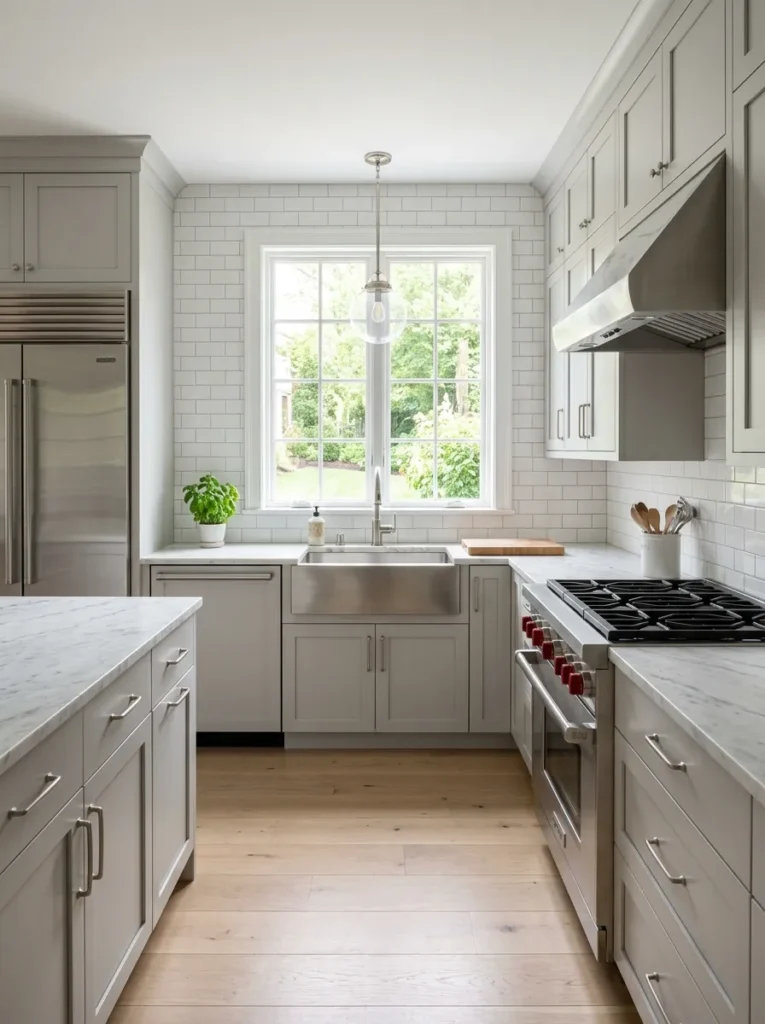
The most efficient L-shaped kitchen places the sink in the center of the work triangle — not at the corner, not at the far end of one arm. When the sink sits between the refrigerator and the stove, your natural movement follows the cooking sequence: pull ingredients from the fridge, wash and prep at the sink, then move to the stove. Each task flows into the next without backtracking. Ideally, each leg of the triangle measures roughly 1.2 to 2.7 meters, which prevents the layout from feeling cramped or forcing unnecessary walking. If your current sink placement interrupts this sequence, relocating it is one of the highest-impact changes you can make during a renovation.
2. Use a Lazy Susan or Pull-Out System to Rescue the Corner
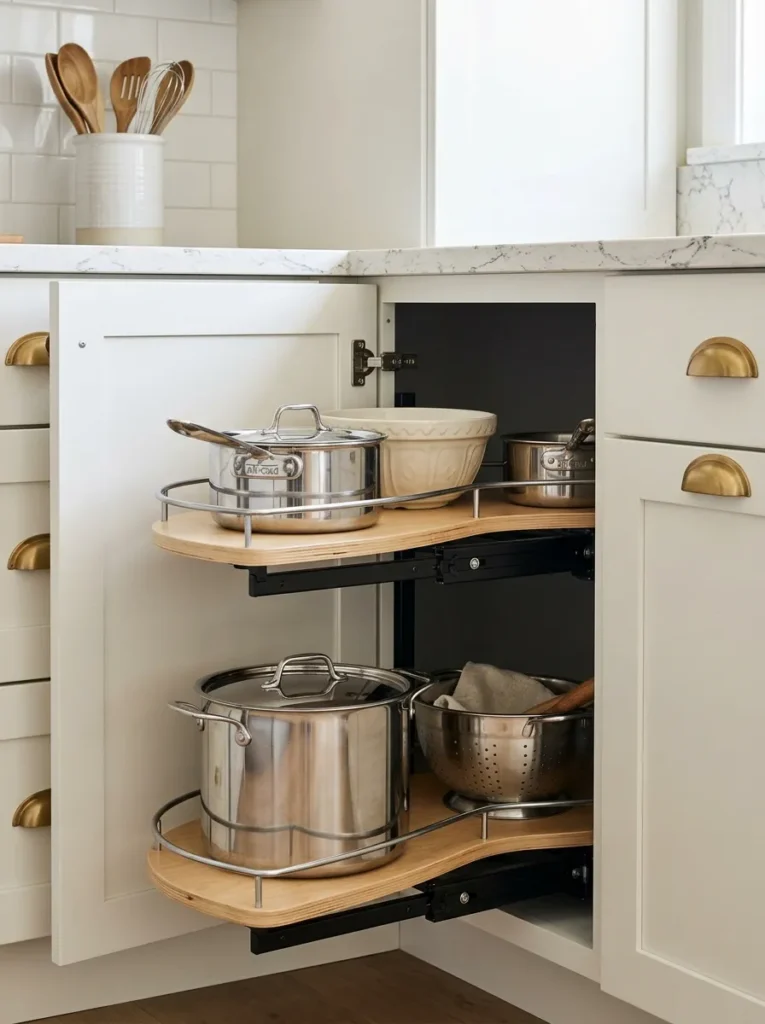
The corner of an L-shaped kitchen is the layout’s biggest liability if it’s left as a standard dead-end cabinet. Most people can’t easily reach items pushed to the back of a 90-degree corner, so things get lost and the space is effectively wasted. A lazy Susan carousel, a magic corner pull-out, or a set of rotating trays converts that corner into some of the most accessible storage in the kitchen. Pull-out systems are generally more usable than static lazy Susans because the shelves extend fully outside the cabinet. If you’re choosing between the two during a renovation, pull-outs cost more but deliver significantly better daily functionality.
3. Extend the Shorter Arm of the L with a Peninsula for Seating
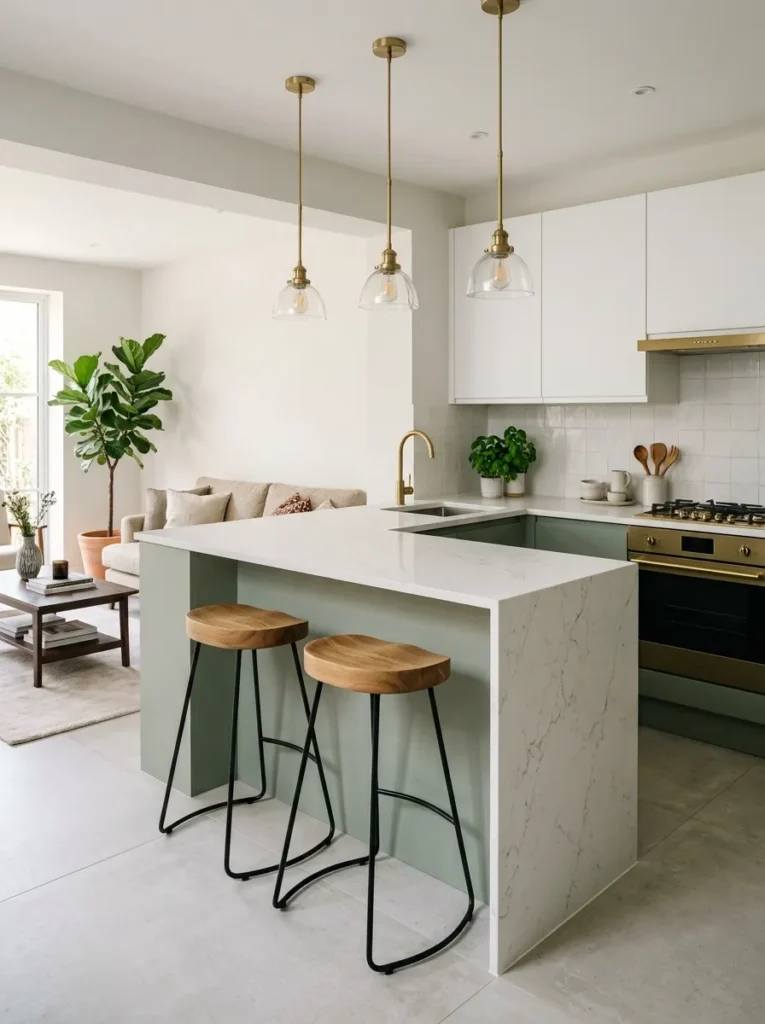
Not every kitchen has room for a freestanding island, but a peninsula — an extension of one arm of the L — can provide the same benefits without requiring floor clearance on all four sides. A peninsula creates a natural divide between the kitchen and an adjacent living or dining area, adds counter space for prep or casual dining, and keeps the kitchen feeling more defined without closing it off. Standard peninsula depth runs roughly 60–70 cm on the working side, with a 25–30 cm overhang on the seating side for stools. This is one of the most effective additions for open-plan L-shaped kitchens that need a visible boundary between cooking and living zones.
4. Add a Freestanding Island for Prep Space and Storage
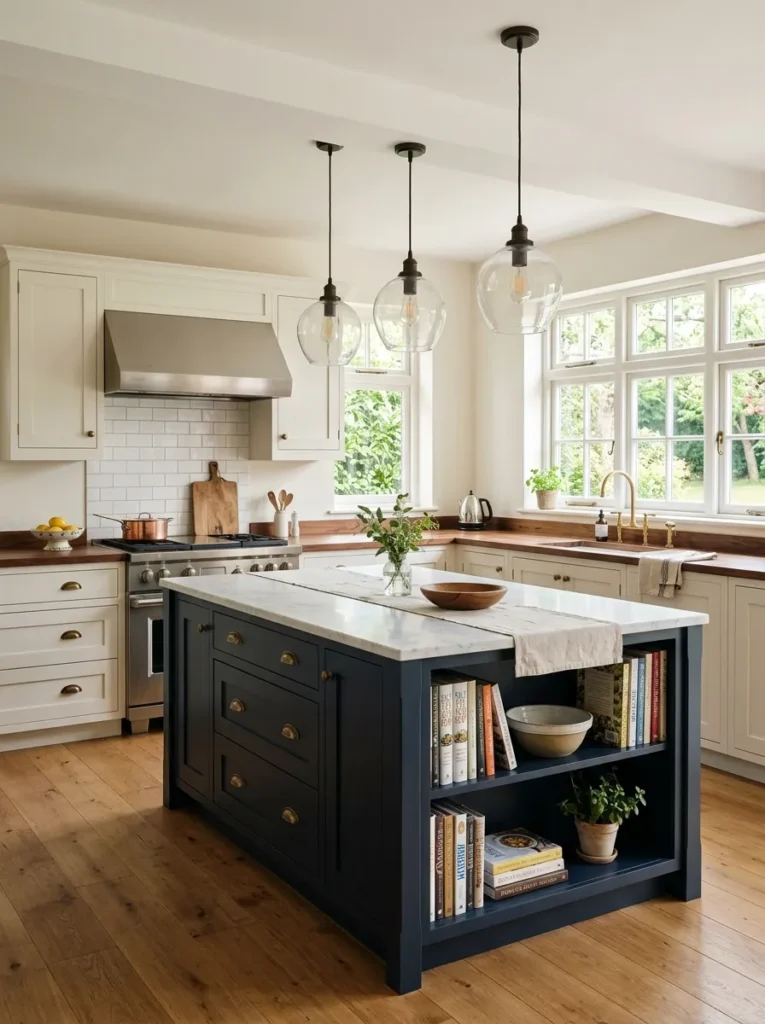
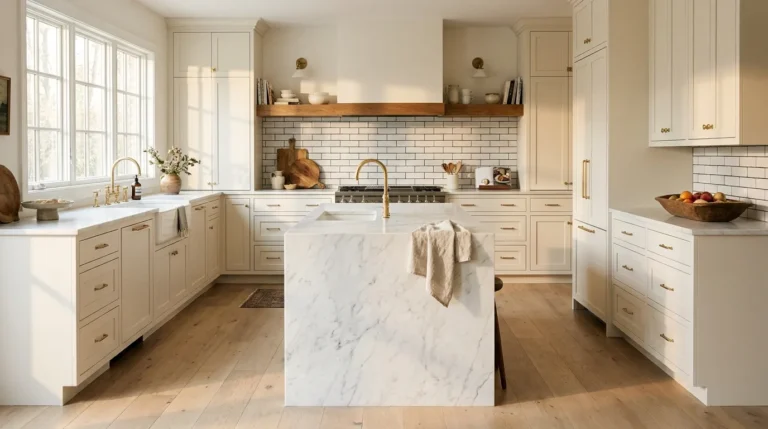
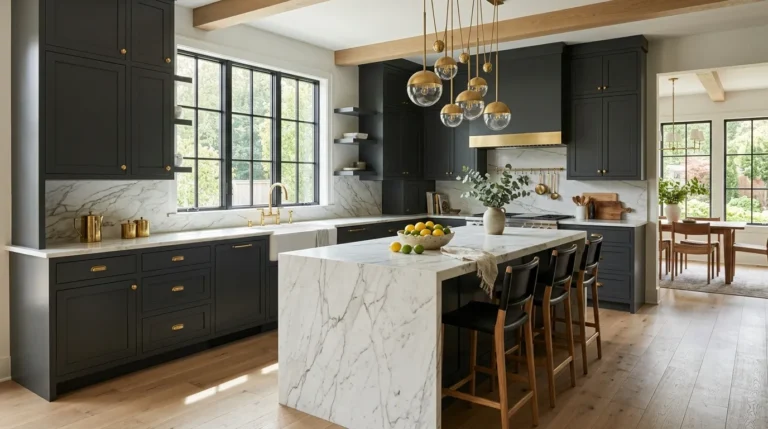
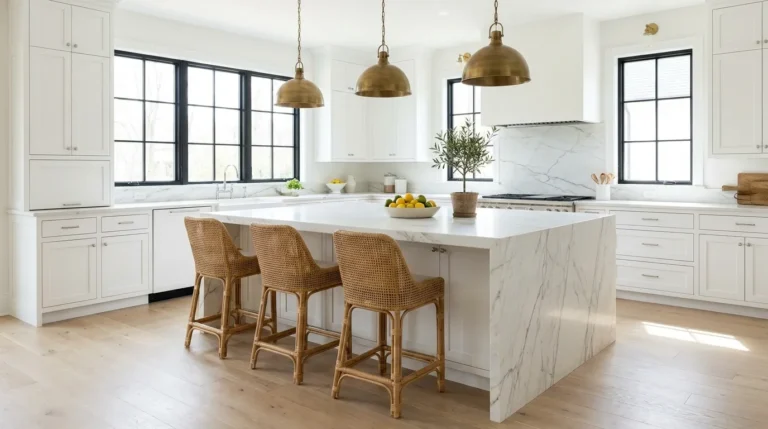
If you have at least 1.2 meters of clearance between the island and every run of cabinetry, a freestanding island transforms an L-shaped kitchen from a two-wall layout into a three-sided workspace. The island provides a dedicated prep surface that keeps the main countertops free for appliances and staging. Islands with storage — deep drawers on the working side, open shelves on the dining side — double as organizational anchors. Keep the island proportional to the room: it should complement the L rather than dominate it. In smaller kitchens, a narrow rectangular island or a butcher-block cart on casters gives you flexibility without permanent commitment.
5. Install Floor-to-Ceiling Cabinetry on One Wall to Maximize Vertical Storage
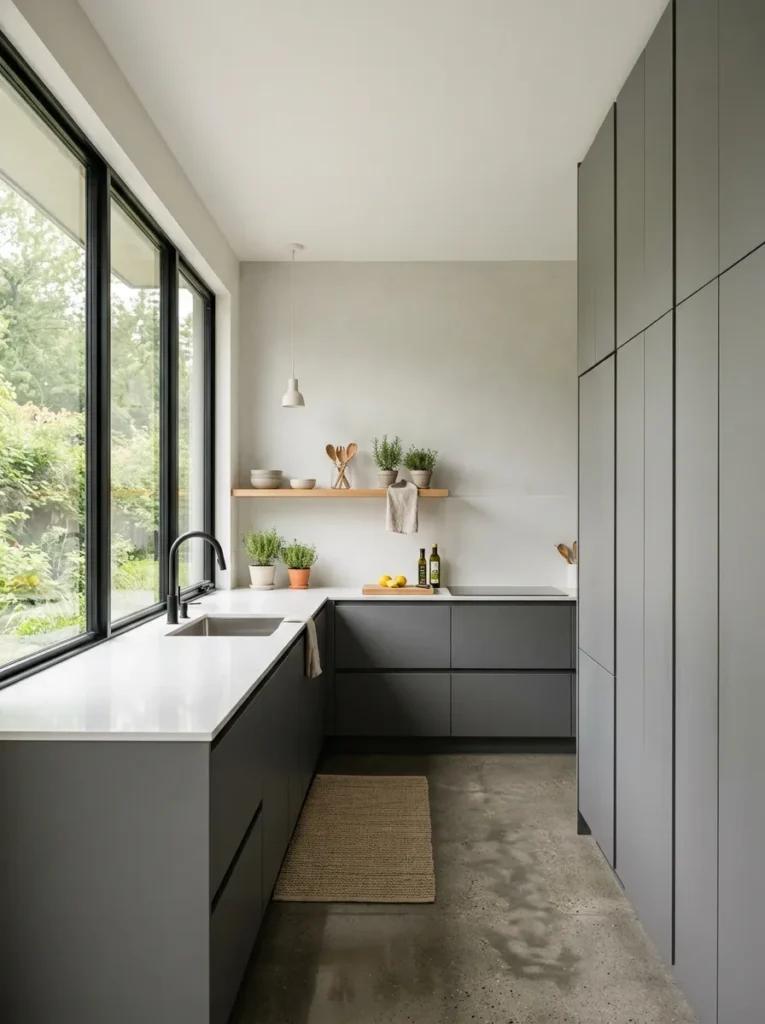
One arm of the L often has more wall height than the other, especially when windows or a range hood limit the opposite wall. Using that taller wall for full-height cabinetry — extending from floor to ceiling — creates substantial storage without adding footprint. The lower section handles everyday dishes and cookware, while the upper reaches store seasonal or infrequently used items. Integrating the refrigerator into this tall cabinet wall creates a clean, built-in look that makes the kitchen feel more streamlined. Matte or handleless cabinet fronts reduce visual weight so the tall run doesn’t feel like a wall of boxes.
6. Open Up the Corner with a Diagonal Cabinet or Angled Sink
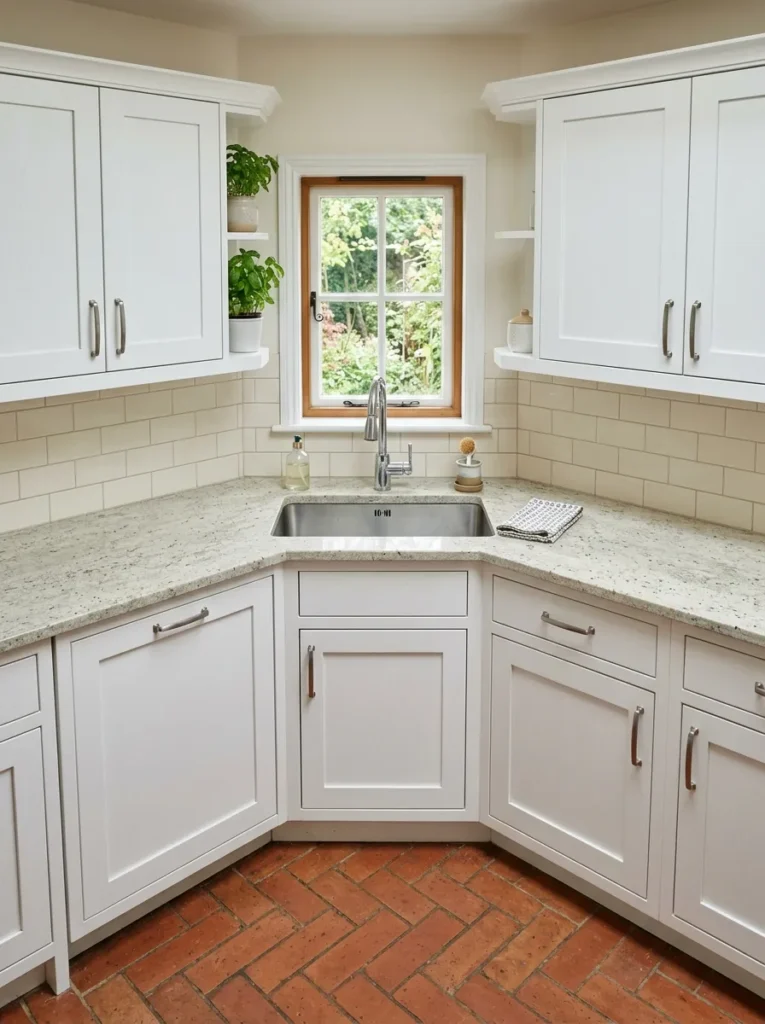
Instead of fighting the awkward 90-degree corner with internal hardware, some L-shaped kitchens benefit from an angled corner cabinet that cuts diagonally across the junction. This creates a wider opening and places the sink or a cooktop at a comfortable angle rather than forced into the tight corner. An angled sink position works especially well in smaller kitchens because it opens sight lines and makes the corner feel more generous than a standard blind-corner cabinet. The trade-off is slightly reduced countertop depth on either side of the angle, so measure carefully before committing.
7. Choose a Continuous Countertop Material Across Both Arms
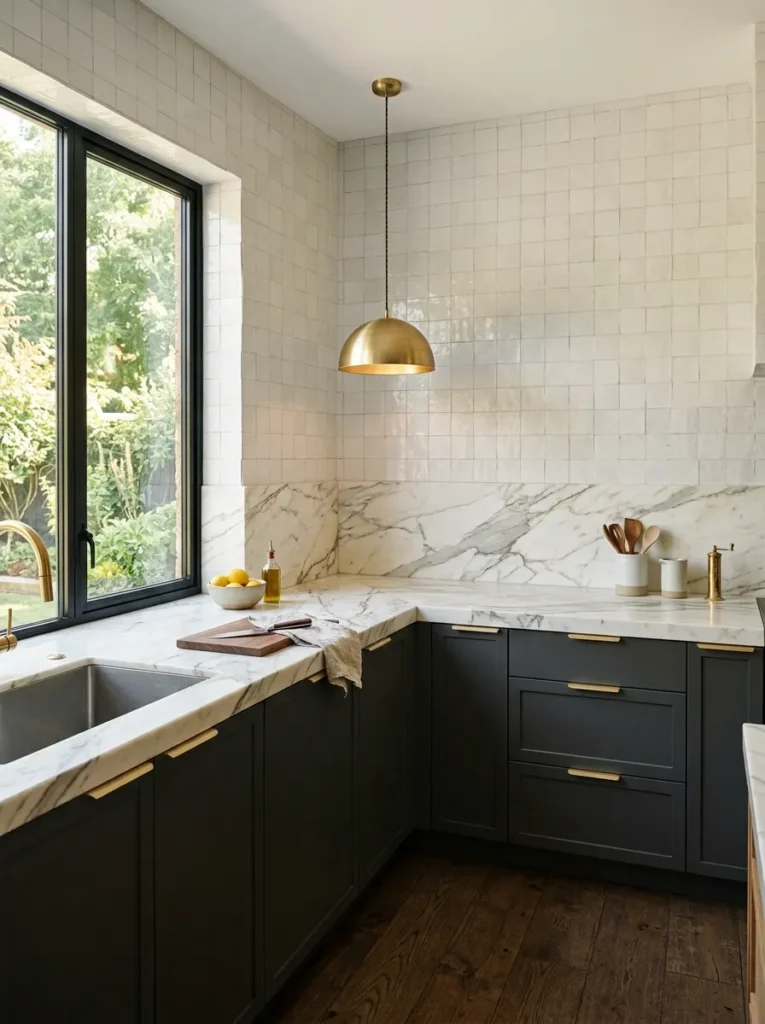
Running the same countertop material — quartz, butcher block, marble, or concrete — across both arms of the L creates visual continuity that makes the kitchen feel larger and more cohesive. When two different materials meet at the corner, the junction often draws attention to the awkward angle rather than smoothing it. A mitered corner joint in the same material produces a seamless L that flows naturally. If you want material contrast, introduce it on the island or peninsula instead — this keeps the primary workspace unified while allowing a design moment elsewhere.
8. Use Open Shelving on the Upper Section of One Arm
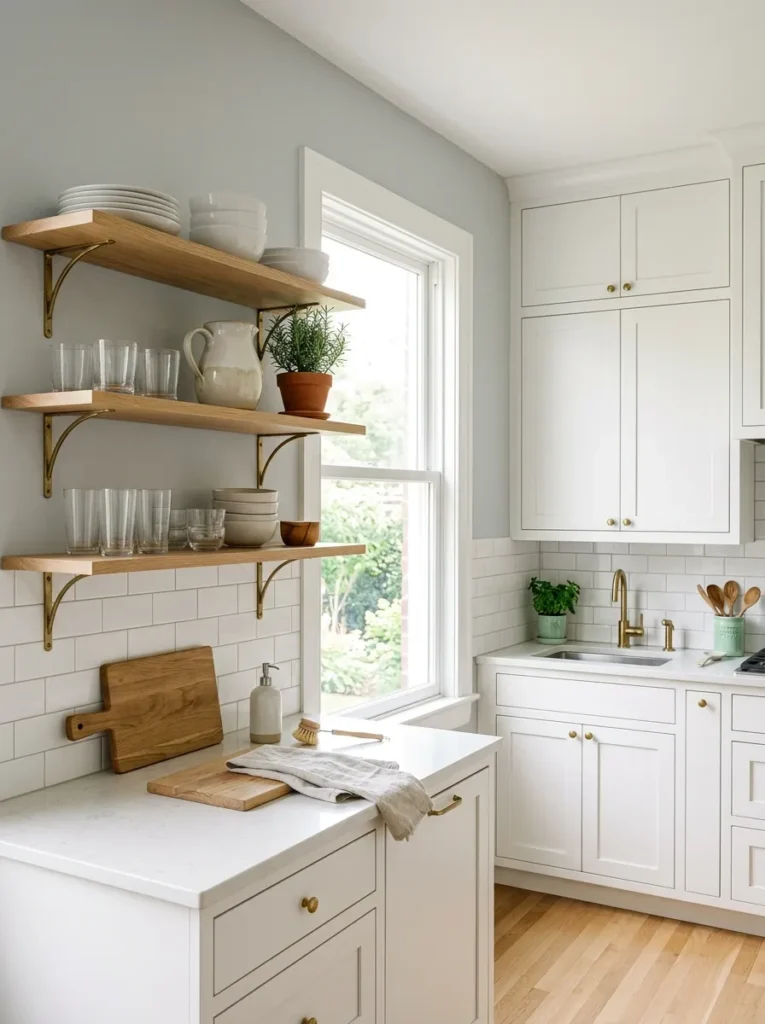
Replacing wall cabinets with open shelves on one arm of the L lightens the visual weight of the kitchen and prevents the room from feeling boxed in by cabinetry on both sides. Open shelves work best on the arm that faces the living area in an open-plan layout, since they’re more visible and contribute to the room’s aesthetic rather than hiding behind cabinet doors. Display everyday dishes, glassware, and a few decorative objects — but keep the styling edited. Open shelves that become overstuffed catch-alls defeat the purpose. Reserve closed cabinetry for the working arm where function matters more than appearance.
9. Define Zones with a Two-Tone Cabinet Scheme
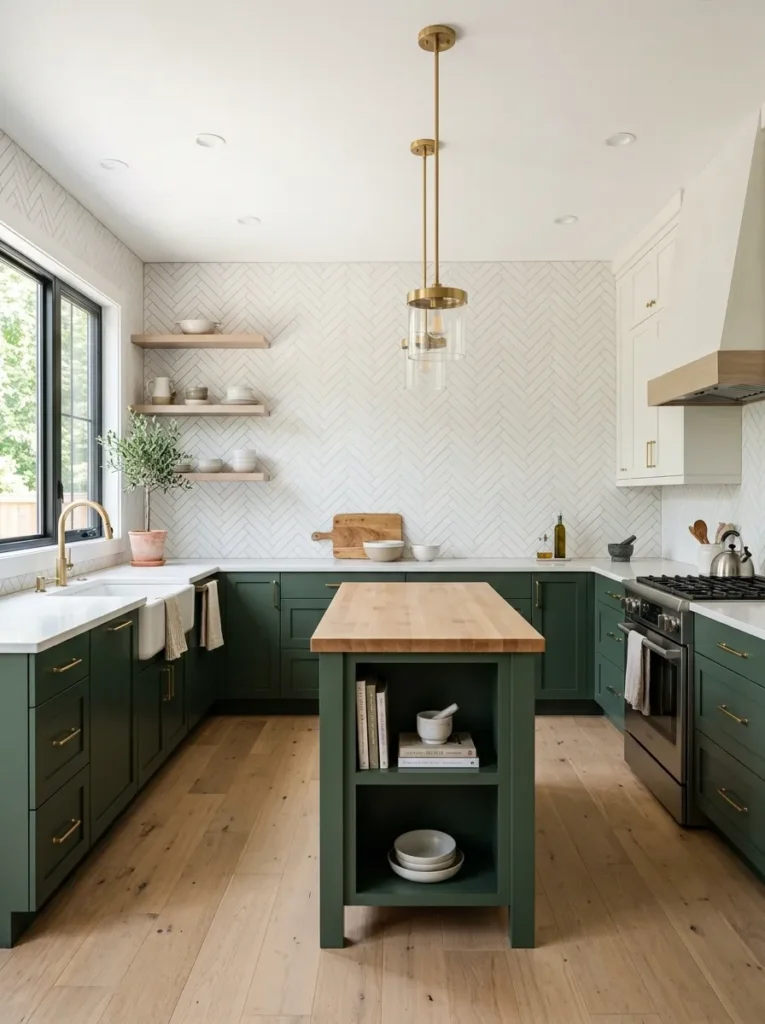
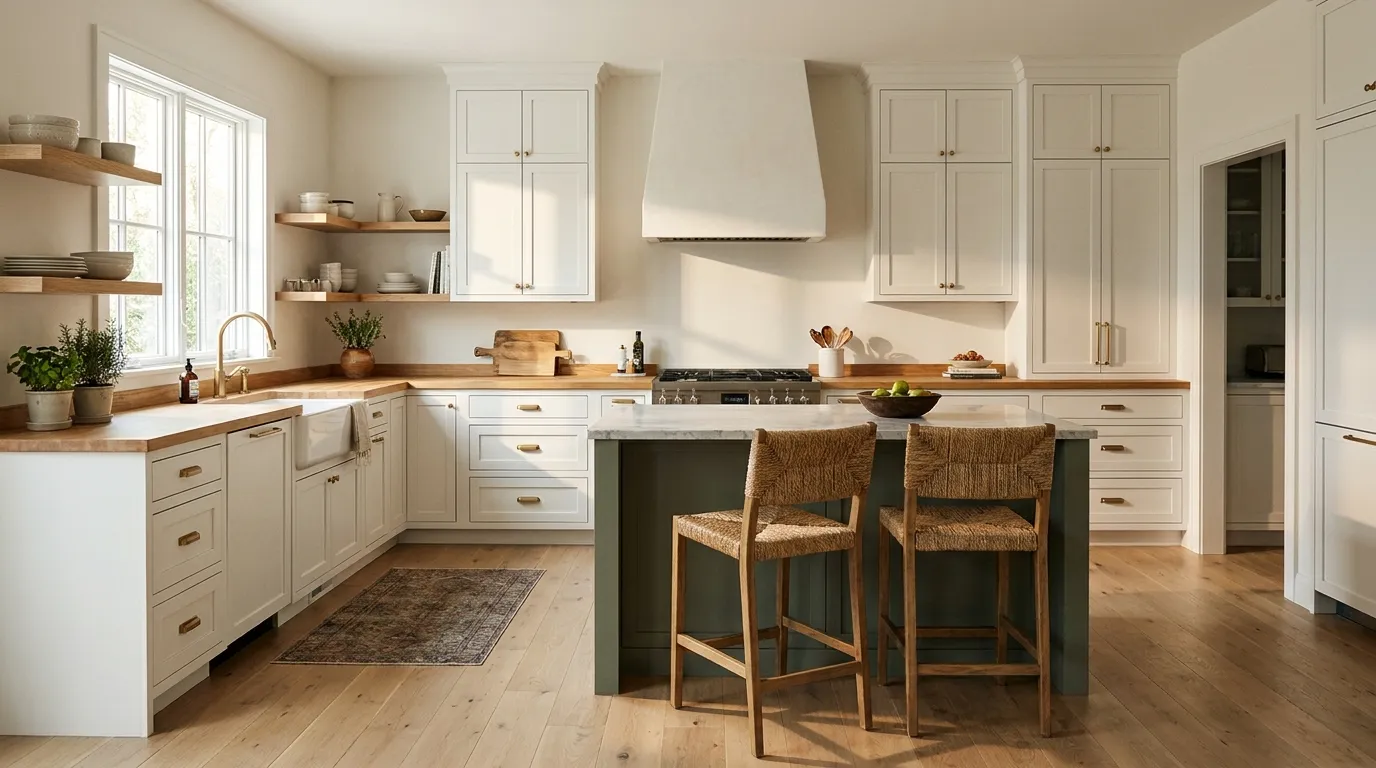
Using two different cabinet colors or finishes — typically a darker tone on the lower cabinets and a lighter one above, or one color on one arm and a different finish on the island — gives a visual rhythm to the L-shape that prevents it from reading as a single monotonous run. Common two-tone pairings include white uppers with sage or navy lowers, natural wood bases with painted uppers, or a contrasting island in a darker finish than the perimeter cabinets. The two-tone approach also lets you introduce a trend color in a contained way — keeping the upper cabinets neutral means you can repaint the lowers in a few years without a full kitchen overhaul.
10. Tile a Full-Height Backsplash from Counter to Ceiling
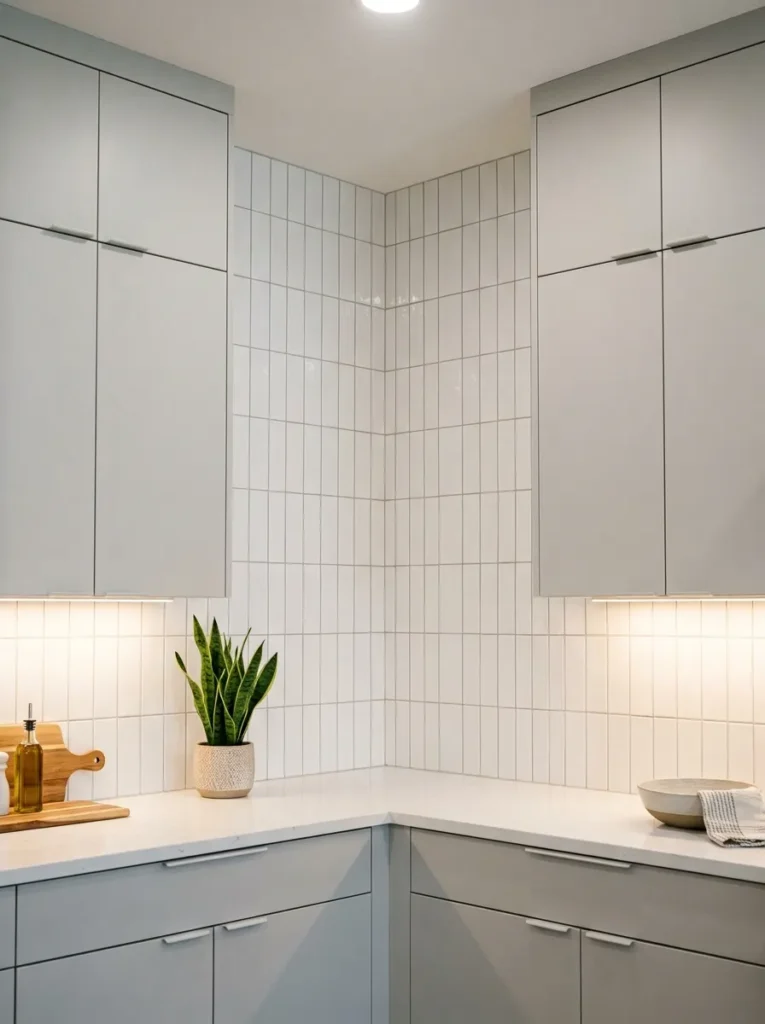
A backsplash that extends all the way to the ceiling — rather than stopping partway up the wall — makes an L-shaped kitchen feel taller and more finished. The continuous surface draws the eye upward, which visually expands the room, especially in kitchens with lower ceilings. Subway tile in a vertical stack bond, large-format porcelain, or zellige tile all work well at full height without overwhelming the room. In L-shaped kitchens without upper cabinets on one arm, the backsplash becomes the dominant visual surface on that wall, so choose a tile that can carry the space on its own.
11. Tuck Appliances into a Tall Pantry Column for a Clean Sight Line
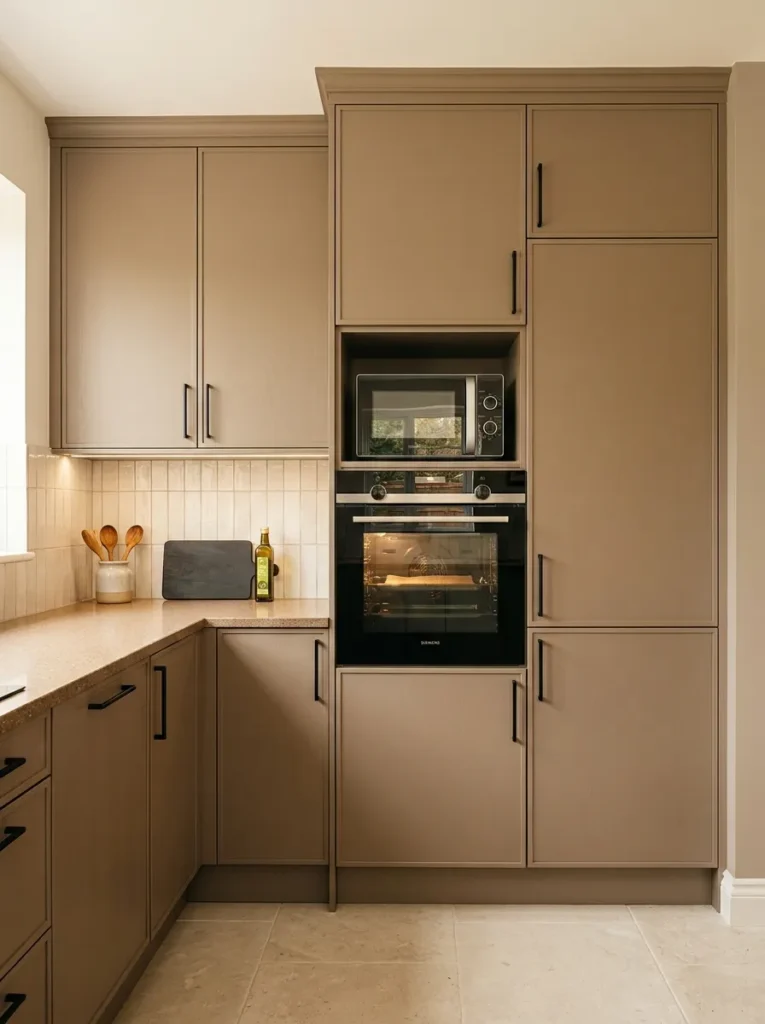
Integrating the microwave, oven, and coffee machine into a tall column of cabinetry — typically at the end of one arm — keeps the countertops clear and the sight line across the kitchen uninterrupted. Stacking appliances vertically is more ergonomic than bending to reach an under-counter oven, and it consolidates the “hot zone” into a compact area that doesn’t interfere with prep work happening on the countertops. This column works best near the cooking arm of the L, keeping the work triangle tight. Panel-ready appliances with matching cabinet fronts create the cleanest look.
12. Keep the Corner Countertop Clear as a Dedicated Landing Zone
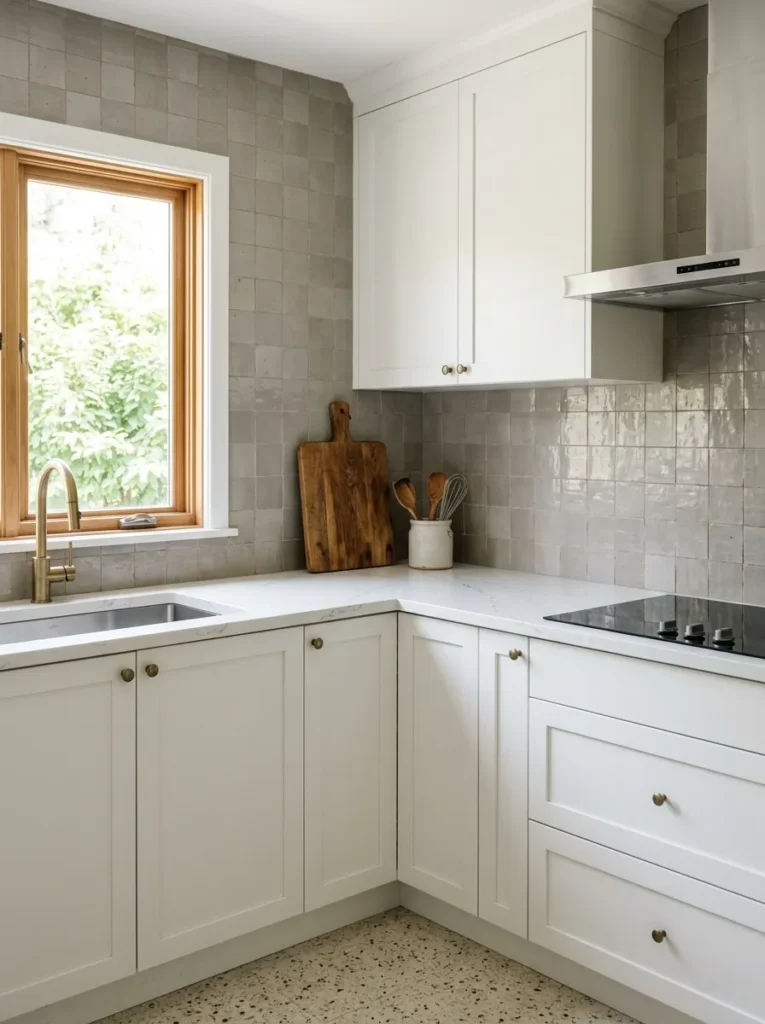
Instead of placing a sink or cooktop in the corner, leave the corner countertop empty as a permanent landing zone — a place to set grocery bags, rest a cutting board, stage ingredients, or cool a baking tray. Most L-shaped kitchens suffer from too little open counter space, and the corner is the one area that naturally connects both arms. Keeping it clear gives you a functional bridge between the two workflow zones. Install a power outlet at the corner for small appliances you use intermittently, and resist the temptation to clutter it with a permanent appliance you only use occasionally.
13. Add Under-Cabinet Lighting to Brighten the Work Triangle
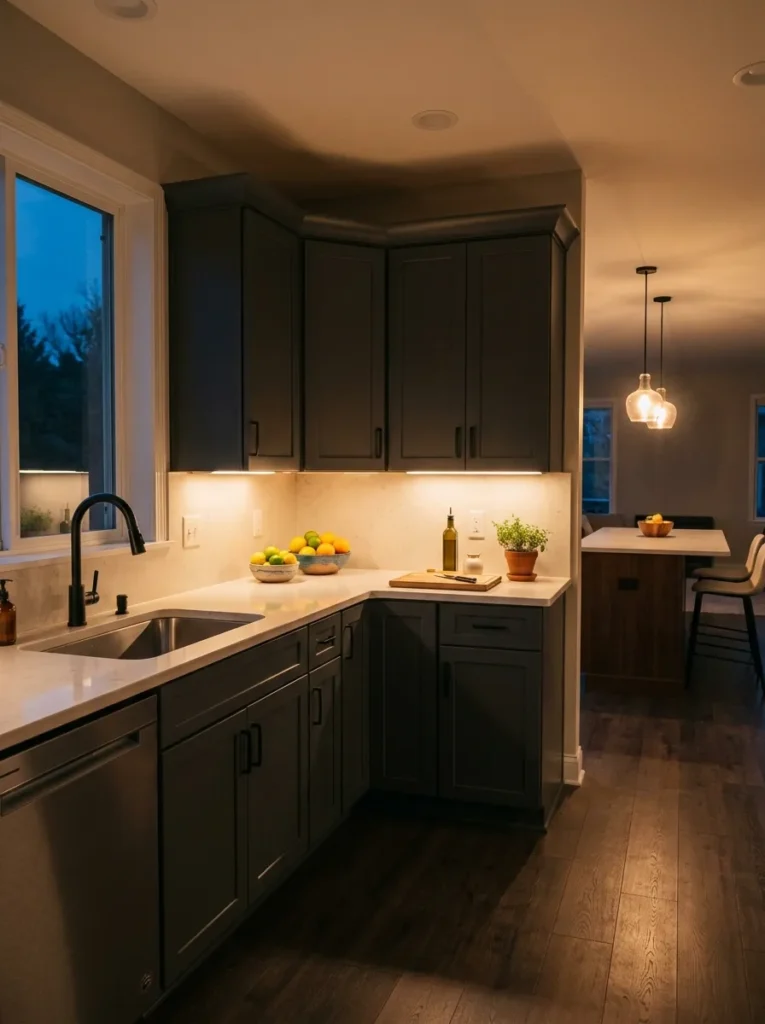
L-shaped kitchens create shadow zones, particularly in the inside corner where upper cabinets from both arms cast overlapping shade. LED strip lights or puck lights mounted under the upper cabinets illuminate the countertop directly below, making prep work safer and more comfortable. Warm-white LEDs (2700–3000K) prevent the kitchen from feeling clinical while providing enough task illumination to see clearly. Run the lighting along both arms for consistent brightness across the entire work surface. Dimmable strips let you lower the light in the evening for ambiance when the kitchen becomes a social space.
14. Choose Handleless Cabinets for a Streamlined, Modern Look
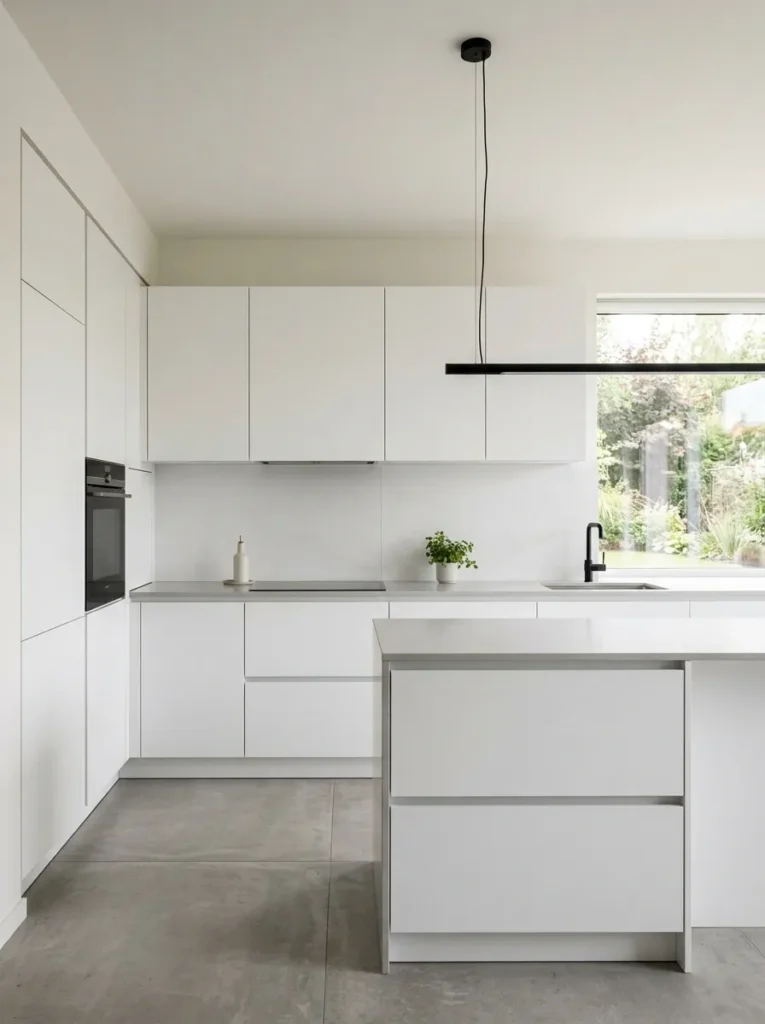
In an L-shaped kitchen, cabinet handles along two continuous walls can create a visually busy, fragmented surface. Handleless cabinets — using push-to-open mechanisms, integrated edge pulls, or a continuous rail handle — eliminate that visual noise and create long, uninterrupted lines. The effect is particularly strong in smaller kitchens where every detail registers more prominently. Handleless fronts also prevent catching clothing or towels on protruding hardware when moving quickly between stations. If you prefer some tactile feedback, a slim integrated edge pull offers a compromise between handleless minimalism and functional grip.
15. Extend One Arm of the L into a Breakfast Bar
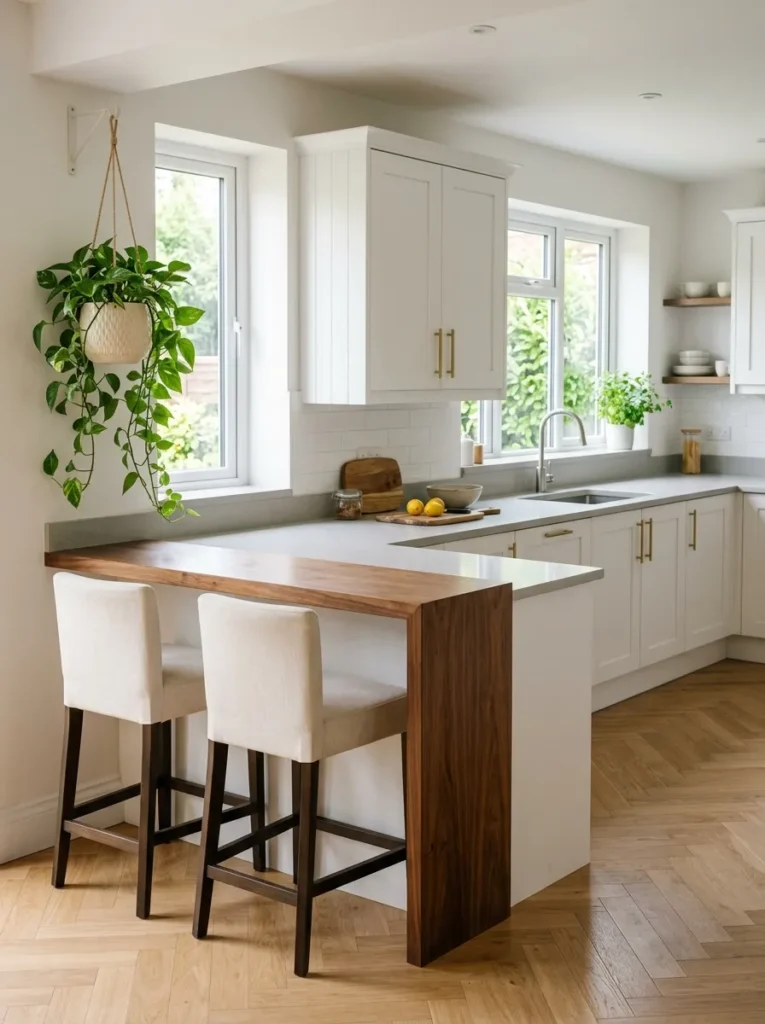
One arm of the L can transition from a standard working counter into a raised or lowered breakfast bar at its end, creating a casual dining spot without requiring a separate table. The bar extension keeps the workflow of the L intact while adding a social function at the natural stopping point of the cabinetry. A raised bar provides a visual screen between cooking mess and the dining side, while a counter-height extension feels more integrated. Two to three stools fit comfortably along most standard-length arm extensions. Use the space beneath the bar overhang for storage or a slim shelf.
16. Use a Window as the Focal Point Above the Sink
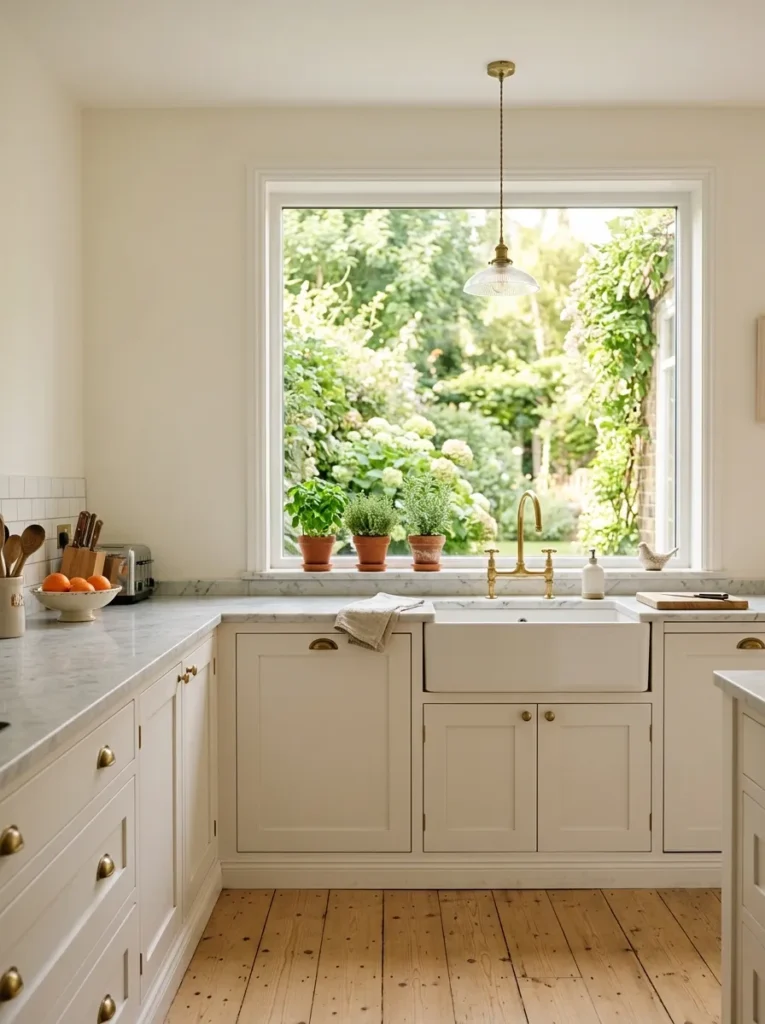
If one arm of the L faces an exterior wall, placing the sink beneath a window provides natural light at the point where you spend the most standing time. The view and daylight make dish-washing and prep work feel less like a chore, and the window prevents the need for upper cabinets on that wall section, which keeps the kitchen feeling open. In L-shaped kitchens, this arrangement also creates a natural break between the two arms — one side is open and light, the other is more enclosed and storage-heavy. The asymmetry gives the room visual interest that a symmetrical kitchen can lack.
17. Select Deep Drawers Instead of Lower Cabinets for Pots and Pans
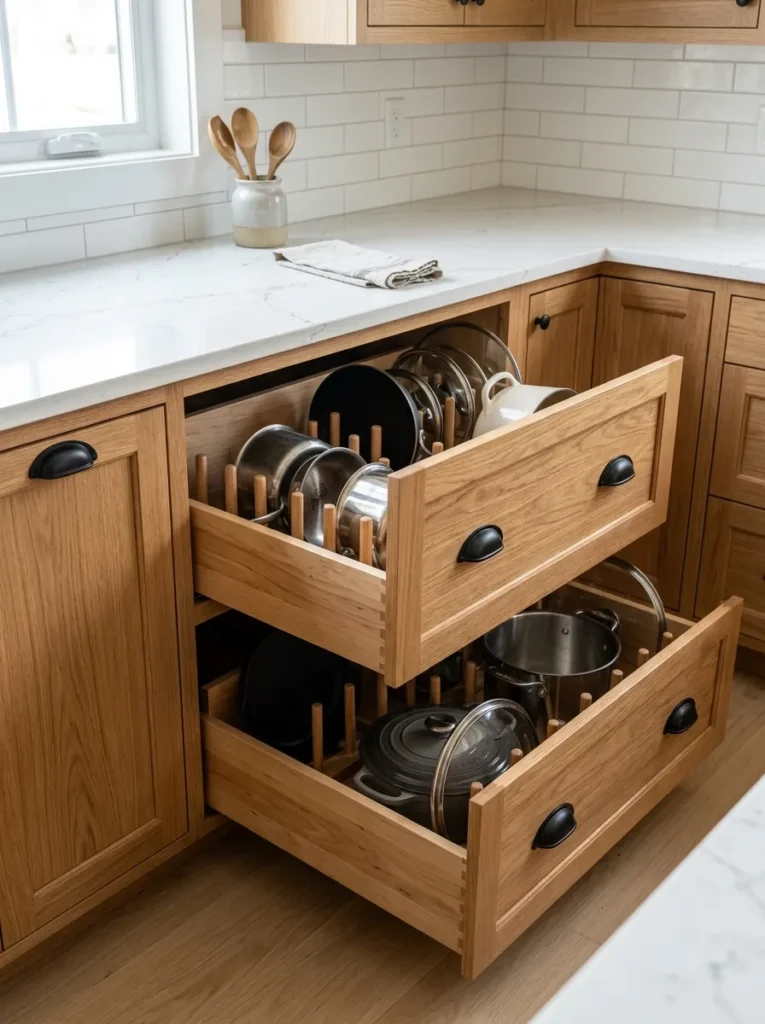
Base cabinets with standard doors and fixed shelves force you to kneel and reach into dark recesses to find a pan. Deep drawers that pull out fully put everything at eye level and let you see the entire contents at a glance. In an L-shaped kitchen, replacing the lower cabinets on at least one arm with deep drawers dramatically improves daily usability. Two wide drawers can hold pots, lids, baking sheets, and heavy cookware more accessibly than four shelves behind doors. Soft-close drawer slides are worth the incremental cost — heavy pans slamming drawers shut is one of the most common complaints in kitchens without them.
18. Warm the Space with Wood Tones Against White or Light Cabinetry
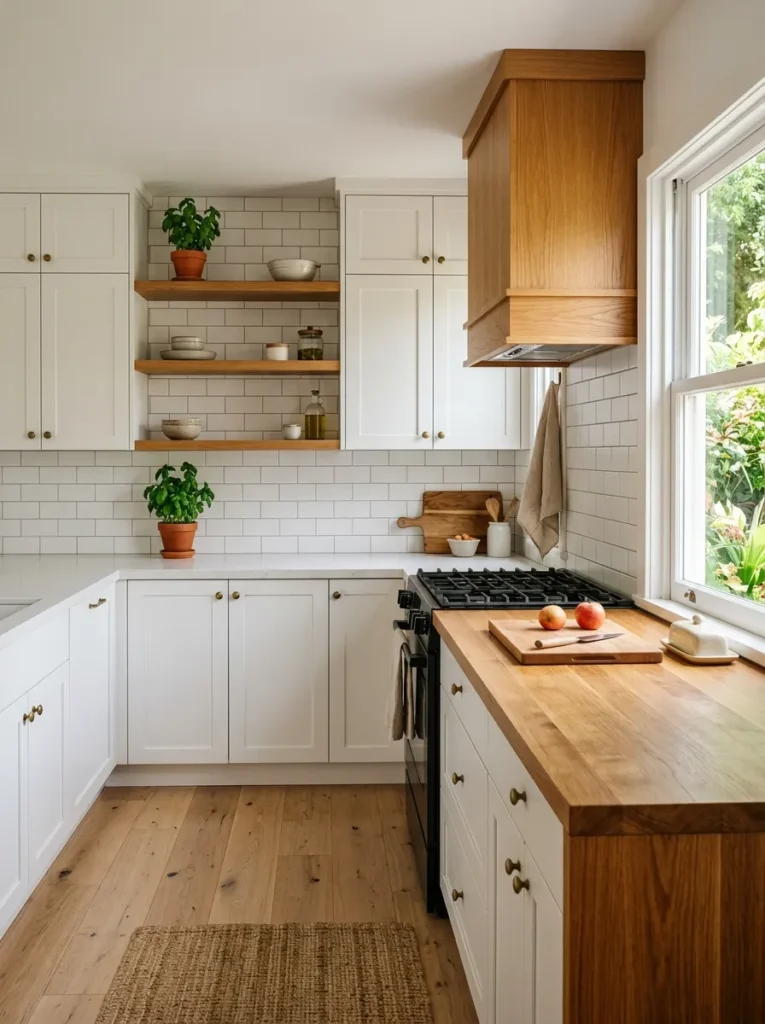
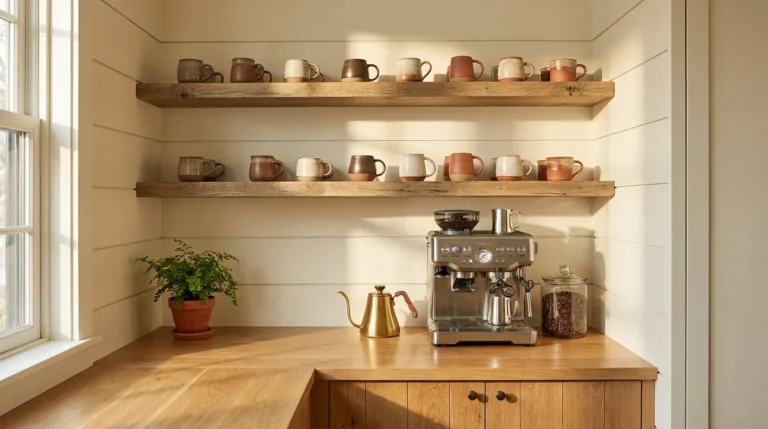
L-shaped kitchens in all-white or all-grey finishes can feel cold and one-dimensional, particularly in rooms with limited natural light. Introducing natural wood — through open shelves, a butcher-block countertop section, a wood-paneled island, or even a wood-toned range hood cover — breaks up the uniformity and adds warmth. Oak, walnut, and ash are the most reliable choices because their grain is visible without being overwhelming. A small amount of wood goes a long way: even a pair of floating wood shelves on one arm can shift the kitchen’s character from sterile to inviting.
19. Float the Upper Cabinets with a Gap Above the Counter for Display
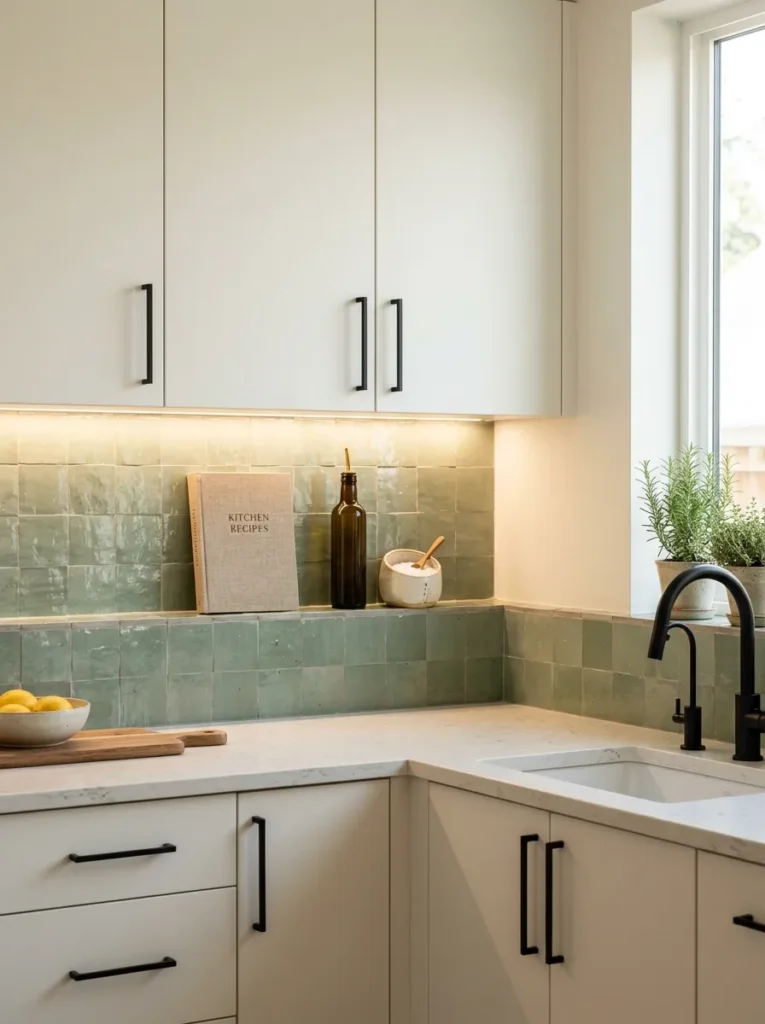
Mounting upper cabinets with a 20–30 cm gap between the bottom of the cabinet and the countertop — rather than installing them at the standard height — creates a visible band of backsplash tile or painted wall that lightens the kitchen’s appearance. This floating effect is especially useful in L-shaped kitchens where two runs of upper cabinets can feel heavy and enclosing. The gap can serve as a display ledge for cookbooks, small herb pots, or decorative items. This approach works best with full-height backsplash tile, which fills the gap visually and prevents it from looking like an installation error.
20. Create an Open-Plan Connection by Removing Upper Cabinets on the Outward-Facing Arm
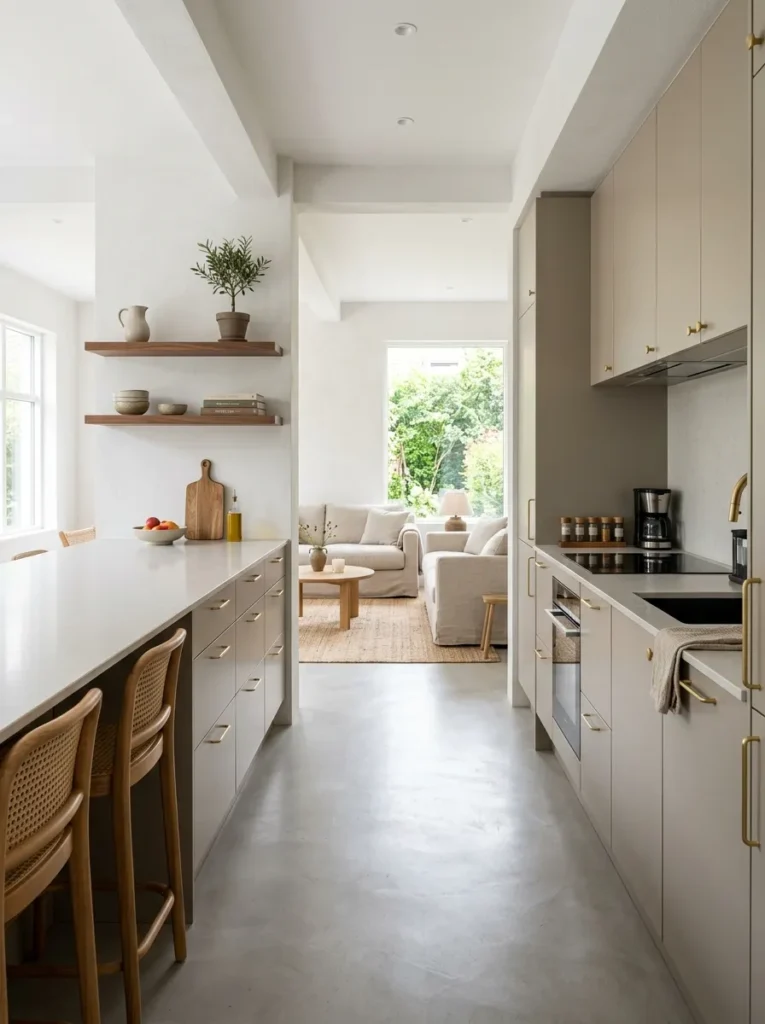
In open-plan homes, the arm of the L that faces the living or dining space often has upper cabinets that create a visual barrier between the rooms. Removing them — or choosing not to install them in a renovation — opens up the sight line, makes the kitchen feel part of the broader living area, and lets natural light travel freely. Replace the lost storage with taller cabinets on the opposite arm or with island storage below. The exposed wall can host floating shelves, a single piece of art, or a full-height backsplash that becomes a feature in its own right.
21. Install a Statement Range Hood as the Visual Anchor
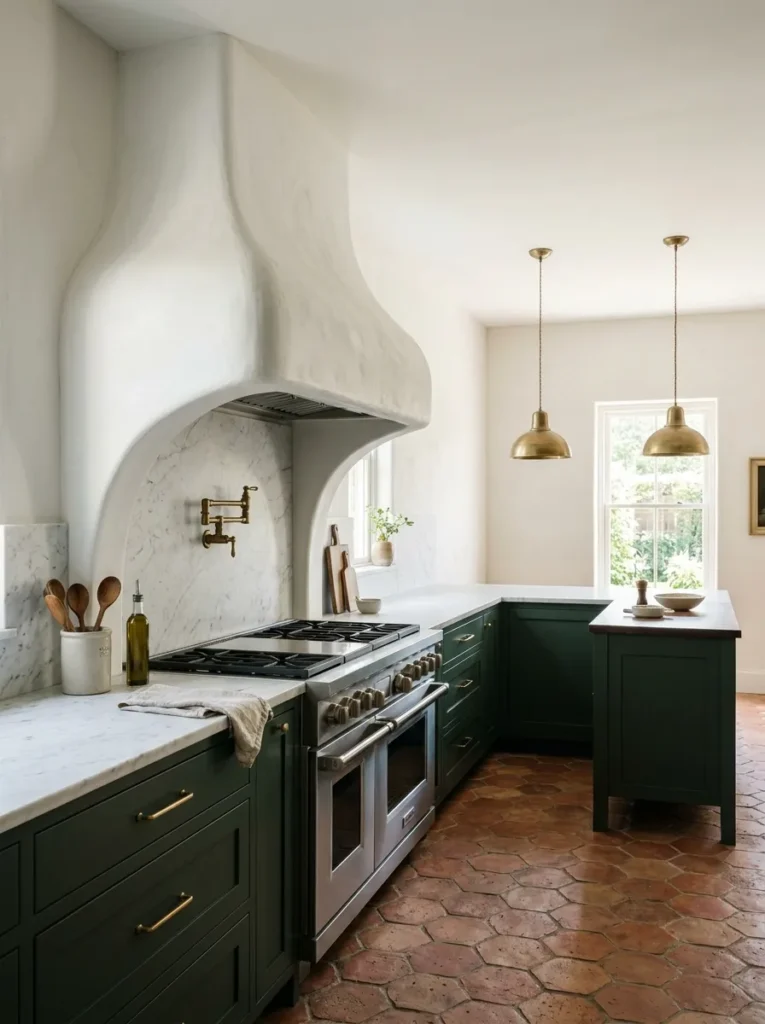
Every kitchen benefits from a focal point, and in an L-shaped layout, a statement range hood — a custom wood cover, a plaster or concrete hood, or a bold black metal canopy — anchors the cooking arm and gives the room a clear center of gravity. Without a strong focal element, L-shaped kitchens can feel like two identical walls of cabinetry without hierarchy. The hood breaks the horizontal line of the cabinets and introduces a sculptural quality that elevates the kitchen from functional to designed. Position the hood on the arm that’s most visible from the main entry or living area.
22. Add a Slim Shelf or Ledge Along the Backsplash for Oils, Spices, and Tools
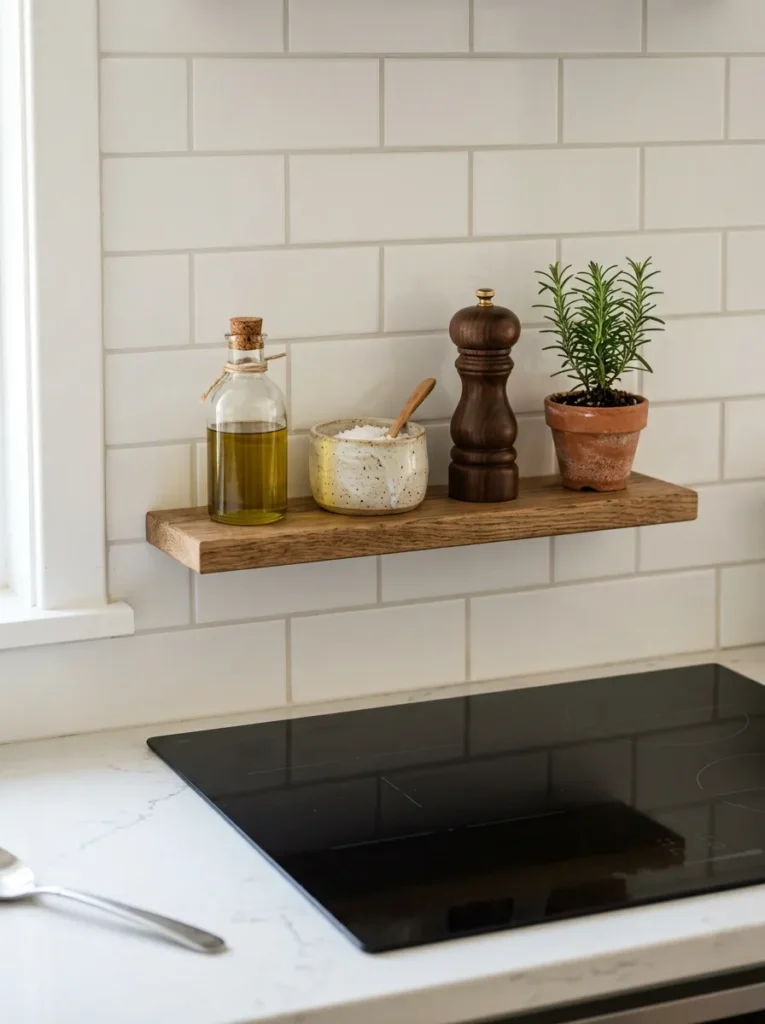
A narrow shelf — typically 8–10 cm deep — mounted along the backsplash behind the stove or prep area keeps frequently used items within arm’s reach without cluttering the counter. Olive oil, salt, pepper, cooking utensils, and a small herb pot can all live on this ledge rather than taking up precious countertop or drawer space. The shelf also adds a visual layer that breaks up a large expanse of backsplash tile. Choose a material that matches or complements the countertop — a marble ledge on a marble backsplash, a wood shelf against subway tile. This idea is one of the simplest, most affordable improvements you can make to any L-shaped kitchen without renovation.
Final Thoughts
The L-shaped kitchen works because it keeps everything close without closing you in. But the layout only delivers on that promise when the details support it — when the sink, stove, and fridge are positioned for natural movement, when the corner storage is actually usable, and when the countertop space is protected rather than consumed by appliances.
If you’re planning a new L-shaped kitchen, start with the work triangle and corner solution before choosing finishes. If you’re improving an existing one, the highest-impact changes are usually the least visible: better drawer systems, under-cabinet lighting, and keeping the corner countertop clear as a landing zone.
Save the ideas that match your kitchen’s size, layout, and how you actually cook. The best L-shaped kitchens aren’t the ones with the most features — they’re the ones where every surface and cabinet earns its place.