20 Galley Kitchen Ideas That Maximize Every Inch
Galley kitchens are one of the most practical kitchen layouts ever designed — and one of the most frequently undersold. Two parallel runs of cabinetry with a single corridor between them put everything within arm’s reach, minimize walking distance during cooking, and use wall space more efficiently than almost any other configuration. The problem is rarely the layout itself. It’s the way galley kitchens are typically finished: low ceilings, inadequate lighting, upper cabinets that close in the walls, and no visual break from one end to the other.
The galley kitchen ideas here address both the functional shortcomings and the visual ones. Some involve structural decisions that are worth making once and making well. Others are low-commitment changes that shift how a narrow kitchen feels without touching a single cabinet. The through-line is that the corridor works with you, not against you, when the decisions are deliberate.
1. Decide First Whether You Need Upper Cabinets on Both Walls
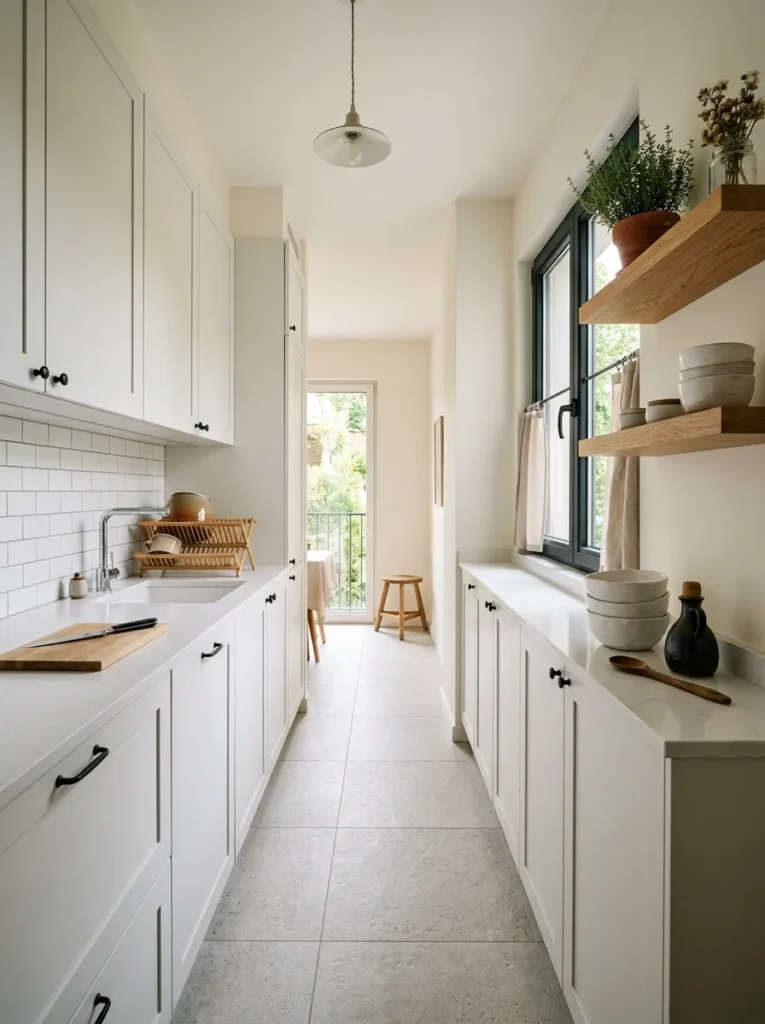
Before any cosmetic decision, this layout question shapes everything else in a galley kitchen. Two full walls of upper cabinets maximize storage but compress the corridor visually and can make a narrow kitchen feel like a tunnel, particularly if ceilings are average height. Removing the upper cabinets from one wall — typically the wall opposite the cooking and sink run — opens the space significantly and creates natural opportunities for open shelving, a window, or simply breathing room.
The trade-off is real: you lose closed storage. This works better for households that are genuinely organized, or for kitchens where a pantry or storage elsewhere in the apartment compensates. If you cook with a lot of equipment and ingredients, removing upper cabinets entirely may not be practical — but replacing some with glass-fronted versions or open shelves creates visual relief without a total storage sacrifice.
2. Run Cabinets to the Ceiling to Eliminate the Dead Zone Above
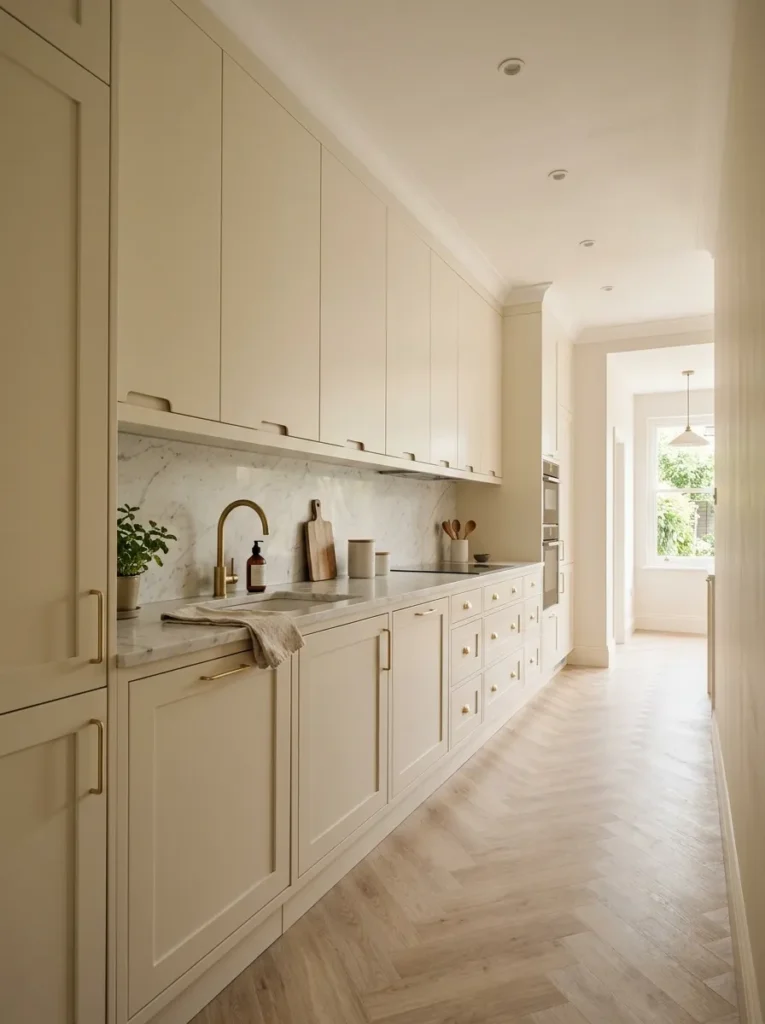
The space between the top of standard upper cabinets and the ceiling is one of the most wasted areas in any kitchen — in a galley it’s especially visible because you see both cabinet runs simultaneously. Floor-to-ceiling cabinetry eliminates that dusty, awkward gap and creates a more resolved, intentional look.
The upper section of tall cabinets is most useful for infrequently accessed items: seasonal equipment, bulk storage, spare linens. A small step stool kept inside a lower cabinet handles access. Visually, the height draws the eye upward rather than across the corridor, which makes the kitchen feel taller rather than narrower. If a full cabinet replacement isn’t feasible, adding a simple shelf or low-profile cabinet unit on top of existing upper cabinets achieves a similar effect at much lower cost.
3. Use a Single Deep Accent Color on One Wall to Break the Tunnel Effect
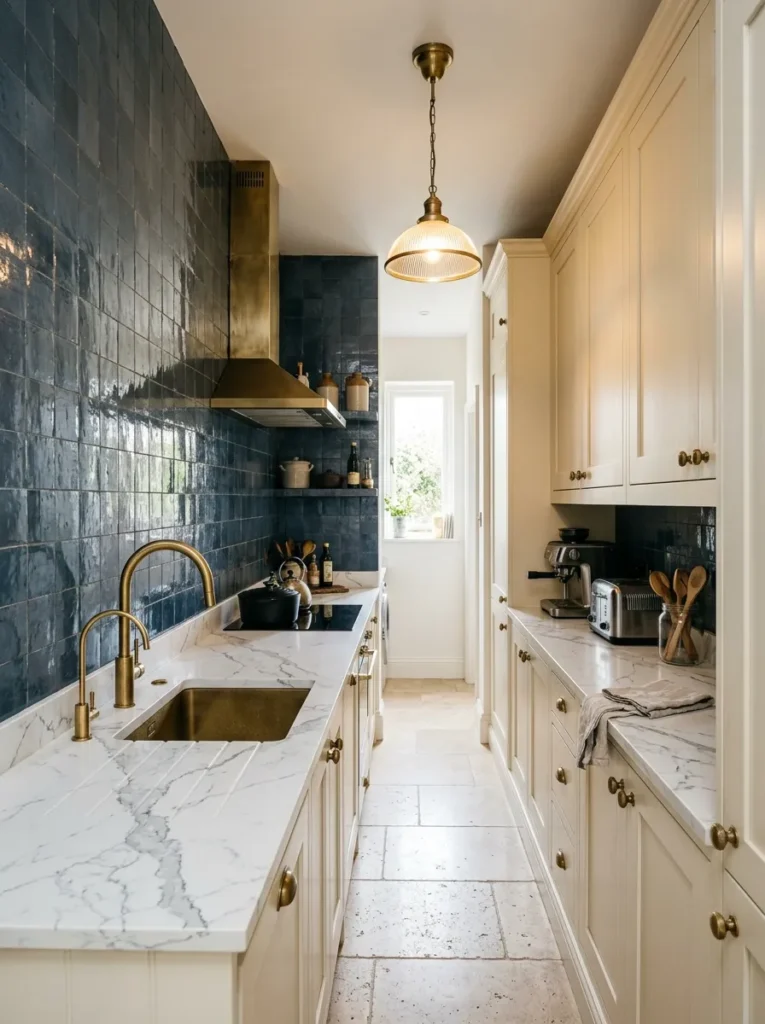
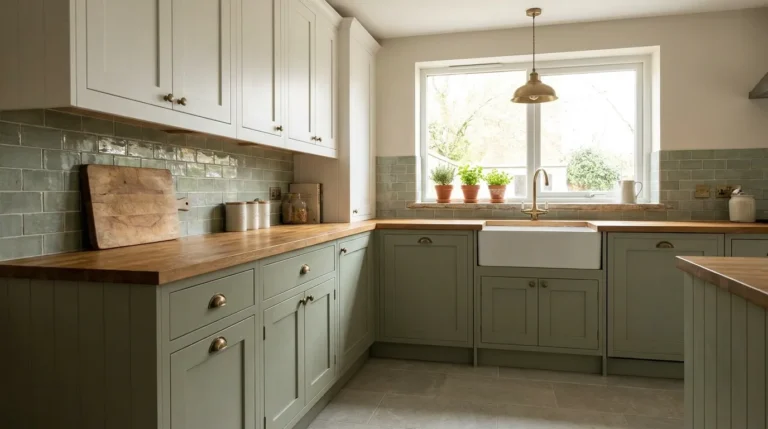
A galley kitchen painted the same color on all surfaces reads as one long unbroken corridor. Painting or tiling one wall in a deeper, contrasting tone — forest green, slate blue, warm terracotta, charcoal — gives the eye a place to land and makes the space feel bounded in a deliberate way rather than endless.
The wall to treat is usually the one with fewer or no upper cabinets, so the color reads fully rather than being interrupted by cabinet fronts. A painted plaster wall with a deep tone works well; so does full-height subway tile or zellige tile in a richer color. The opposite wall (typically with appliances and cabinetry) can remain pale to preserve brightness. This contrast approach photographs with strong visual interest and is one of the most practical ways to give a galley kitchen genuine character.
4. Extend the Countertop Run to Create an Eat-In Ledge
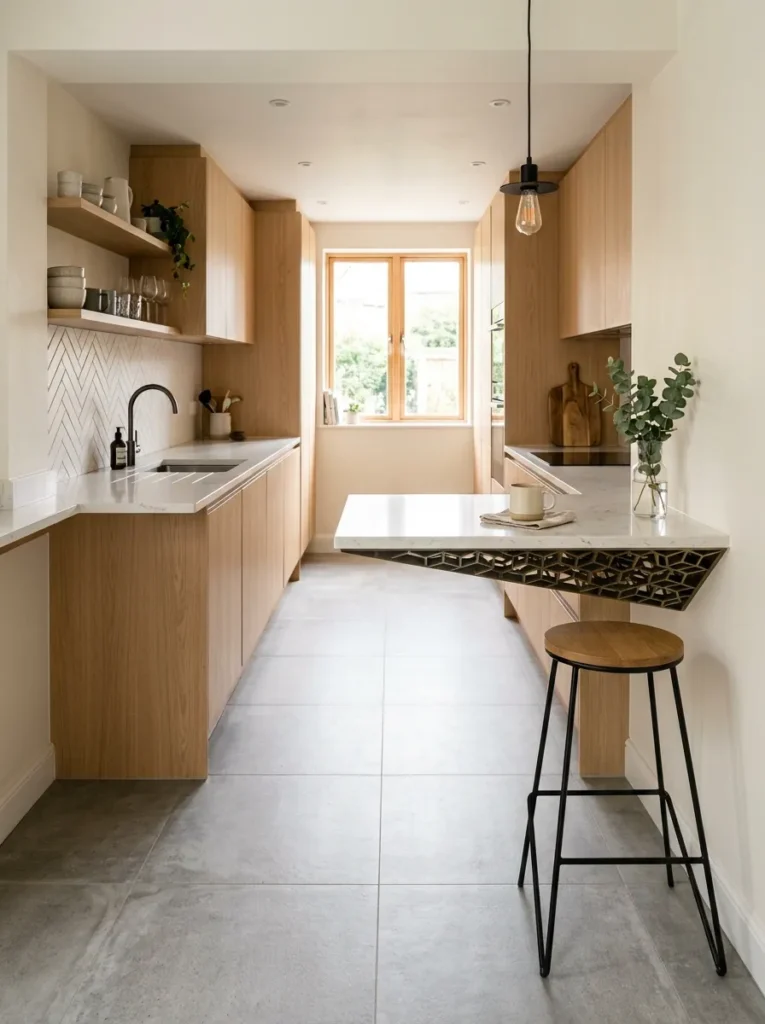
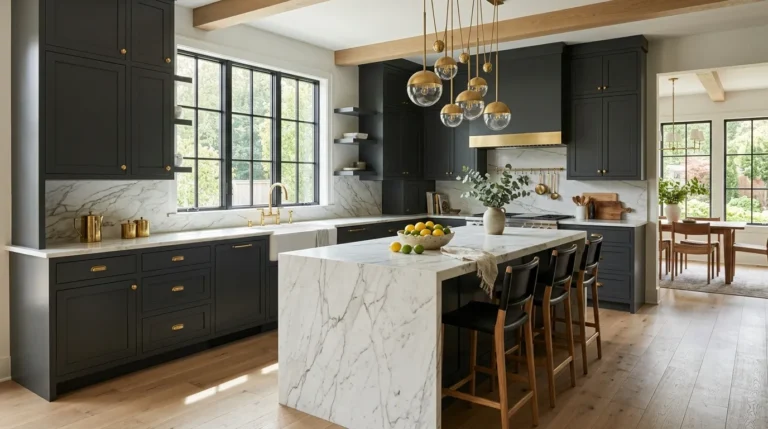
One of the structural limitations most galley kitchen users feel most acutely is having nowhere to sit and eat without leaving the kitchen entirely. Extending one end of the countertop run slightly beyond the cabinet base — or cantilevering it to allow knee clearance — creates a narrow dining ledge with two or three bar stools. This is a fundamentally different use of the space than a separate dining table and often suits apartments where the kitchen opens directly into a living area.
The overhang needs to be sufficient for comfortable seated use — roughly 25–30 cm of knee clearance is a useful starting point, though the actual depth depends on stool height and countertop thickness. This works best at the open end of the kitchen, where the extension doesn’t block the corridor. It’s one of the few layout modifications that also adds genuine social function to what is otherwise a single-person cooking space.
5. Treat the Backsplash as the Kitchen’s Primary Visual Feature
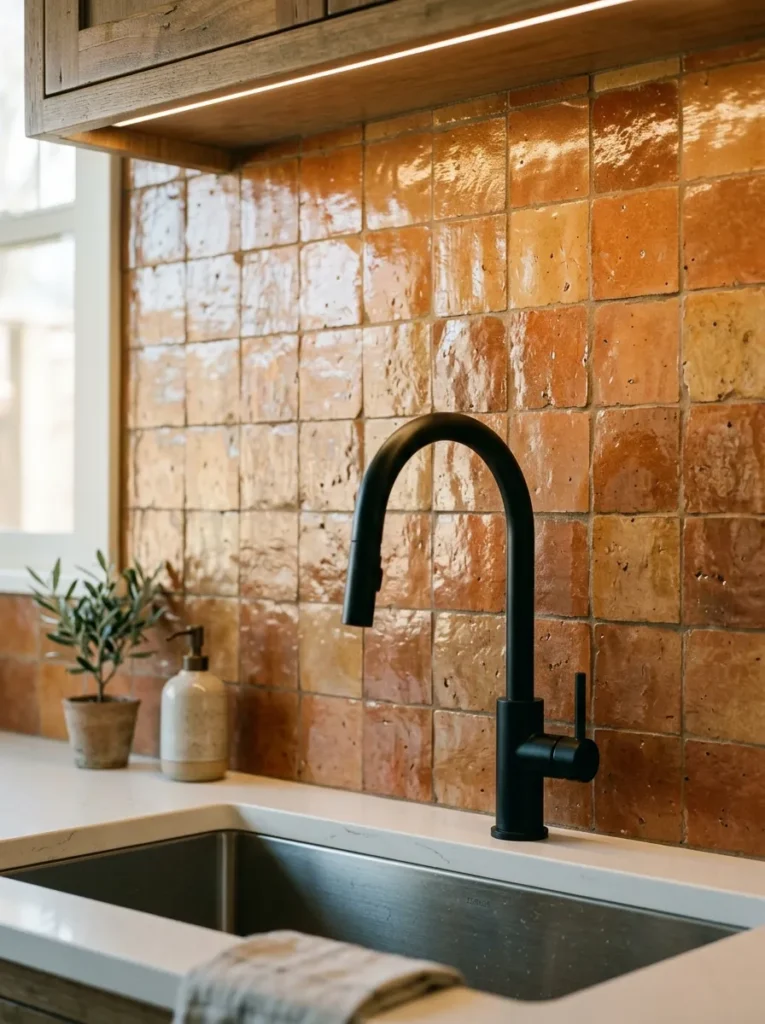
In a galley kitchen, the backsplash is one of the largest continuous surfaces visible from the corridor. Most galley kitchens use a standard subway tile backsplash — and while that works, it’s also a missed opportunity. A distinctive backsplash tile becomes the strongest visual element in the room and can do more to establish the kitchen’s character than any paint color or cabinet choice.
Options that photograph particularly well in galley kitchens: full-height handmade zellige tile in an earthy tone, vertical stack-bond subway tile in an unexpected color, large-format stone-effect slabs with a continuous vein pattern, or a simple terracotta tile in a brick-bond pattern. The backsplash is also one of the more accessible upgrades in rental situations — peel-and-stick tile panels have improved substantially in quality and are available in convincing stone and ceramic effects.
6. Use Pendant Lights to Define the Corridor Rather Than Relying on Overhead Strips
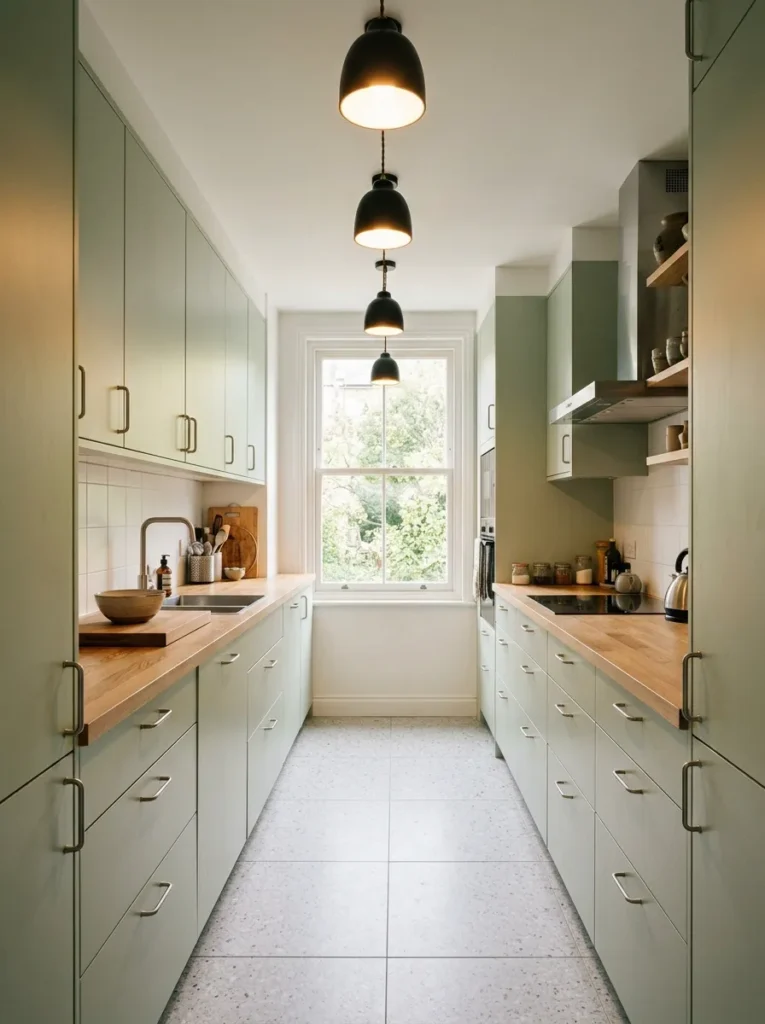
Galley kitchens are frequently lit by a single fluorescent strip or a row of recessed ceiling lights that illuminate the corridor uniformly but without warmth or visual layering. Pendant lights hung at regular intervals down the corridor create deliberate rhythm, draw the eye along the length of the kitchen in a considered rather than accidental way, and produce warmer, more directional light over the main work surfaces.
The scale matters. Pendants in a galley kitchen should be compact — small ceramic, glass, or metal shades on short drops rather than large statement pendants that would crowd the corridor at head height. A row of three or four matching pendants at consistent spacing typically works better than a single large pendant, which can look isolated. If hardwiring new pendants isn’t feasible, plug-in pendant lights with cord management along the ceiling are a workable rental alternative.
7. Install Open Shelving on One Side for Display and Accessibility
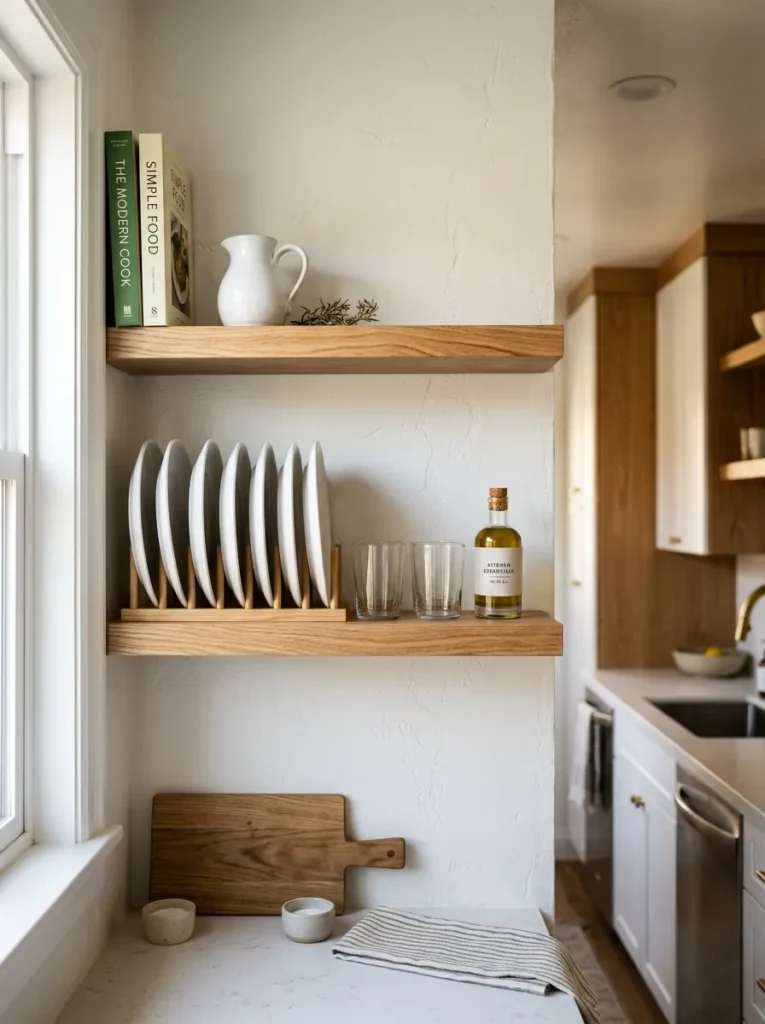
Open shelves on one wall of a galley kitchen serve a different function than upper cabinets on both walls. Rather than containing everything behind doors, they create a zone where frequently used items — everyday plates, glasses, oils, a few cookbooks — are genuinely accessible without opening anything. In a narrow corridor, not having to reach past a cabinet door makes daily use meaningfully smoother.
The styling of open shelves matters more in a galley kitchen than elsewhere because the shelves are at eye level and visible from multiple angles. Limiting the shelf to a tight edit of items you actually use regularly is more practical than trying to display everything. Heavier items go lower; lighter and less frequently used items go higher. A shelf depth of 25–30 cm suits most standard kitchen items without projecting too far into the corridor.
8. Choose Light-Reflective Cabinet Fronts to Push the Walls Apart
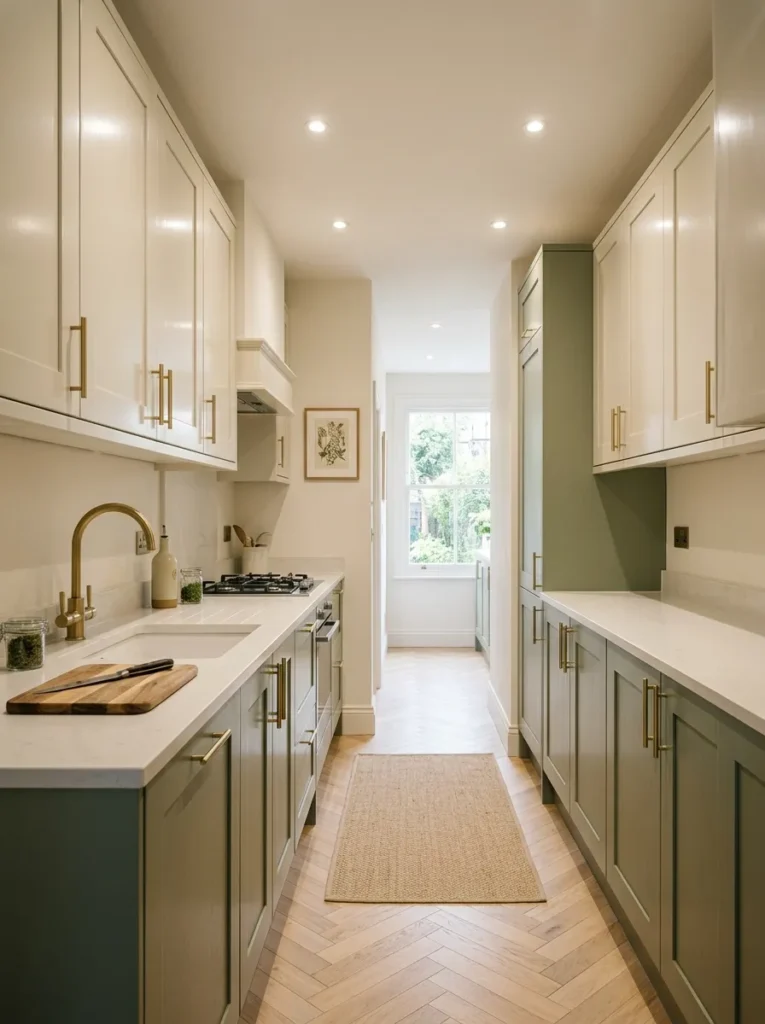
The cabinet choice has an outsized effect on how a galley kitchen feels in terms of width. Dark, matte cabinet fronts absorb light and tend to close the walls in — this can be intentional and effective in larger galley kitchens with good natural light, but in smaller, darker corridors it reinforces the tunnel feeling. Gloss or semi-gloss cabinet fronts in pale tones (white, warm cream, very light greige) reflect ambient and task lighting back into the space and create the impression of more room between the two runs.
An alternative to all-white cabinets: two-tone treatment, with lower cabinets in a deeper tone and upper cabinets in a pale or neutral finish. This keeps the visual weight lower in the room, which is also where it’s least obstructive, while maintaining brightness at head level where it matters most for the spatial feeling.
9. Add Under-Cabinet Lighting to Eliminate the Shadow Zone
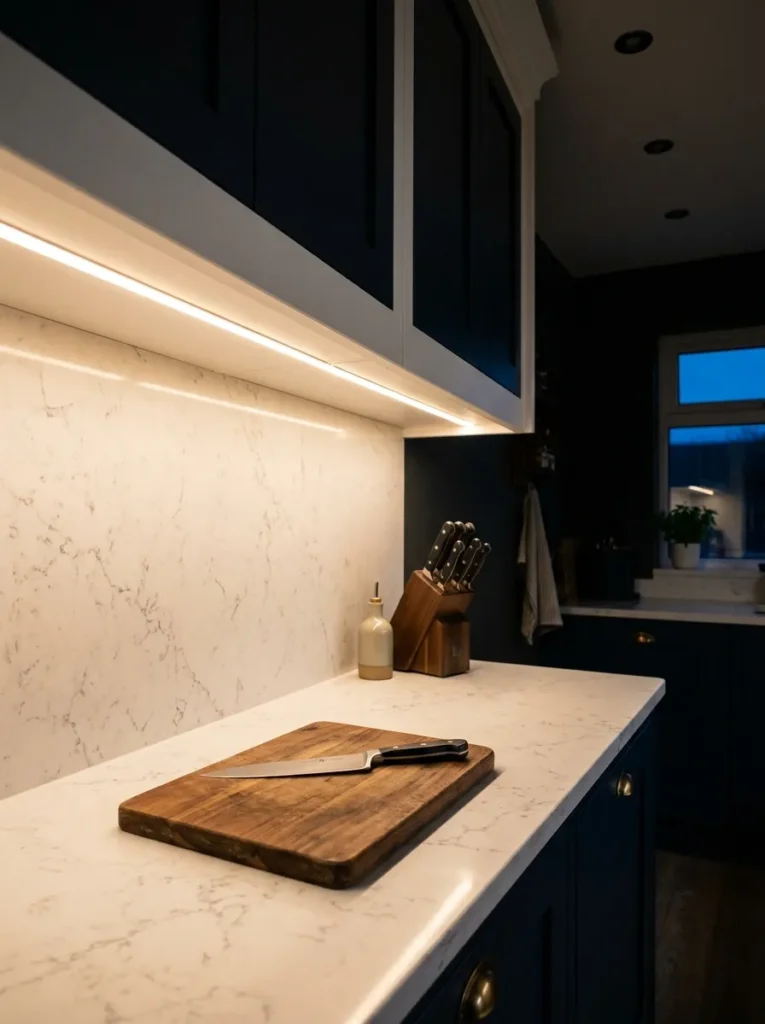
Standard ceiling lighting in a galley kitchen casts shadows directly onto the countertop work surfaces because the upper cabinets are in the way. Under-cabinet lighting — whether hardwired LED strips or plug-in tape lights routed along the underside of upper cabinets — addresses this directly by putting the light source at the point where it’s most useful: immediately above the cutting board, the prep surface, and the stovetop surround.
Beyond the functional benefit, under-cabinet lighting changes the visual mood of the kitchen significantly. In the evening, with ceiling lights dimmed or off, under-cabinet LEDs produce a warm, layered light that makes even a plain galley kitchen feel more considered. Warm-tone LEDs (2700K–3000K) are the right choice for most domestic kitchens — cooler daylight-balanced LEDs tend to read harshly in a residential setting.
10. Use a Continuous Countertop Material to Unify Both Runs
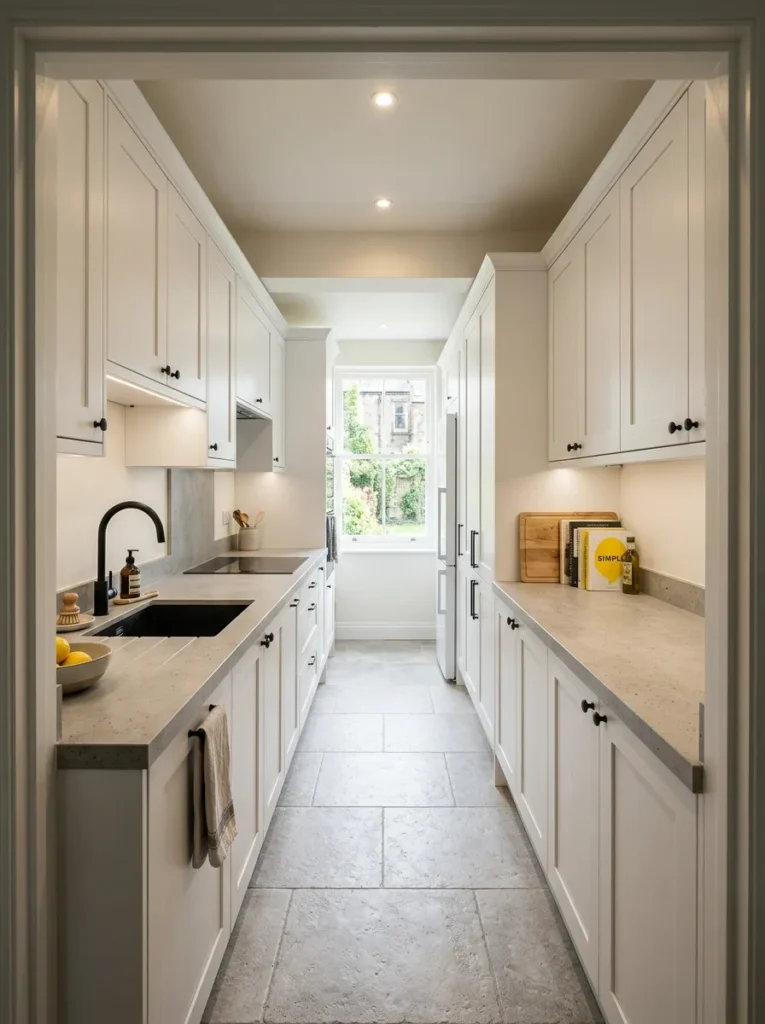
When the two countertop runs in a galley kitchen use the same material — the same quartz, concrete, marble-effect, or butcher block surface — the kitchen reads as intentional and resolved. When they differ (often the result of a staged renovation or an inherited kitchen), the two sides visually compete, which draws attention to the corridor between them rather than the kitchen as a whole.
If a full countertop replacement isn’t in scope, continuity can be partially achieved by updating the finish of one countertop to better match the other, or by using a consistent edge profile. Butcher block is a relatively accessible countertop option that suits galley kitchens well in terms of warmth — it contrasts effectively with pale cabinetry and ages with use rather than showing damage the way some laminate surfaces do.
11. Create a Dedicated Coffee or Breakfast Station at One End
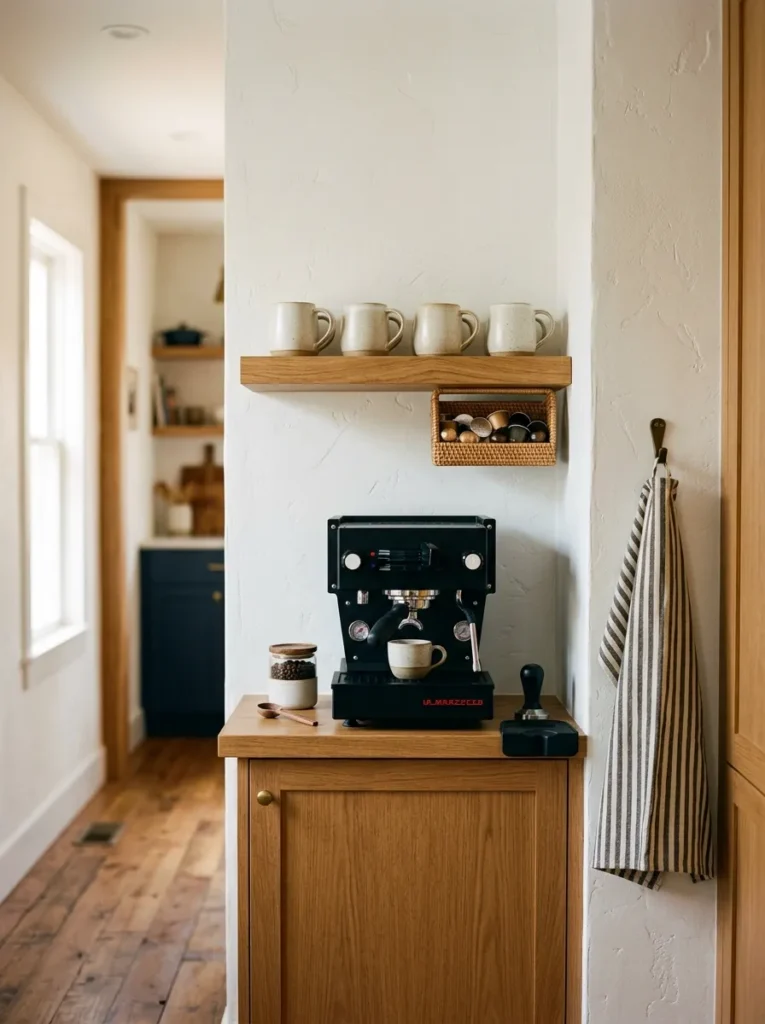
Galley kitchens often have a dead end — a wall or a door — at one or both terminations of the corridor. Rather than letting that end wall go unused, a small built-in or styled zone for morning prep turns the dead end into a feature. A coffee machine, a simple open shelf for mugs and a small basket for pods or ground coffee, and a narrow wall-mounted hook for a tea towel creates a self-contained station that doesn’t compete with the main cooking run.
Visually, a styled end-wall vignette gives the galley kitchen a clear focal point rather than a hallway-like terminus. It also helps with traffic flow — if two people use the kitchen simultaneously, one can occupy the coffee station without standing in the main cooking corridor.
12. Fit a Slimline Pull-Out Pantry Between Appliances
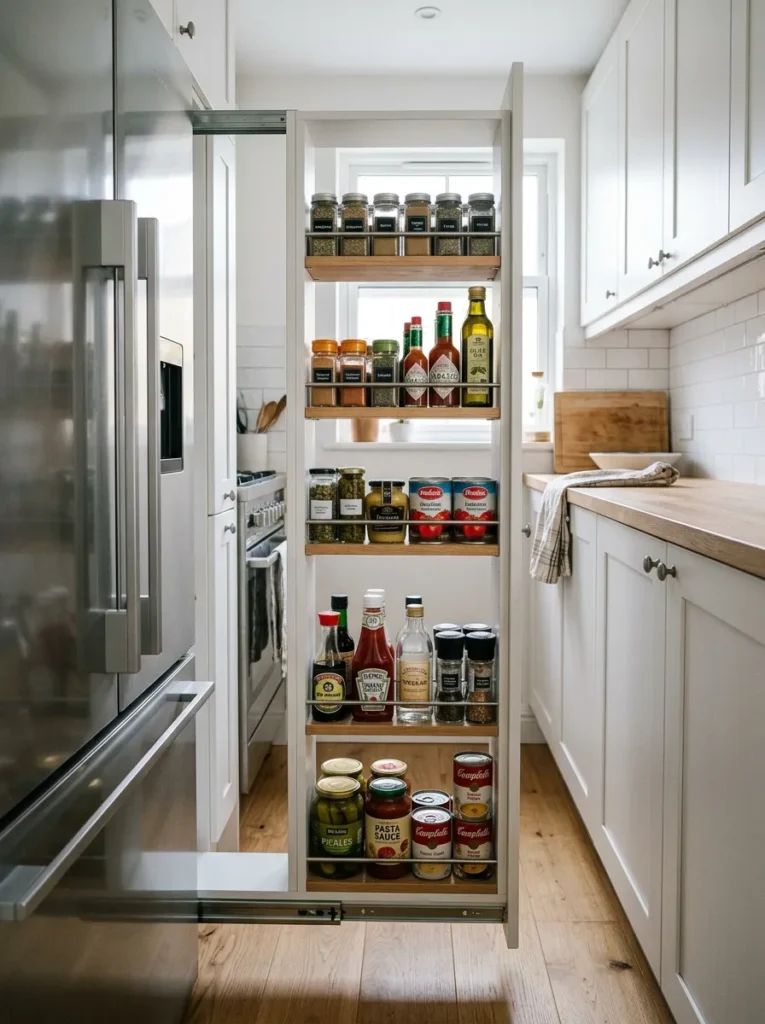
One of the most genuinely useful storage additions in any narrow kitchen is a pull-out pantry unit fitted into a gap that might otherwise be dead space: the 10–15 cm slot beside a refrigerator, between two base cabinets, or next to a tall appliance stack. Purpose-built slimline pull-out units on full-extension runners can fit cans, spice jars, condiment bottles, and packets in a vertical column that’s fully accessible at eye level when open but completely flush with the surrounding cabinetry when closed.
This is particularly useful in galley kitchens where the storage-per-square-metre ratio is a constant negotiation. A 10 cm pull-out pantry column typically holds far more than it appears to from outside. Many kitchen suppliers offer these as standalone retrofit units that can be added without a full renovation.
13. Use a Long Runner Rug to Direct Movement and Add Warmth
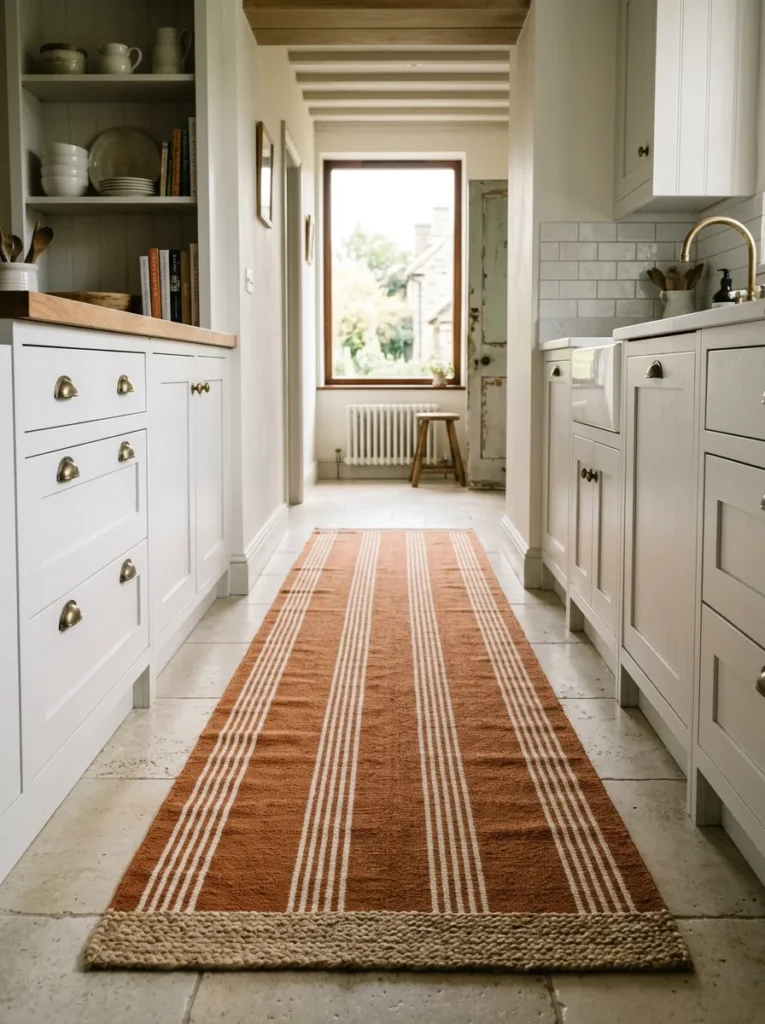
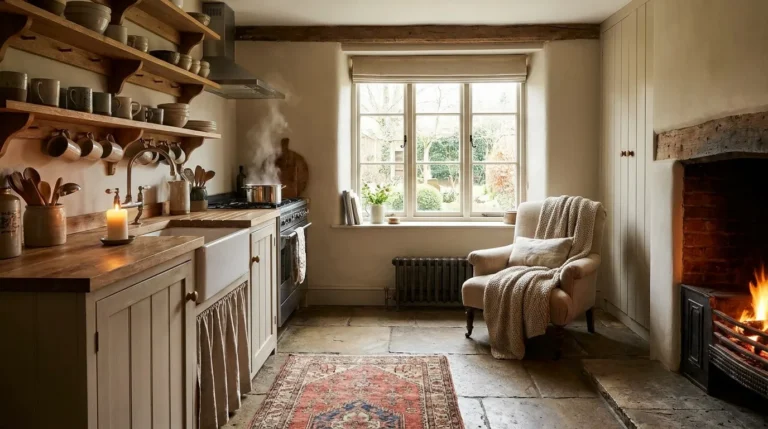
A kitchen without soft material anywhere feels acoustically hard and visually cold, particularly in a galley where you’re surrounded by cabinetry on both sides. A long runner rug placed down the center of the corridor — or on one side where foot traffic is heaviest — introduces color, texture, and a sense of deliberate styling that countertops and cabinet doors can’t provide.
Practical considerations matter here: the rug needs to be flat enough not to create a tripping hazard, machine washable or wipeable given the cooking context, and long enough to run most of the corridor length rather than sitting as a small mat in the middle of nowhere. A jute or low-pile cotton runner holds up better in a kitchen than a thick wool rug that absorbs spills. The runner also visually defines the walking zone, which has the secondary effect of making the floor feel wider at the edges.
14. Replace One Upper Cabinet with a Window If the Architecture Allows
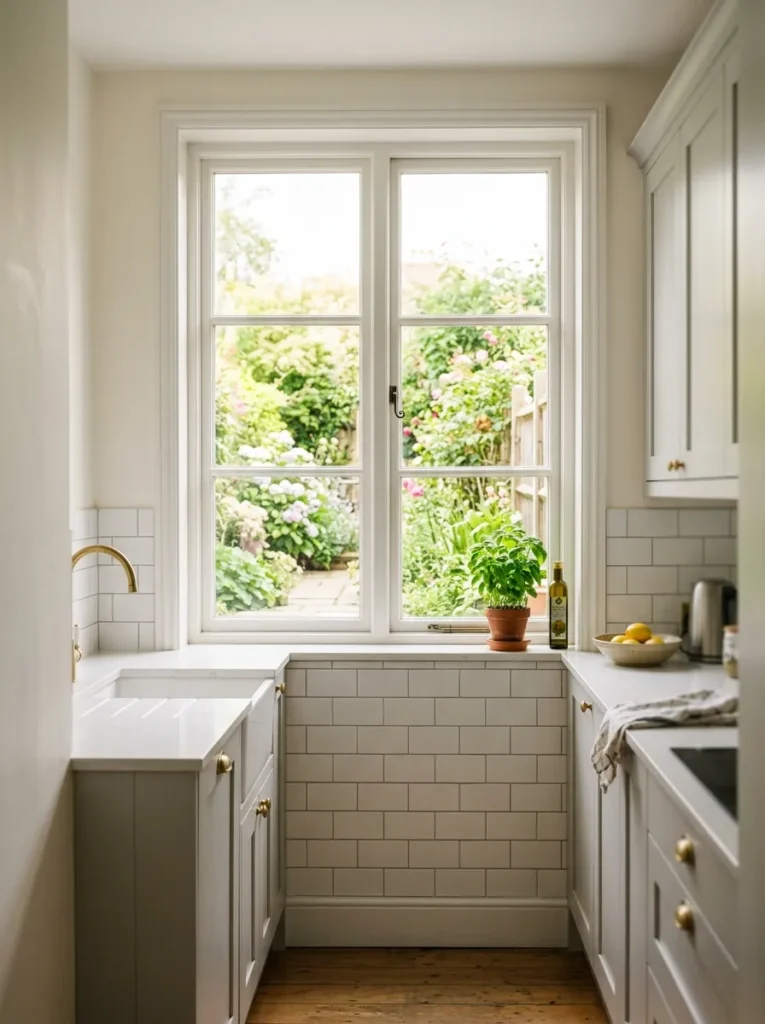
In many galley kitchens, the upper cabinets on one wall cover a section of wall that could instead have a window — either a new window cut into an external wall, or an internal pass-through if the kitchen backs onto another room. Natural light is the most effective tool for making a narrow kitchen feel less enclosed, and the difference between a galley kitchen with a single window and one with two light sources is substantial.
This is a structural change that requires professional assessment and isn’t feasible in all situations — particularly in apartments or buildings with specific constraints. Where it is possible, even a small fixed glazed panel can dramatically change how the space reads. If a new window isn’t an option, a frosted or patterned glass insert in an upper cabinet door lets borrowed light from adjacent windows pass through while maintaining storage behind.
15. Use Vertical Tile or Panel Detailing to Add Height
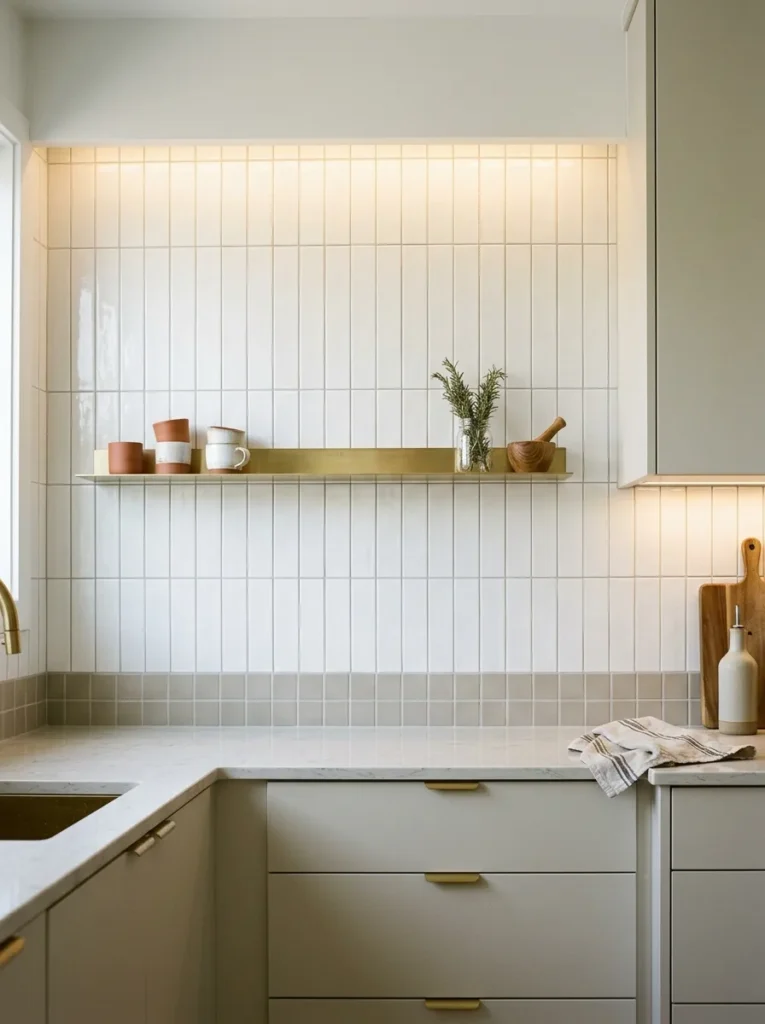
Horizontal elements in a galley kitchen (long countertop runs, horizontal cabinet profiles, tile laid in horizontal courses) reinforce the lateral dimension, which in a narrow corridor is already the dominant experience. Vertical tile patterns — stack-bond subway tile run vertically, tall fluted panel details on cabinet fronts, or vertical tongue-and-groove paneling on an end wall — redirect the eye upward and make the ceiling feel higher.
This is a relatively low-cost intervention on an accent wall or end panel. Vertical fluted cabinet fronts, in particular, have become a strong contemporary detail that photographs distinctively and suits both modern and transitional galley kitchens. The galley kitchens, adding shadow variation to what is otherwise a flat surface.
16. Install a Pot Rail or Magnetic Strip to Free Up Drawer Space
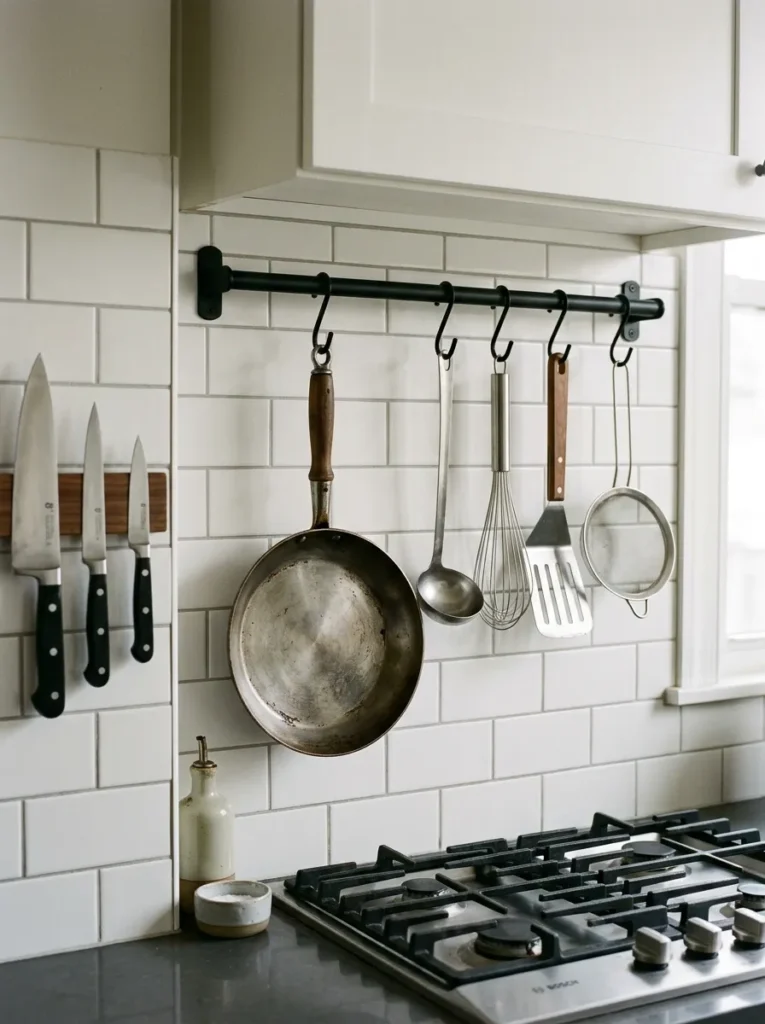
Drawer space in a galley kitchen is finite, and filling deep drawers with kitchen tools that could live on the wall is a missed opportunity. A stainless steel or brass pot rail mounted on the wall above or adjacent to the cooking area, fitted with S-hooks, keeps everyday pans, ladles, and tools immediately accessible without occupying any counter or drawer footprint.
A magnetic knife strip similarly frees an entire drawer that would otherwise hold knives. Both systems work best on the wall above the cooking run rather than on an open shelf wall, where the visual busyness of hanging equipment would compete with display items. The choice of rail material is worth considering: brushed brass or matte black suits contemporary kitchens; stainless suits industrial and utilitarian finishes.
17. Lean Into the Corridor With a Dramatic Dark Color Throughout
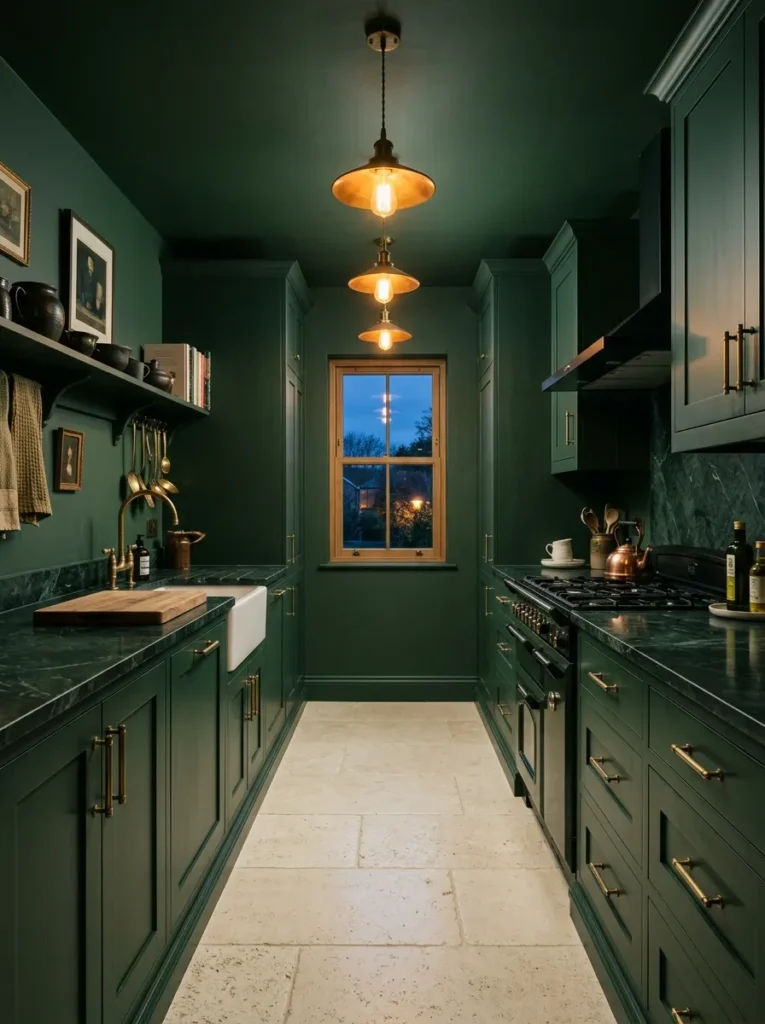
Some galley kitchens work better when you stop fighting the corridor and commit to it fully. A galley kitchen painted in a single deep color — dark green, navy, almost-black — with matching or tonal cabinetry, brass hardware, and a richly veined dark countertop doesn’t pretend to be a large, airy space. Instead it becomes a deliberately atmospheric one: a kitchen that feels more like a room than a passageway.
This approach suits galley kitchens with higher ceilings or good lighting, where the dark color reads as intentional richness rather than oppressive compression. It photographs dramatically and tends to create strong Pinterest visuals. The practical commitment is real, however — repainting from a very dark color is a significant undertaking, so this direction works best when it’s a considered long-term choice rather than an experiment.
18. Add a Mirrored or Reflective Panel at the End Wall
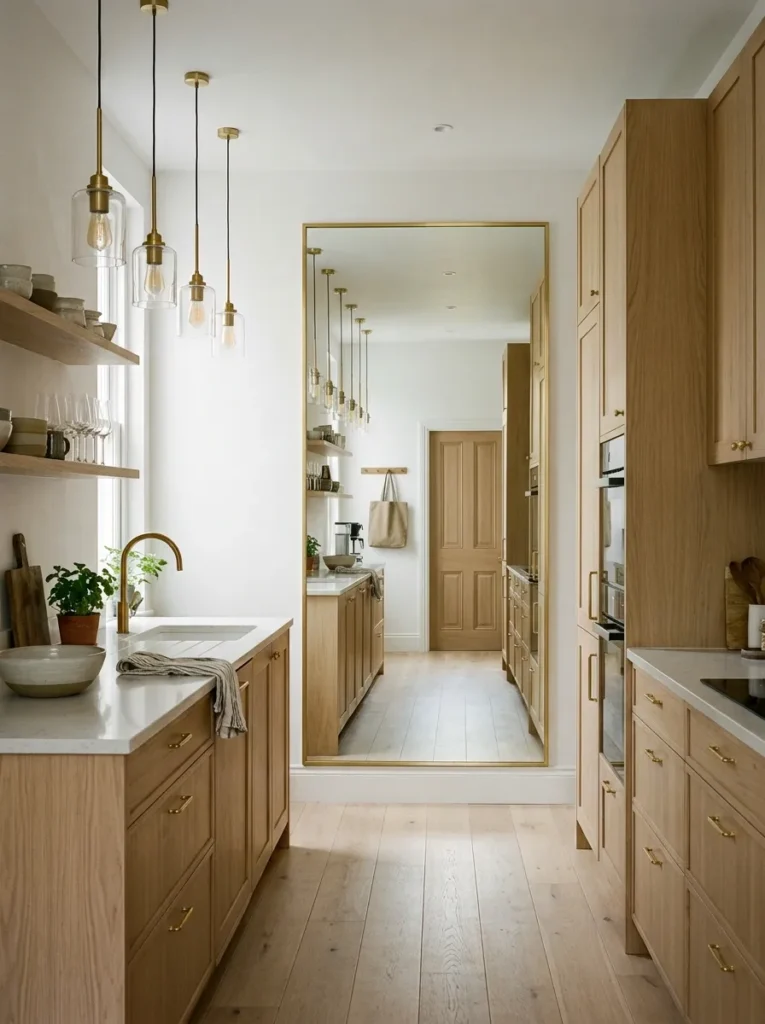
The end wall of a galley kitchen is the surface you look at directly from the cooking position. A large mirror or mirrored panel here does something specific: it visually doubles the length of the corridor and makes the kitchen feel like it continues beyond its actual boundary. Unlike a window, which requires external access, a mirror works regardless of which direction the kitchen faces or where it sits in the floor plan.
For this to work well, the mirror needs to reflect something worth seeing — the opposite wall’s tile, the window, the pendant light sequence. If the kitchen is cluttered or dark, a mirror primarily amplifies that. A mirrored panel fitted flush with a simple frame or into a recessed section of the end wall reads more architectural than a leaning decorative mirror and holds up better in a kitchen context.
19. Swap Hardware Across All Cabinets for an Immediate Refresh
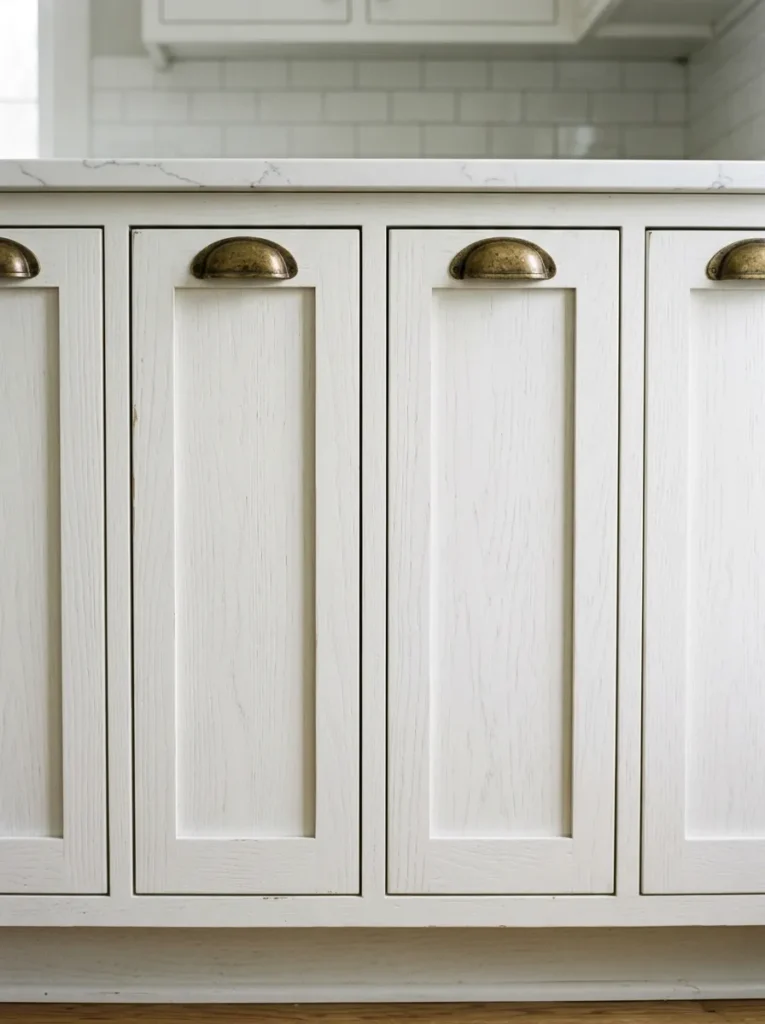
In a galley kitchen where the cabinets themselves are fixed or budgeted to stay, the hardware has a disproportionate visual effect because it’s repeated across every cabinet front in the room. Standard builder-grade chrome or brushed nickel handles on plain Shaker or slab cabinets look noticeably different with a hardware swap — to aged brass cup pulls, matte black bar handles, or unlacquered brass knobs.
This is one of the genuinely low-cost, high-impact modifications available to renters and owners alike. A set of cup pulls in antique brass on white or cream cabinets changes the kitchen from generic to considered. The main decision is consistency: all handles should match in both style and finish, because in a galley kitchen you see the entire run simultaneously. Mixing handle styles down the corridor reads as unresolved.
20. Use a Folding or Wall-Mounted Table at the Open End for Flexible Dining
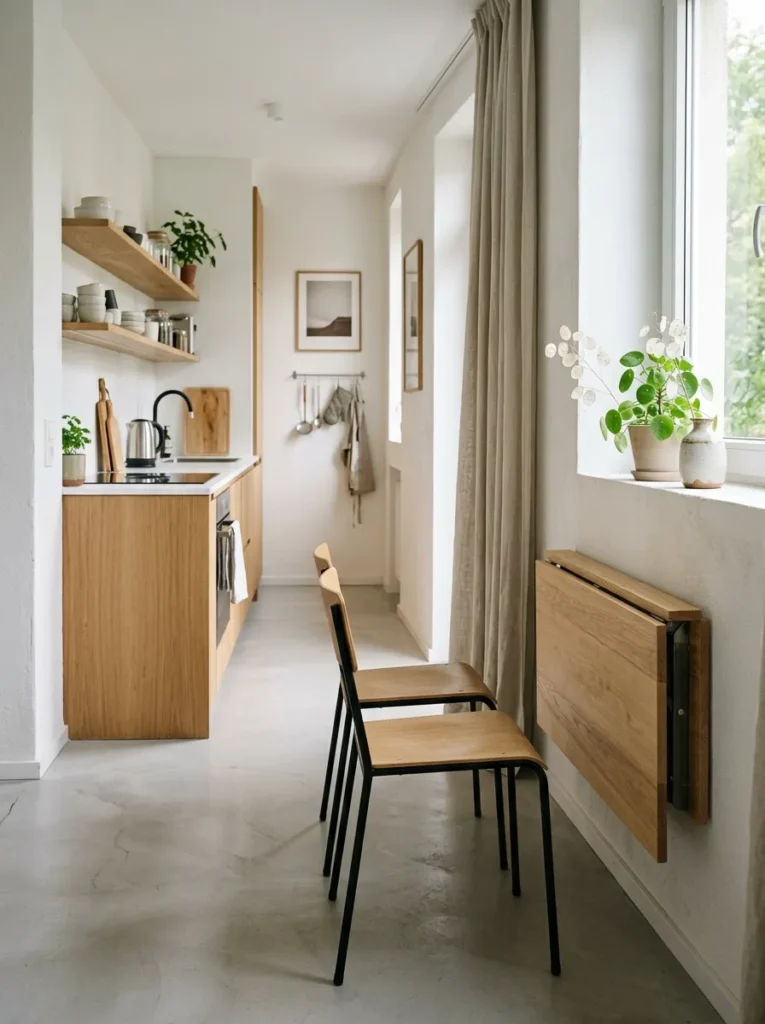
Galley kitchens that open at one end into a living or dining area often have a gap between the kitchen terminus and the dining zone that belongs to neither space. A wall-mounted fold-down table on that end wall creates a dining surface when needed that folds completely flat when not in use, taking up essentially no floor space. Two narrow stools hung on wall hooks complete a dining setup that disappears in under a minute.
These fold-down tables are available in both basic utility versions and more considered designs in solid wood or powder-coated metal. The structural requirement is a solid wall capable of supporting the bracket load — a plaster partition wall may need additional reinforcement or anchoring into studs. For kitchens where the fold-down aesthetic doesn’t appeal, a narrow console table on casters can be pulled to the end of the corridor for dining and stored elsewhere when not in use.
What to Prioritize First in a Galley Kitchen
The most useful sequence before decorating is to resolve the layout logic first. Decisions that affect cabinet configuration, countertop runs, and structural elements (windows, lighting circuits) should happen before any surface choices, because the surface choices depend on what’s staying and what’s changing.
After layout: lighting. Under-cabinet lighting and pendant placement change how every other element in the kitchen reads. Many galley kitchens look better immediately after lighting is addressed, even before any cabinetry or color changes.
Color and surface decisions — backsplash, cabinet paint or fronts, countertop — come next, because they’re influenced by the fixed elements (flooring, appliance finishes, window placement) rather than the other way around.
Hardware, accessories, and styling are last. They’re the layer that finishes the kitchen, not the layer that defines it.
Final Thoughts
The galley kitchen’s core advantage — everything close, nothing wasted — becomes visible only when the space is set up to serve the actual cooking and living that happens in it. Most of the ideas here work by either making better use of what’s already there (the full ceiling height, the end walls, the backsplash surface) or by removing what closes the space in unnecessarily (excess upper cabinets, poor lighting, mismatched finishes).
No single modification makes the largest difference on its own. But addressing lighting, cabinet upper zone, and the dominant color direction together tends to change how a galley kitchen feels more substantially than any individual upgrade.
Save any ideas that genuinely match your kitchen’s architecture — not just the ones that look best in photographs — and revisit this guide when you’re ready to plan the next step.