17 Walk-In Shower Ideas That Feel Modern and Elegant
Frameless glass and a rain head get mentioned in almost every article about walk-in shower ideas, and neither one is actually the detail that makes a shower feel elegant rather than just expensive. The real differences show up in the grout lines, the drain placement, the material choices nobody photographs but everybody notices in person. Most of these ideas cost less than people assume and get skipped anyway, simply because they’re not the first thing anyone thinks of when picturing a nice shower. This list covers both the obvious upgrades and the specific details that actually separate a genuinely elegant shower from one that just looks like it in a listing photo.
1. Choose Frameless Glass Over a Framed Enclosure
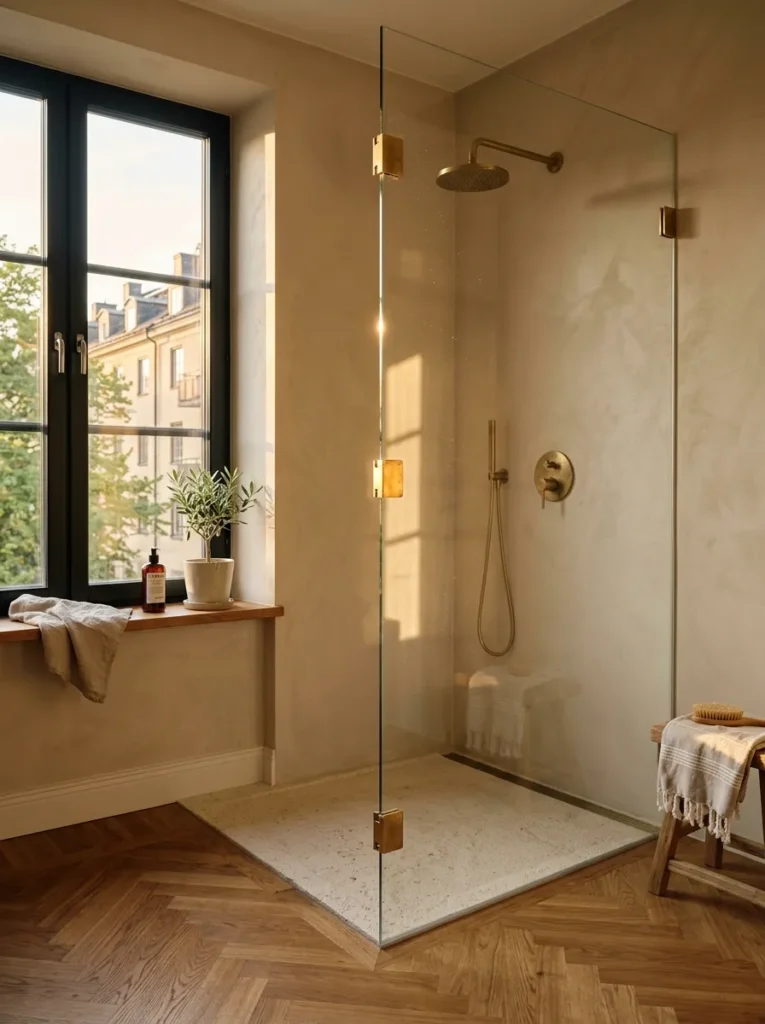
A framed shower enclosure interrupts the sightline with metal edges at every panel, which reads as dated the moment you compare it side by side with frameless glass. Frameless panels, held with minimal brushed or unlacquered brass clips rather than a full metal frame, let the eye travel straight through to the tile and fixtures behind it. This costs more upfront. It’s also the single change most likely to make an older bathroom look renovated even if nothing else changes.
2. Tile in Large-Format Slabs, Not Small Mosaic
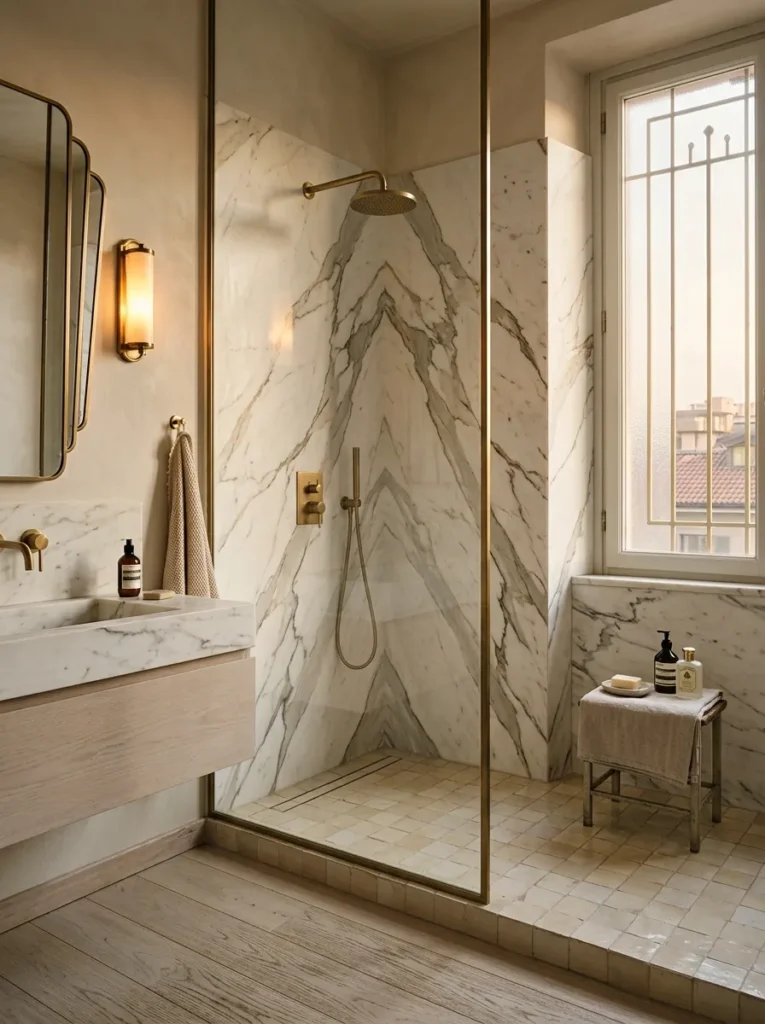
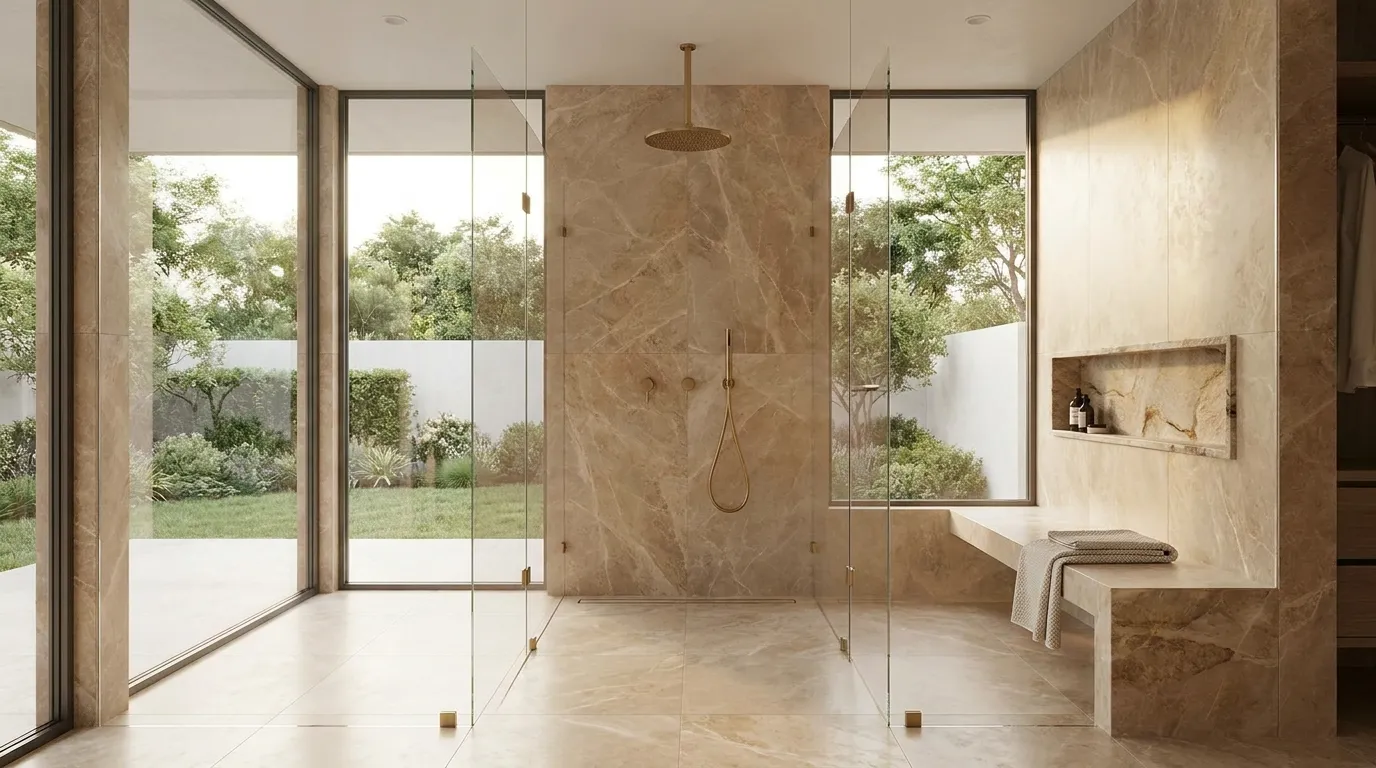
Small mosaic tile means more grout lines, and more grout lines means more visible seams and more cleaning for the rest of the shower’s life. Large-format porcelain or honed stone slabs, some as large as 120 by 240 centimetres, minimize grout lines to the point where a shower wall can read as a single continuous surface. Most people default to smaller tile because it feels more traditional. It’s actually the harder option to maintain.
3. Mount the Rain Shower Head Flush to the Ceiling
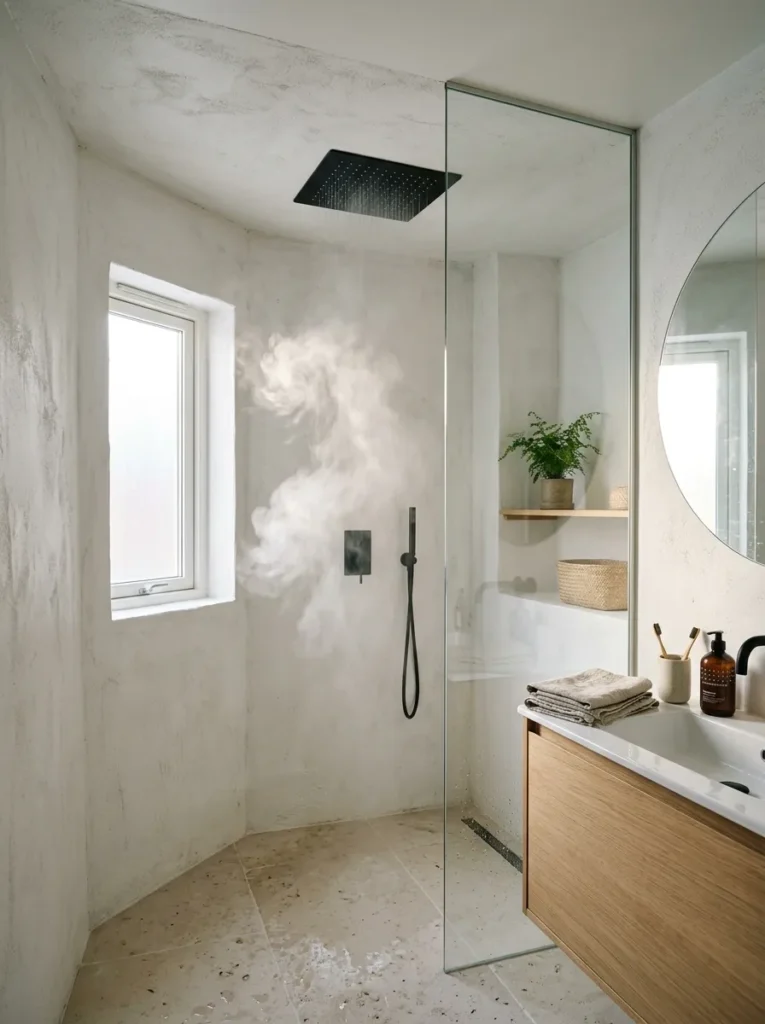
A shower arm extending down from the ceiling breaks up the sightline and adds one more thing to clean mineral deposits off of. A ceiling-flush rain head, recessed directly into the surface above, delivers the same water coverage without a single visible pipe. Steam curls up around the fixture’s edge on a hot shower, catching whatever light comes through the window, which is the kind of detail that makes a bathroom feel considered rather than simply renovated.
4. Build a Curbless, Zero-Threshold Entry
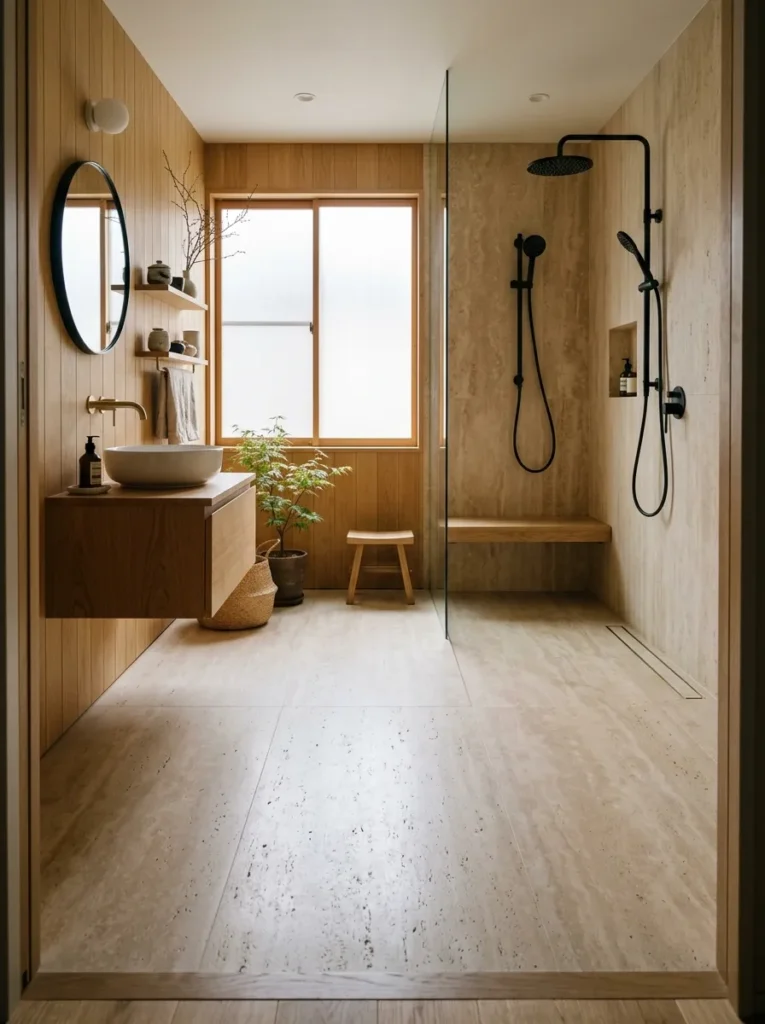
A raised curb at the shower entrance is a tripping hazard and a visual break between the shower floor and the rest of the bathroom. A curbless entry, with the shower floor gently sloped toward a drain instead of contained behind a lip, lets the entire bathroom floor read as one continuous surface. This is a bigger plumbing job than most of the ideas on this list, and it’s worth the cost if you’re renovating rather than just updating fixtures.
5. Recess a Niche Instead of Adding a Caddy
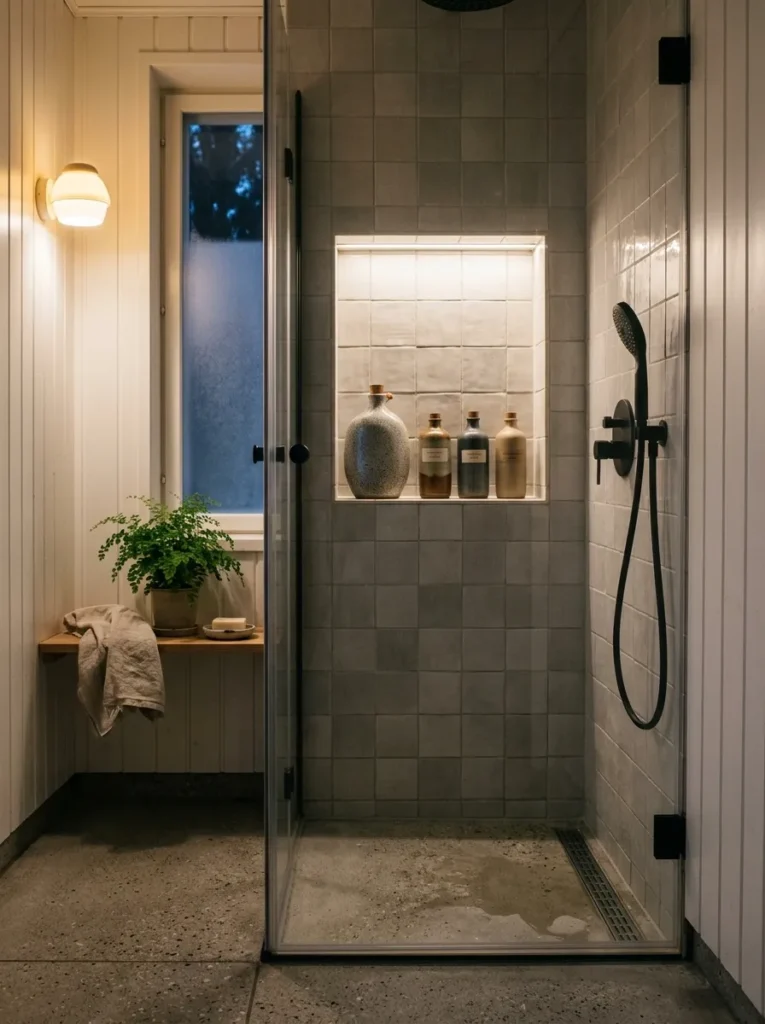
A hanging wire caddy is the fastest way to make an otherwise elegant shower design look like a rental unit. A niche built directly into the wall during construction, tiled to match the surrounding surface and lit from within if the budget allows, holds the same bottles with zero visible hardware. Size it at least 30 centimetres wide and deep enough for a standard bottle to sit without tipping — anything smaller becomes frustrating within a week.
6. Install a Floating Bench, Not a Built-In Ledge
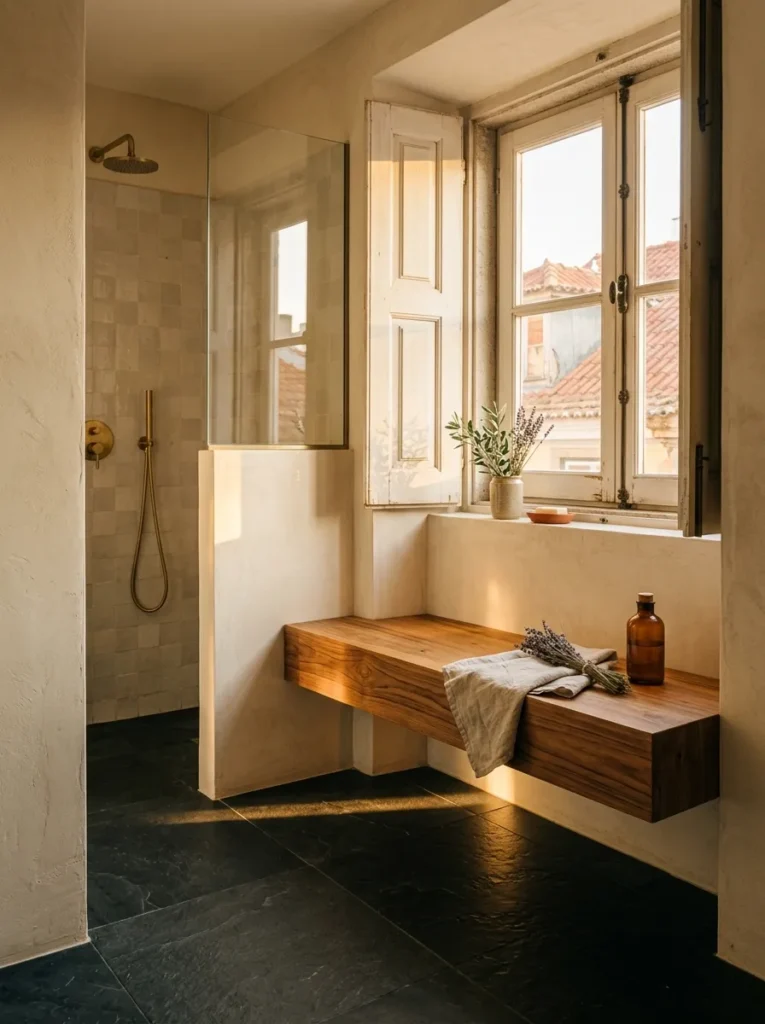
A built-in tile ledge running the width of the shower can look bulky and dated fast. A floating bench in honed stone or teak, cantilevered from the wall with no visible support beneath it, does the same job while keeping the floor space below visually open. That’s not just a style preference — it also makes the floor easier to clean, since there’s no corner underneath collecting water and grime.
7. Choose Unlacquered Brass Fixtures Over Chrome
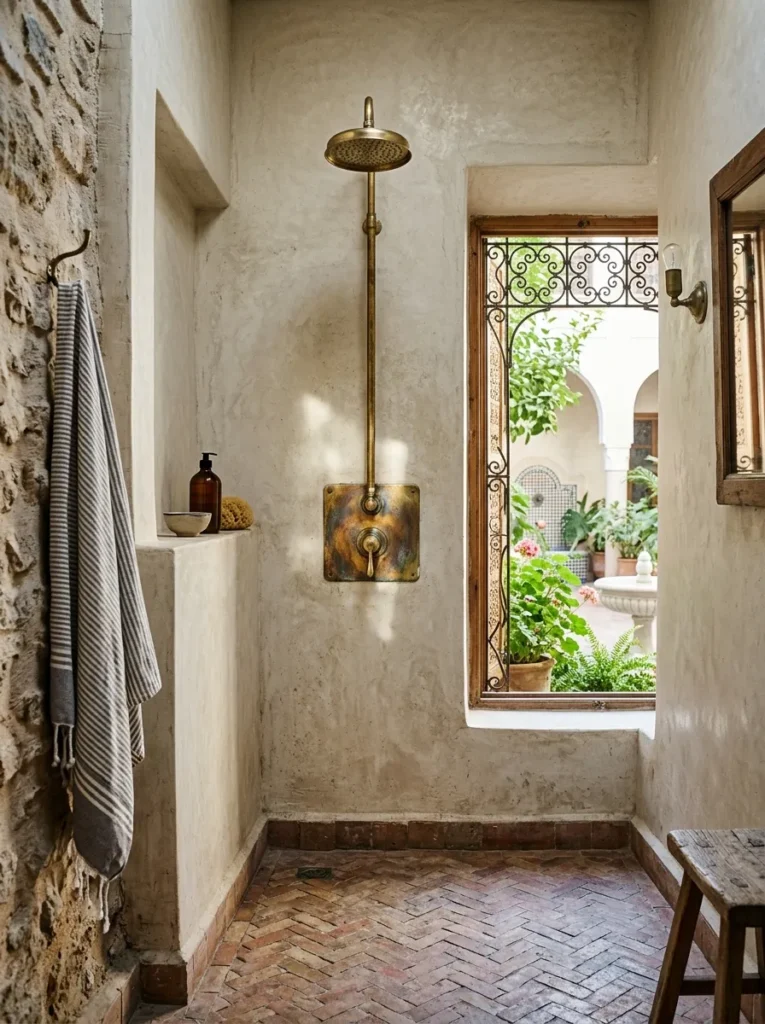
Chrome fixtures look sharp for about a year and then show every water spot permanently, no matter how often you wipe them down. Unlacquered brass ages into a warm, variegated patina instead of looking simply dirty, which means the fixture actually improves with the exact kind of daily use that ruins chrome. This is the decision that changes everything about how a shower photographs five years in, not just on installation day.
8. Install a Linear Drain Along One Wall
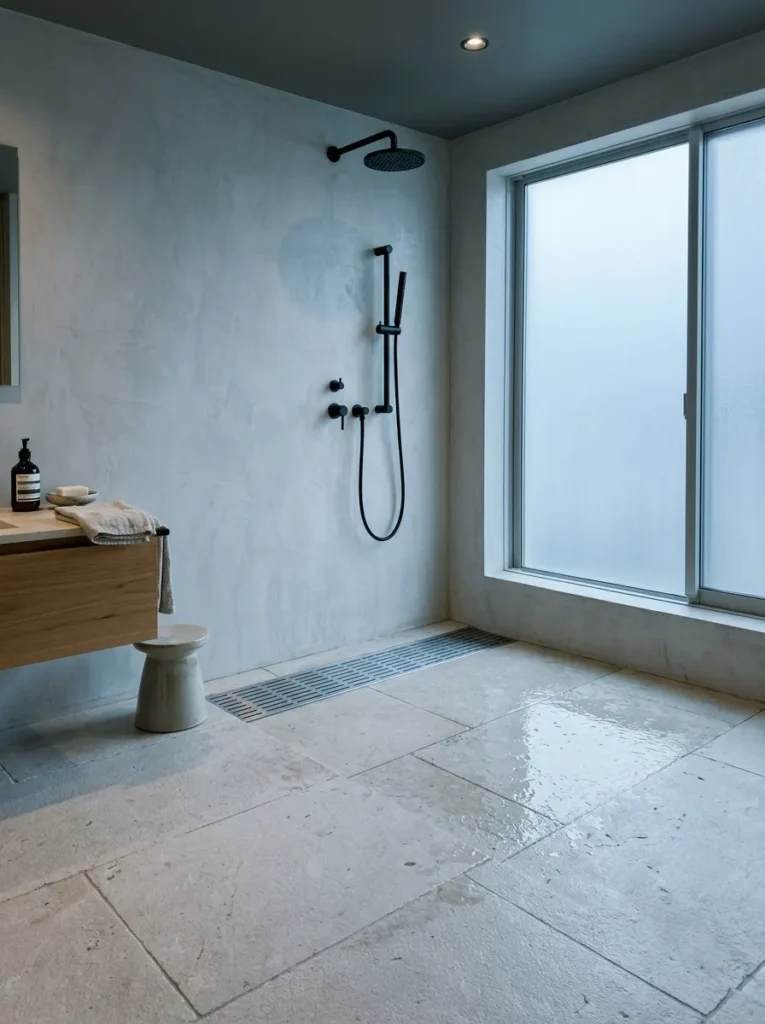
A center drain forces the entire shower floor to slope toward a single point, which limits tile layout options and often results in an oddly shaped floor plan. A linear drain running along one wall lets the floor slope in one direction only, opening up the option for large-format tile without complicated cuts around a round drain cover. It’s a small hardware choice with a genuinely large impact on how clean the finished floor looks.
9. Use Natural Stone for the Shower Floor
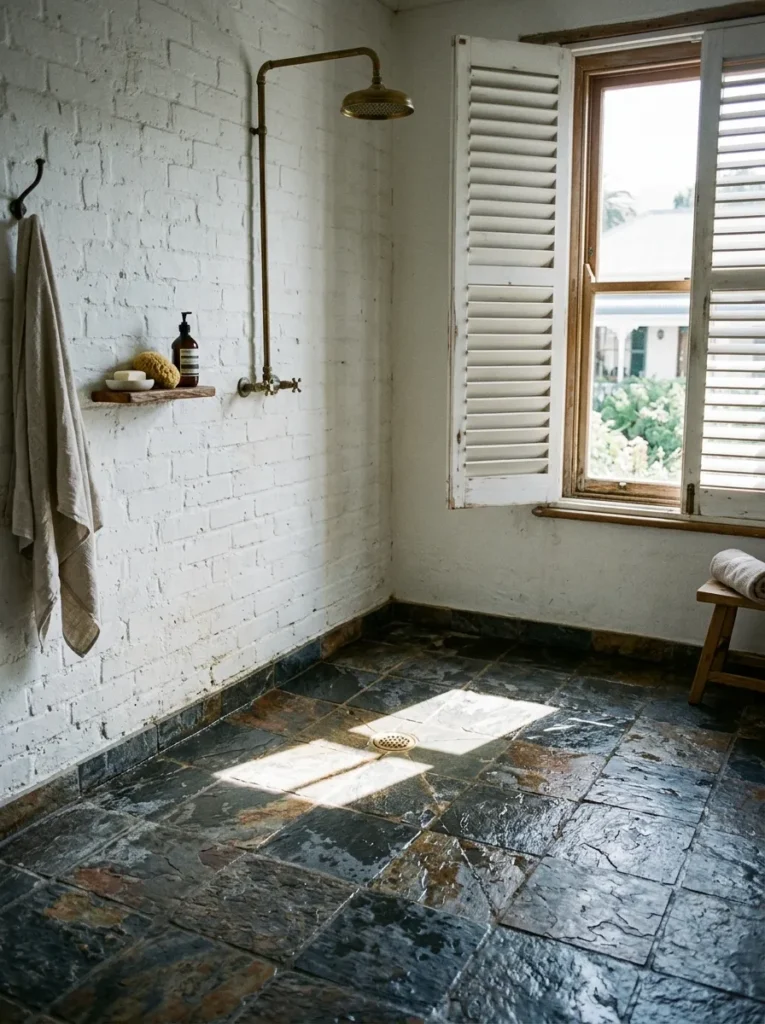
Manufactured tile can mimic stone convincingly from a distance, but underfoot the difference is obvious within the first step. Honed slate or travertine on the shower floor stays cooler and grippier than most porcelain alternatives, and the natural variation from tile to tile is exactly the kind of imperfection that makes a walk-in shower idea feel high-end rather than uniform. Seal it properly and it’ll outlast most of the other finishes in the bathroom.
10. Add Body Jets as a Secondary Water Source
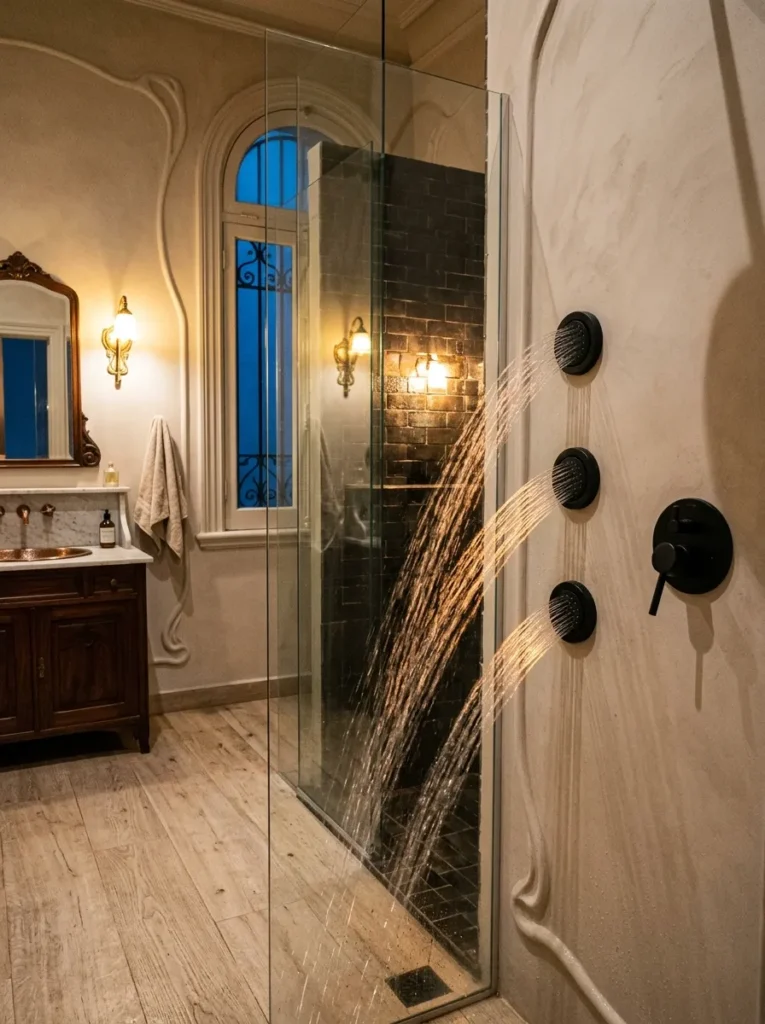
A single shower head, however nice, is doing one job. Two or three body jets mounted at torso height along the wall add a second layer of water pressure aimed specifically where a rain head from above can’t reach. This is a genuinely indulgent addition, and also one most people forget to ask for until the plumbing’s already finished and it’s too late to add cheaply.
11. Add a Skylight Directly Above the Shower
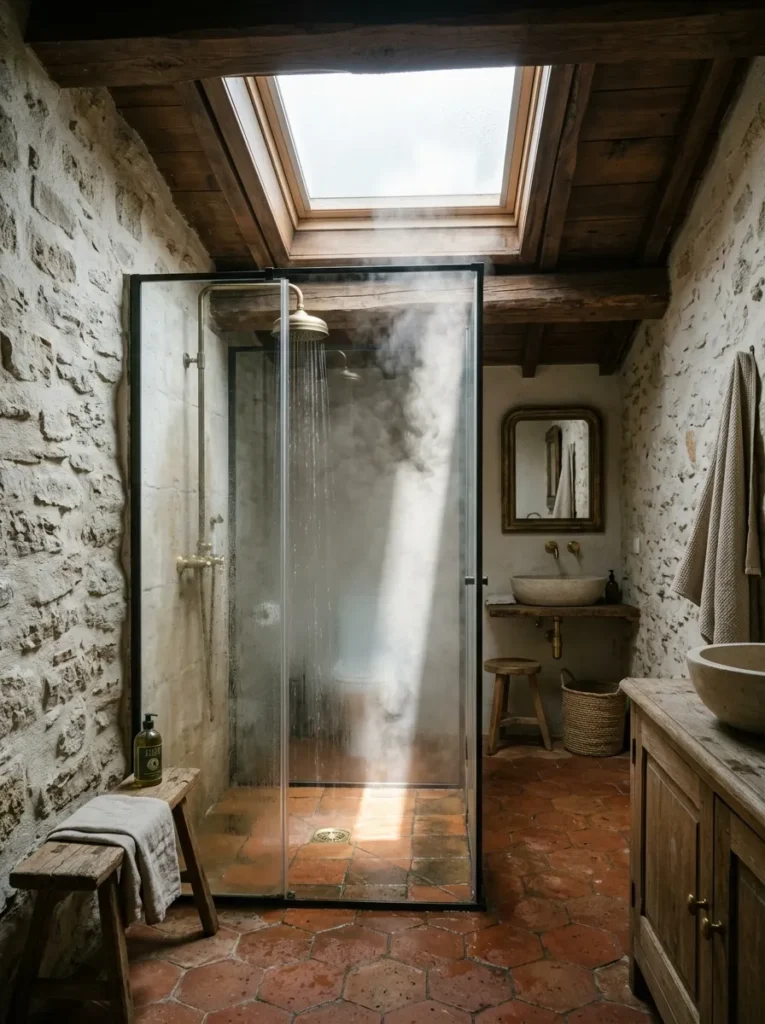
Natural light inside a shower does something no fixture can replicate — it changes throughout the day instead of staying static. A skylight positioned directly above the shower, fitted with frosted or ribbed glass for privacy, brings in daylight that shifts from a soft grey in the morning to a warm gold by late afternoon. Most bathrooms only ever get artificial light. This is the fix for that, assuming the roofline cooperates.
12. Install Dual Shower Heads for Two People
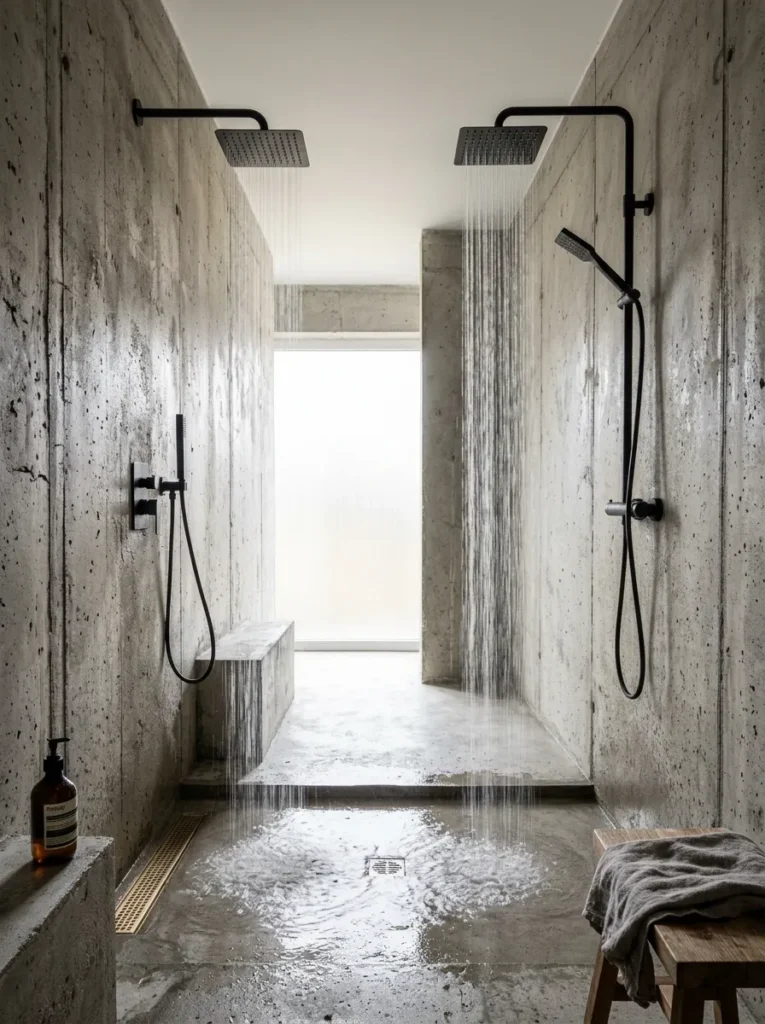
A single shower head in a shared household means someone’s always waiting their turn or awkwardly sharing water pressure. Two independently controlled shower heads on opposite walls let both people shower at once without either one getting shortchanged on temperature or pressure. This works best in a shower at least 150 centimetres wide — anything narrower and the two zones start to overlap in a way that defeats the purpose entirely.
13. Use Fluted or Reeded Glass for Privacy Without Frosting
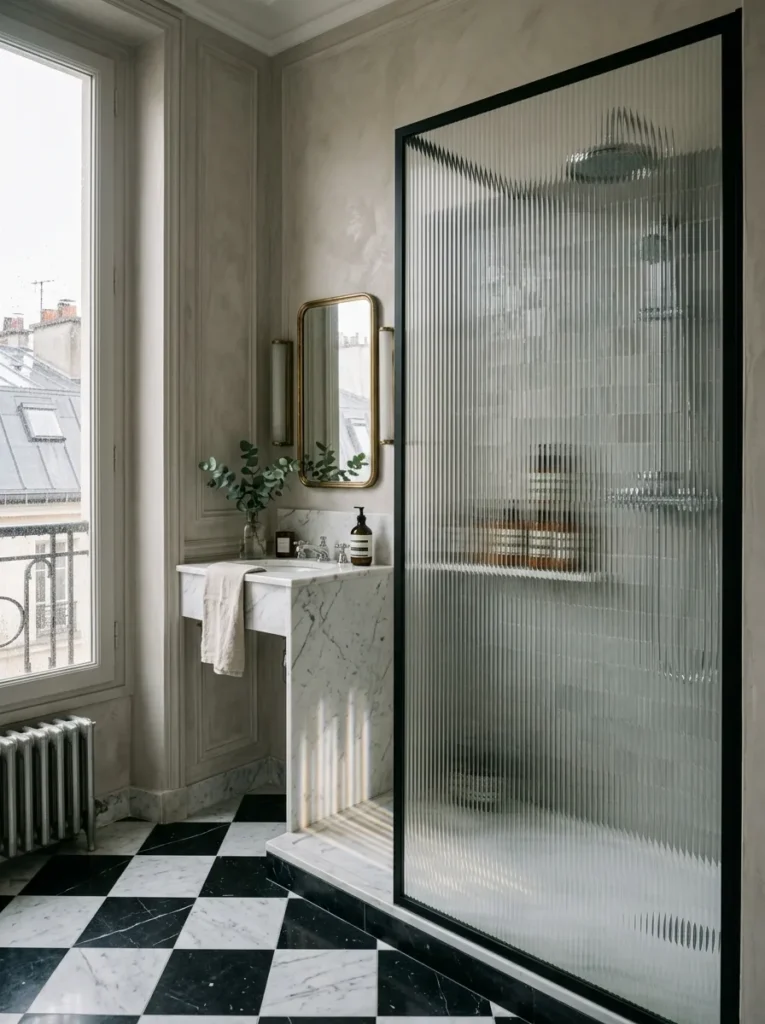
Fully frosted glass blocks the view completely and also blocks most of the light passing through it, which can make a shower feel sealed off from the rest of the bathroom. Fluted or reeded glass distorts the view just enough for privacy while still letting light pass through in soft, rippled bands. It’s the detail that shows up in almost every recently renovated modern shower design for a reason — it solves two problems chrome and frosted glass each solve only one of.
14. Add a Waterproof Pendant Light Inside the Enclosure
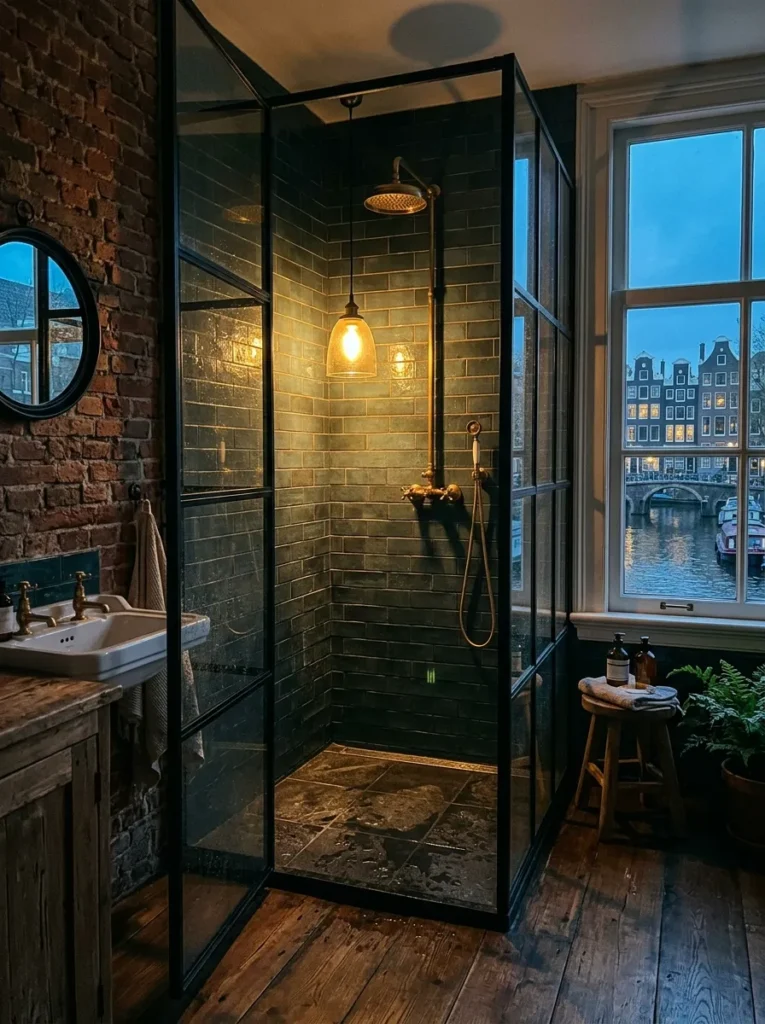
Most showers rely entirely on a single overhead can light positioned somewhere in the ceiling, which flattens the space the same way it flattens a kitchen. A rated waterproof pendant, hung inside the shower enclosure itself, adds a warm point of light that a recessed can simply can’t replicate. Choose a fixture with a fully sealed housing and confirm the wet-location rating before installation — this is not a detail to guess on.
15. Run Tile Vertically to Raise the Perceived Ceiling Height
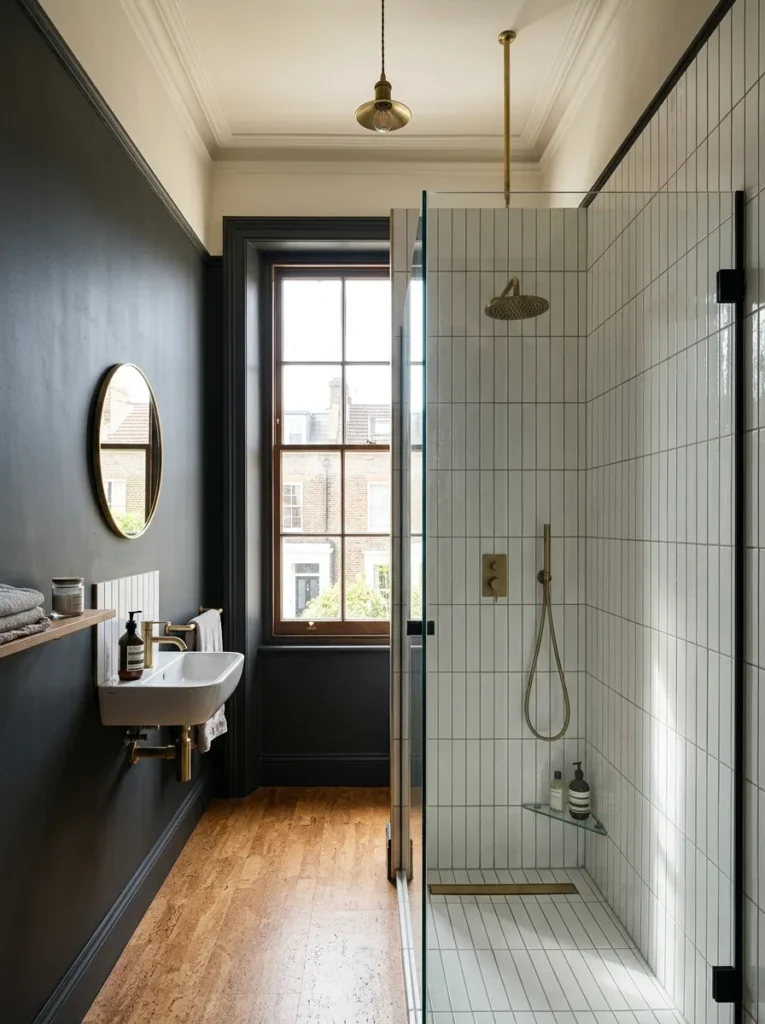
Horizontal tile lines draw the eye sideways and can make a shower feel wider but shorter than it actually is. Running the same tile vertically instead pulls the eye upward, which makes a standard eight-foot ceiling read as taller than it measures. This costs nothing extra in materials — it’s purely a layout decision, and it’s the kind of free upgrade most people never think to ask their tile installer about.
16. Build In a Steam Feature for a Spa-Level Upgrade
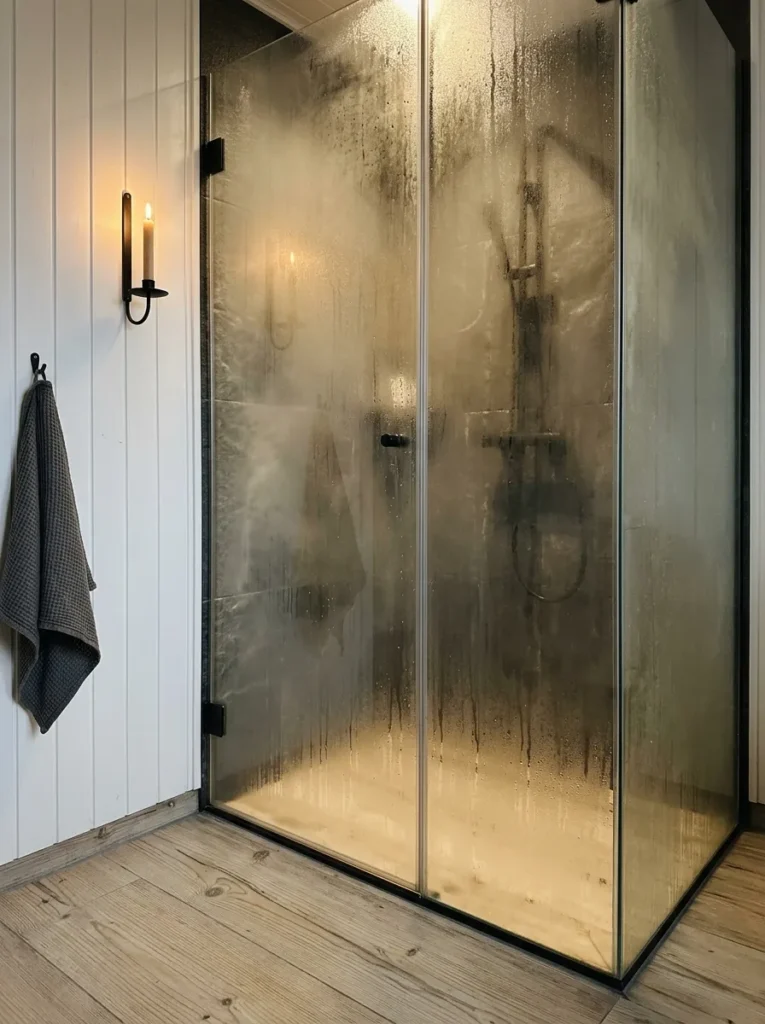
A steam generator connected to a sealed shower enclosure turns a daily shower into something closer to a spa treatment, and it requires a fully sealed door and ceiling, not just glass panels with gaps at the top. This is the most expensive item on this entire list, and also the one that changes the room’s function most dramatically. Skip it if the enclosure isn’t built to contain steam properly — a leaky steam room is a mold problem waiting to happen.
17. Leave One Wall of the Shower Completely Plain
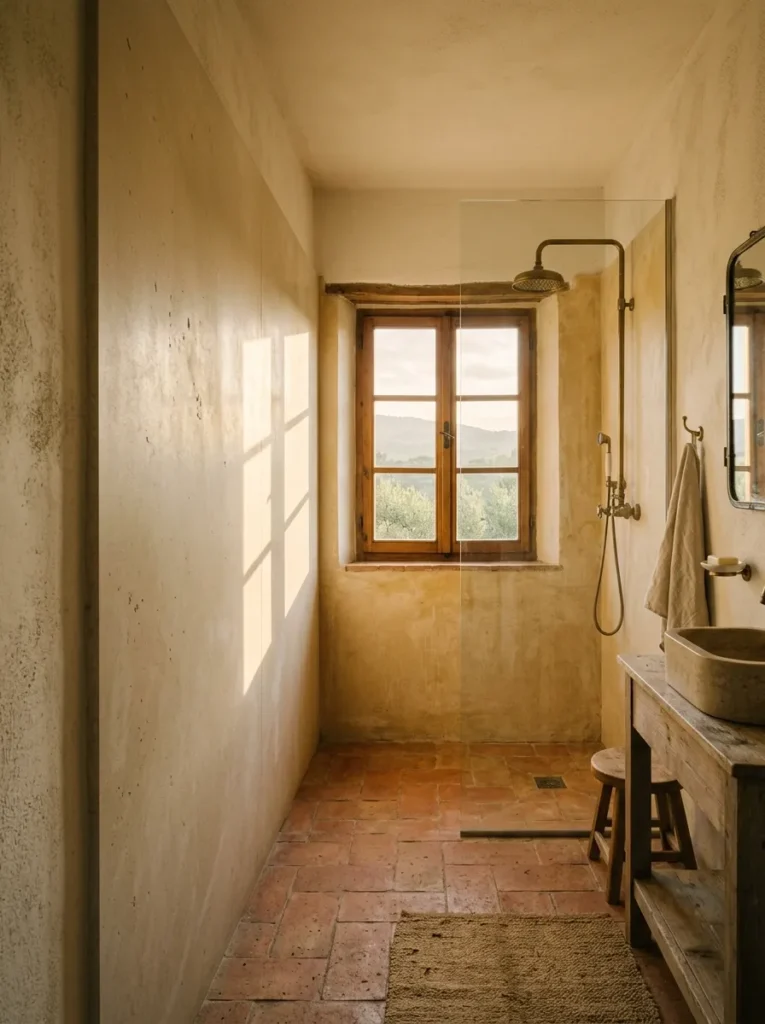
Here’s the one most lists skip entirely: a shower where every single wall has a niche, a bench, a feature tile, and a body jet stops feeling elegant and starts feeling like a showroom display crammed with options. Choosing one wall to leave entirely plain — just tile, no hardware, no niche — gives the whole enclosure a place for the eye to rest, the same way a bare wall works in a living room. Most people try to maximize every surface in the shower because the square footage feels precious. The better move is leaving one wall alone on purpose.
Final Thoughts
Seventeen upgrades is more than any single renovation needs to include, and trying to add all of them will run the budget past what most bathrooms can justify. Start with the changes that affect daily use the most — the frameless glass, the ceiling-mounted rain head, the curbless entry — since those are the ones you’ll actually notice every single day rather than only when guests visit. From there, layer in the finish details like the niche, the linear drain, and the vertical tile, which cost less but still shift how considered the whole space feels. The best walk-in shower ideas were never really about adding every possible feature at once; they’re about choosing the handful that solve a real daily annoyance in your specific bathroom. Get those right, and the room will feel finished long before every wall does.
Save these walk-in shower ideas for your next bathroom renovation.