22 Kitchen Cabinet Organization Ideas That Reduce Clutter
Most kitchen cabinet organization problems aren’t solved by buying more organizers — they’re created by it. A cabinet filled with turntables, shelf risers, drawer dividers, and door-mounted racks that don’t fit the actual dimensions of the space or the habits of the people using it is more chaotic than a cabinet that was never organized at all.
What works in kitchen cabinet organization has a specific order: edit first, then zone, then organize, then maintain. Most articles skip the first two steps and go directly to product recommendations. That’s why the systems look great in a photo and revert to chaos within a few months.
These 22 kitchen cabinet organization ideas follow the correct sequence. The first four ideas are foundational — they should happen before any product is purchased. The ideas that follow are organized by cabinet type and function. The final three ideas address the maintenance that determines whether the system lasts. Following the order matters as much as following the ideas themselves.
1. Edit Before You Organize — Remove What Doesn’t Belong First
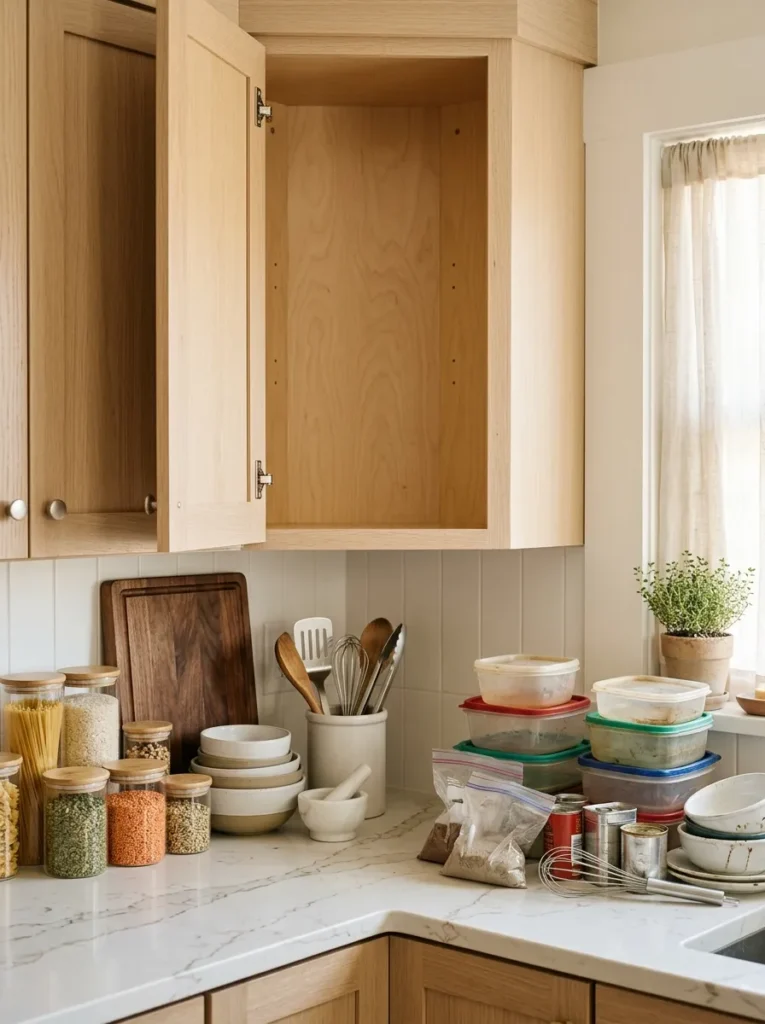
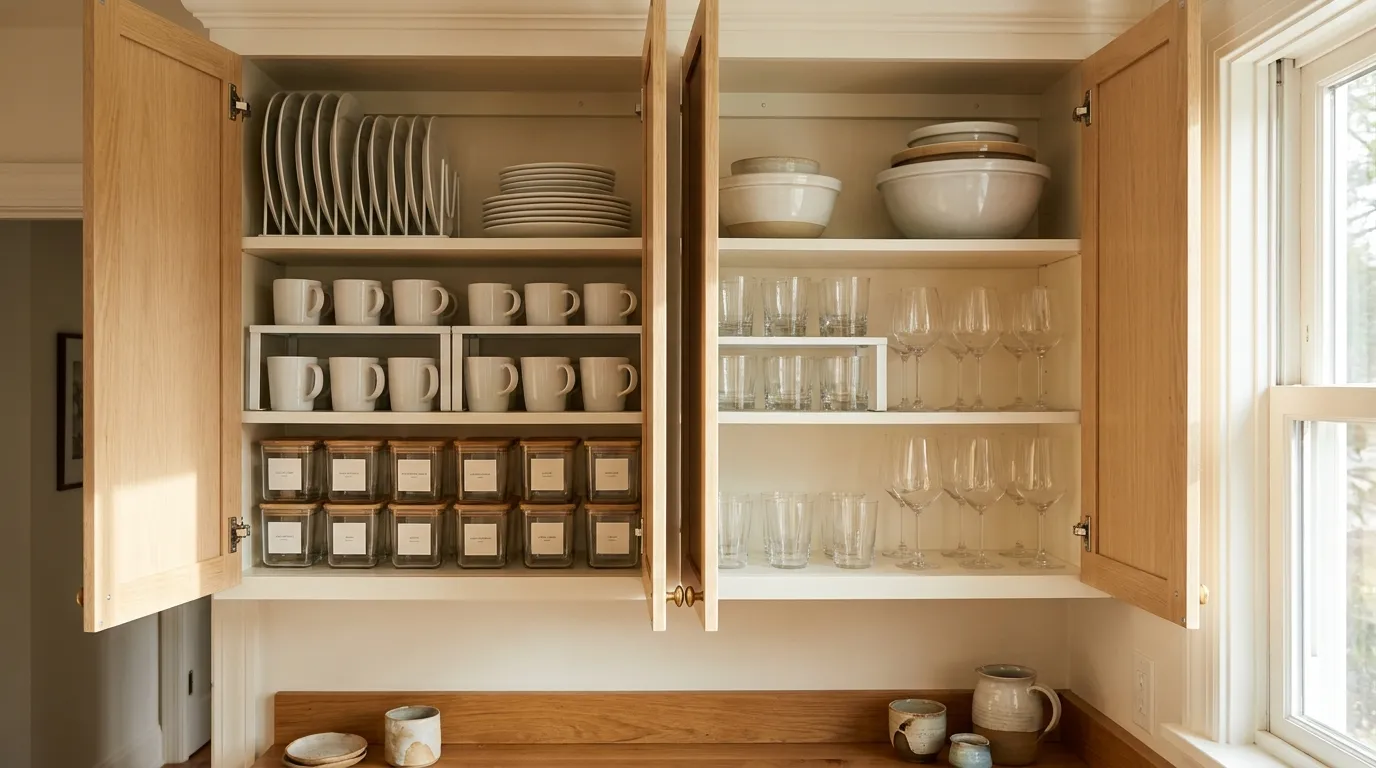
The most productive hour you can spend on kitchen cabinet organization is not organizing anything. It’s editing: removing every item from every cabinet, assessing each one honestly, and returning only the things that genuinely belong there. What leaves during a real edit: expired goods, duplicates beyond a practical quantity, items that migrated from other rooms and found temporary homes that became permanent, specialty tools bought for a single recipe and never used again, and anything that hasn’t been used in the past year.
The edit creates the space that makes any organizing system possible. Trying to organize a cabinet that contains 30 to 40 percent unnecessary items is why most systems fail — they’re managing too much in too little space from the start. The simple test: if the cabinet still feels overcrowded after editing, something else needs to leave before any organizer is introduced. More belongings cannot be solved by more containers.
2. Apply Frequency-of-Use Logic Before Deciding Where Anything Lives
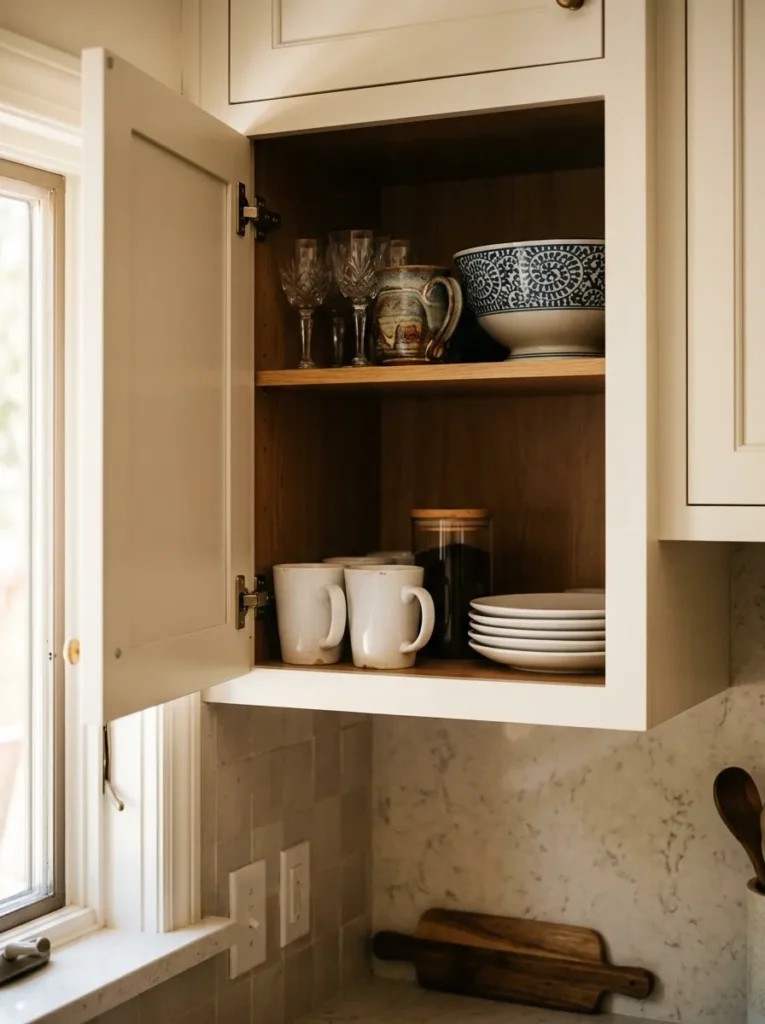
Every kitchen cabinet has a prime zone: the space accessible without stretching, bending, or moving anything in front of it. Items used once a day or more belong in this zone. Items used weekly can tolerate upper cabinet or lower cabinet positions that require a little more reach. Items used monthly or rarely can occupy the least accessible positions — the top shelf rear, the back of a deep base cabinet, the zone that requires a step stool.
The failure that makes kitchen cabinets frustrating to use is a straightforward one: daily-use items in hard-to-reach positions, and the prime zone filled with occasional-use items that happen to fit there. Apply the frequency test to every item — before deciding where it lives, not after. The coffee mug used every morning should be in the front of the most accessible cabinet. The twelve-person serving platter used three times a year can live at the back of the highest shelf.
3. Group Items by How They’re Used Together, Not by Category Alone
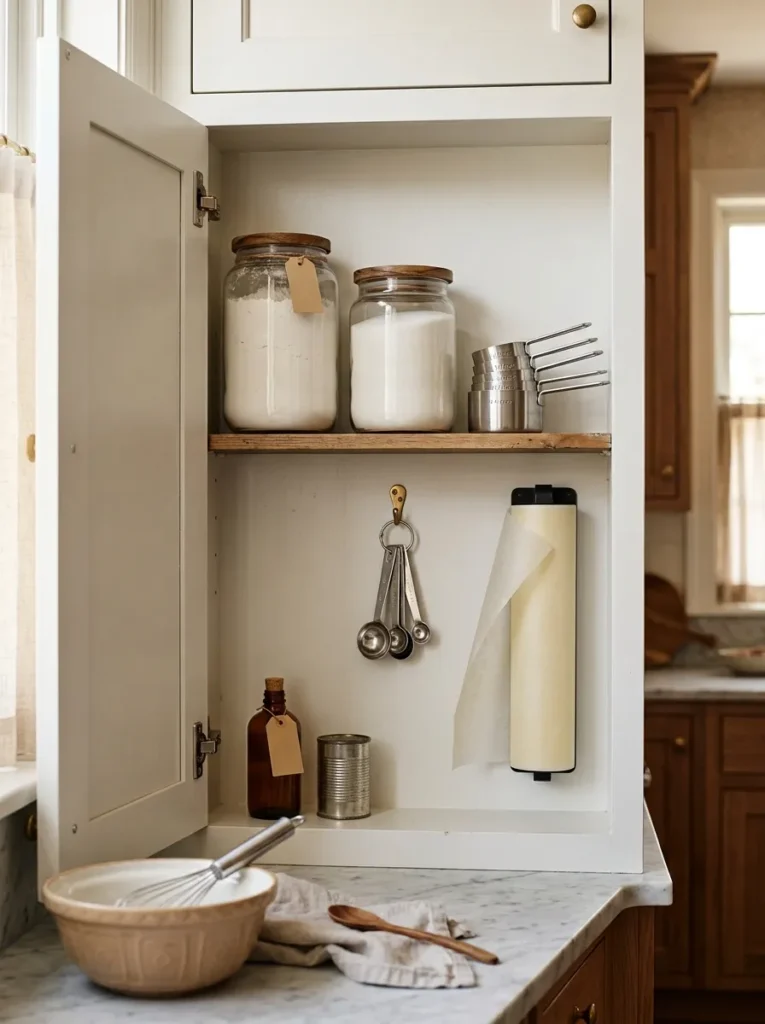
The instinct in kitchen organization is to group by object type: all plates together, all storage containers together, all baking items together. This is a reasonable starting point, but task-based grouping refines it and makes the kitchen work better during actual cooking. The items used in the same session belong together even when they’re technically different categories.
A baking zone cabinet holds measuring cups, dry ingredients, mixing bowls, parchment paper, and vanilla extract together — not because they’re the same type of object, but because a standard baking session needs all of them within the first ten minutes. Without a baking zone, every baking project involves opening five different cabinets before work begins, which both extends prep time and spreads mess across the kitchen. A coffee zone with mugs, coffee, and filters eliminates the morning scatter across three different storage locations. Group by task first, then by category within the task.
4. Measure Every Cabinet’s Dimensions Before Purchasing Any Organizer
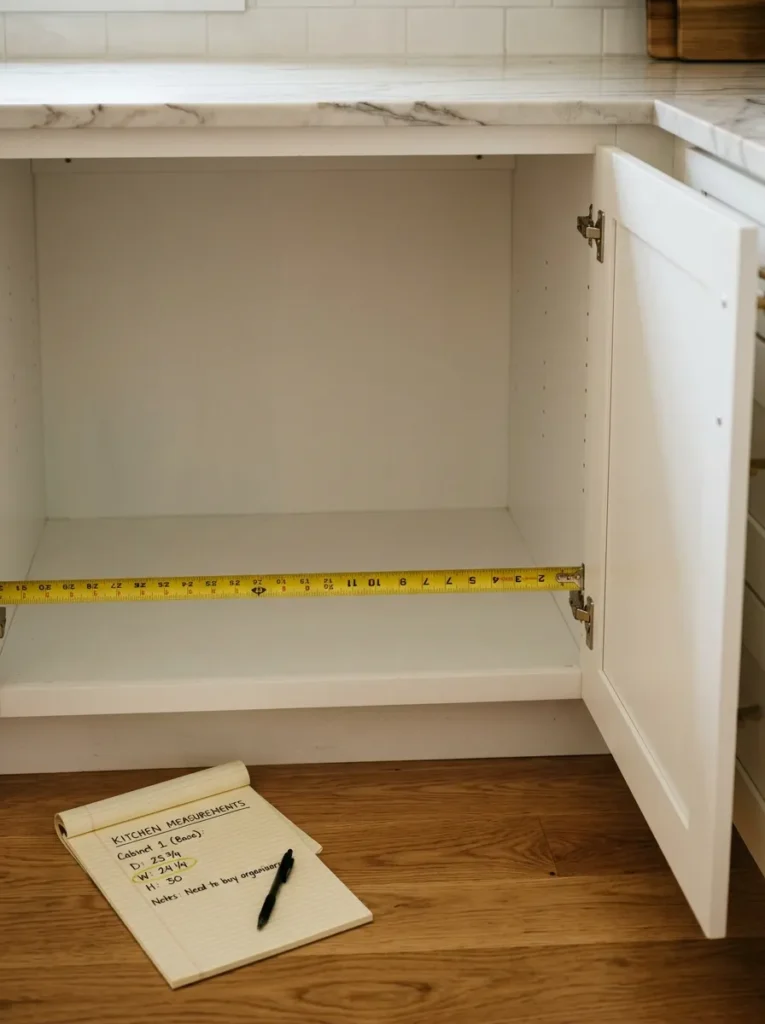
The single most preventable organizing mistake — and the most common — is buying organizers based on a listing photo rather than cabinet measurements. A turntable that extends a quarter-inch beyond the cabinet depth becomes a door that won’t close. A shelf riser that’s an inch too tall makes the items above it unreachable. A pull-out drawer designed for a 12-inch base cabinet doesn’t fit a 15-inch one. An under-sink organizer that doesn’t account for the drain pipe or the garbage disposal sits on the shelf unused.
Before purchasing anything: measure the interior width, depth, and height of every cabinet you plan to organize. Measure at the narrowest point — many cabinets have hinges, door stop molding, or wall irregularities that reduce usable width from what the nominal measurement suggests. Record every measurement. Keep them on your phone or in a note in your wallet when you go shopping. This single step eliminates the most expensive and time-consuming organizing mistake.
5. Use Shelf Risers Inside Upper Cabinets to Create a Second Level
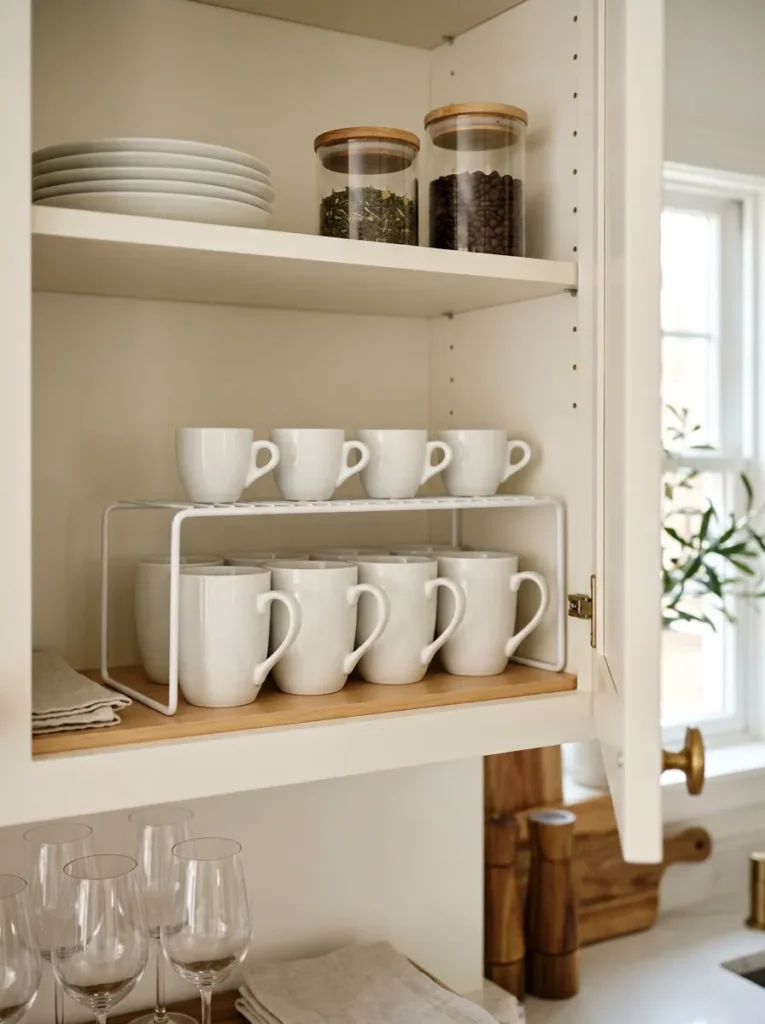
Most upper kitchen cabinets have fixed shelves spaced for the tallest item the cabinet might ever need to hold. The result: items of normal height sit on the shelf with 4 to 6 inches of empty airspace above them, and a second row of items gets stacked loosely on top of the first, making the back row completely inaccessible. A shelf riser converts that wasted airspace into a genuine second level, doubling the usable surface area of the shelf without adding any cabinet hardware.
Shelf risers work best in upper cabinets holding items of consistent height: mugs, glasses, bowls, small plates, or jars and cans of similar size. Measure the under-shelf height before purchasing to confirm the riser will fit with sufficient clearance above whatever is placed on it. Coated wire risers allow visual continuity between levels and are easy to wipe clean. Solid acrylic risers are more visually streamlined and suit kitchens where the cabinet interior is visible from the room.
6. Store Plates and Baking Sheets Vertically, Not in Horizontal Stacks
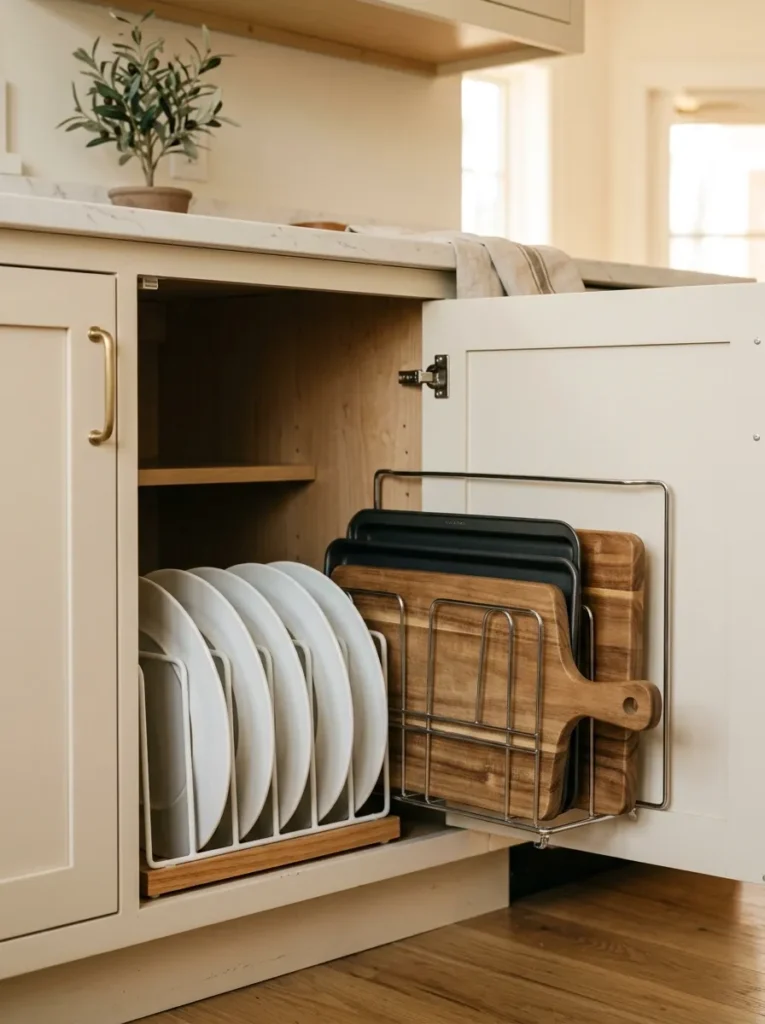
Plates stored horizontally in stacks have one consistent failure: the item needed is always at the bottom. Removing a single plate from a stack of eight means moving the top seven — or balancing the stack against your body while fishing out the one underneath. The practical result is that only the top two or three plates in any stack get regular use, and the rest accumulate at the bottom, untouched.
A vertical plate rack stores each plate upright and individually accessible, like books on a shelf. Each plate comes out independently without disturbing the others. Baking sheets, cutting boards, sheet pans, and serving boards have the same problem and the same solution: a file-style vertical organizer in the base cabinet where they’re stored allows each item to be grabbed individually from the front. This is one of the highest single-impact changes available in a kitchen cabinet without any hardware modification.
7. Organize Mugs and Glasses by Daily Use, Not by Visual Matching
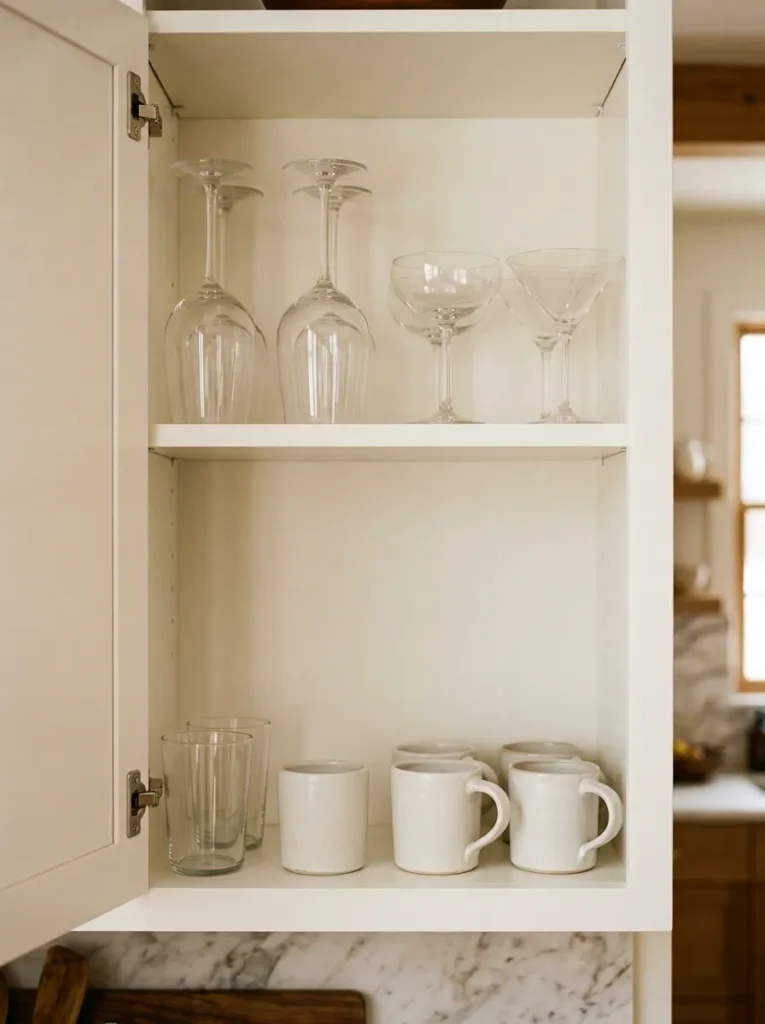
Most households have considerably more mugs and glasses than are used on any regular basis. A cabinet that stores all of them treats the two mugs used every morning as equivalent to the seven mugs used occasionally, which means the daily-use items are buried behind the occasional ones. The visual result is a cabinet that feels full of choice and provides little of it on a daily basis.
The functional approach: keep only the mugs and glasses in active daily rotation in the most accessible cabinet. Store specialty and occasional-use glasses — cocktail glasses, large holiday mugs, decorative pieces — in a higher or less central cabinet. Position the everyday drinking glasses in the cabinet closest to the dishwasher: this is the natural return point after washing, and the convenience of that proximity eliminates the common habit of leaving clean glasses on the counter because the cabinet feels too far away.
8. Add a Mounted Rack to the Inside of a Cabinet Door for Lightweight Items
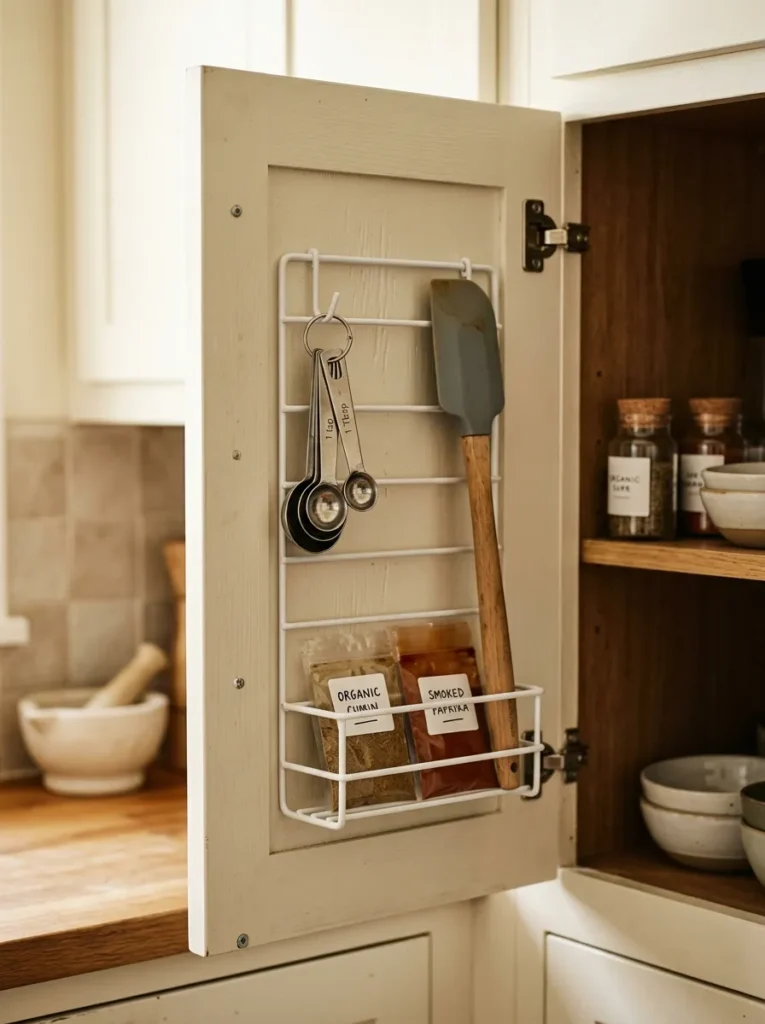
The interior surface of a cabinet door is wasted space in most kitchens. A shallow mounted rack on the door interior provides a storage zone for flat, lightweight items that otherwise drift around on shelves — measuring spoon sets, small silicone spatulas, foil and plastic wrap boxes, seasoning packets, flat lids for a specific pot.
The practical check before purchasing: the rack depth cannot exceed the door clearance — the distance between the closed door and the nearest shelf behind it. Most cabinet door racks are designed within typical clearance tolerances, but confirm this measurement before purchasing, especially in cabinets where very deep shelves reduce the gap between door and shelf. Wire racks on coated metal brackets are the most durable option. Adhesive-mounted acrylic holders work on most painted cabinet door surfaces without drilling and can be repositioned if the initial placement isn’t right.
9. Install Pull-Out Drawer Inserts to Make Deep Base Cabinets Accessible
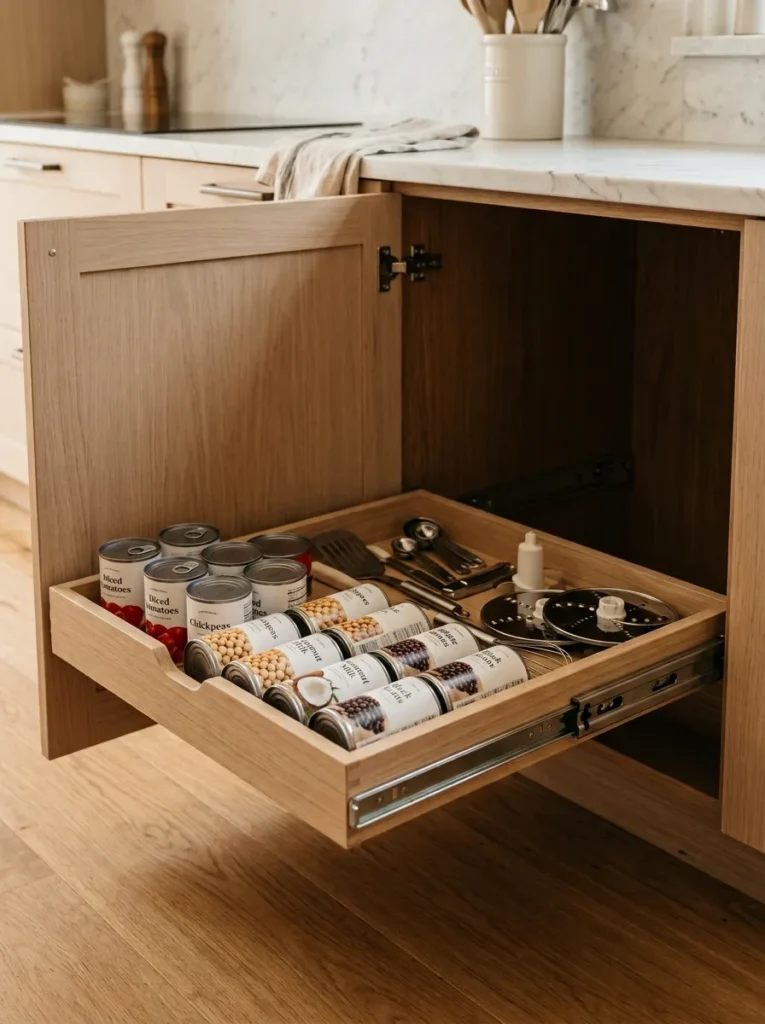
The deep base cabinet — standard depth 24 inches — is the most consistently wasted storage space in a kitchen. Whatever gets placed toward the back requires bending over and reaching in while simultaneously moving whatever is in front of it. Items in the back of deep base cabinets are functionally invisible: they exist, but retrieving them costs more effort than the item justifies, so they stay at the back while the front gets reorganized around them.
A pull-out drawer insert — a sliding tray on a roller mechanism installed inside the existing cabinet — converts this accessibility problem into a solved system. Everything in the cabinet comes forward when the tray is pulled out rather than requiring a reach into the back. Retrofit pull-out inserts are available for standard cabinet widths without requiring cabinet replacement, and installation typically requires only a screwdriver and 30 minutes per cabinet. This single change has the highest functional impact per dollar of any organizer in a kitchen with deep base cabinets.
10. Use Drawer Dividers in Every Kitchen Drawer Without Exception
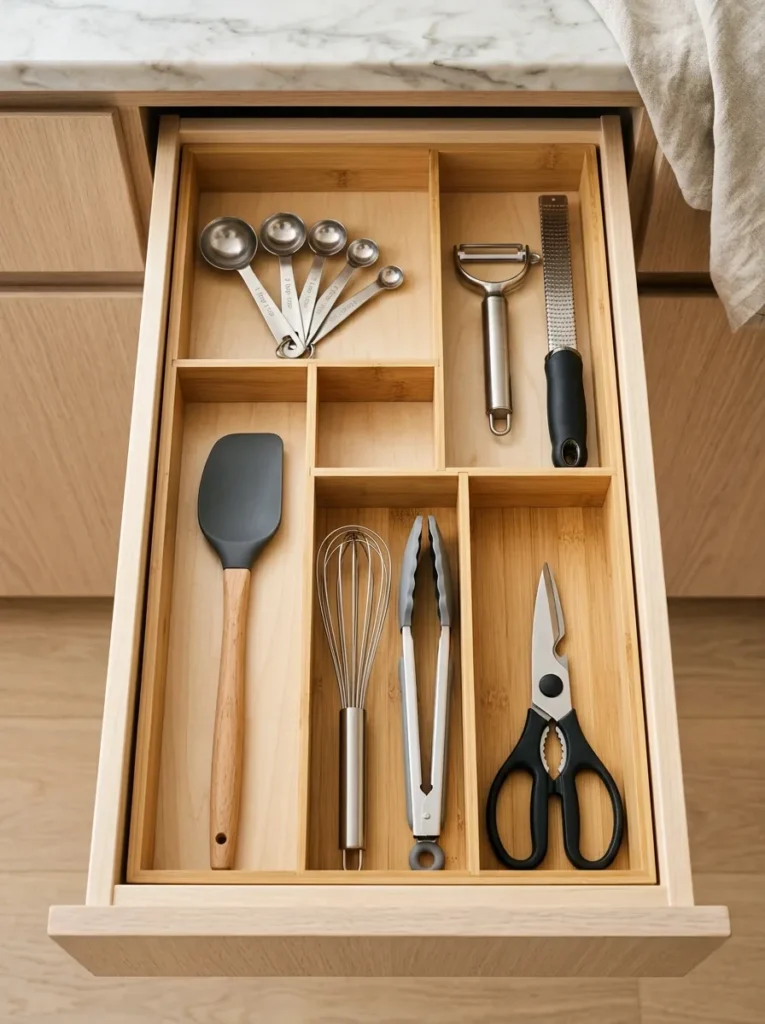
An undivided kitchen drawer is an entropy machine. No matter how carefully it’s initially organized, without physical dividers, items migrate toward the center and the back during use, smaller items end up beneath larger ones, and retrieving any specific item requires moving everything else first. The system collapses within a week of the initial organizing session and never fully recovers.
Drawer dividers — expandable bamboo, interlocking acrylic, or cut-to-fit wood — prevent this migration by giving every category a fixed, contained location. The system works best when sections are category-exclusive and precisely defined: one section for measuring spoons, one for peelers and zesters, one for tongs, one for silicone spatulas. Not “one section for small things.” The more specifically defined each section, the lower the cognitive barrier to returning an item correctly. A general section requires a decision; a specific one does not.
11. Store Pots and Pans Vertically with Dividers Instead of in a Tower
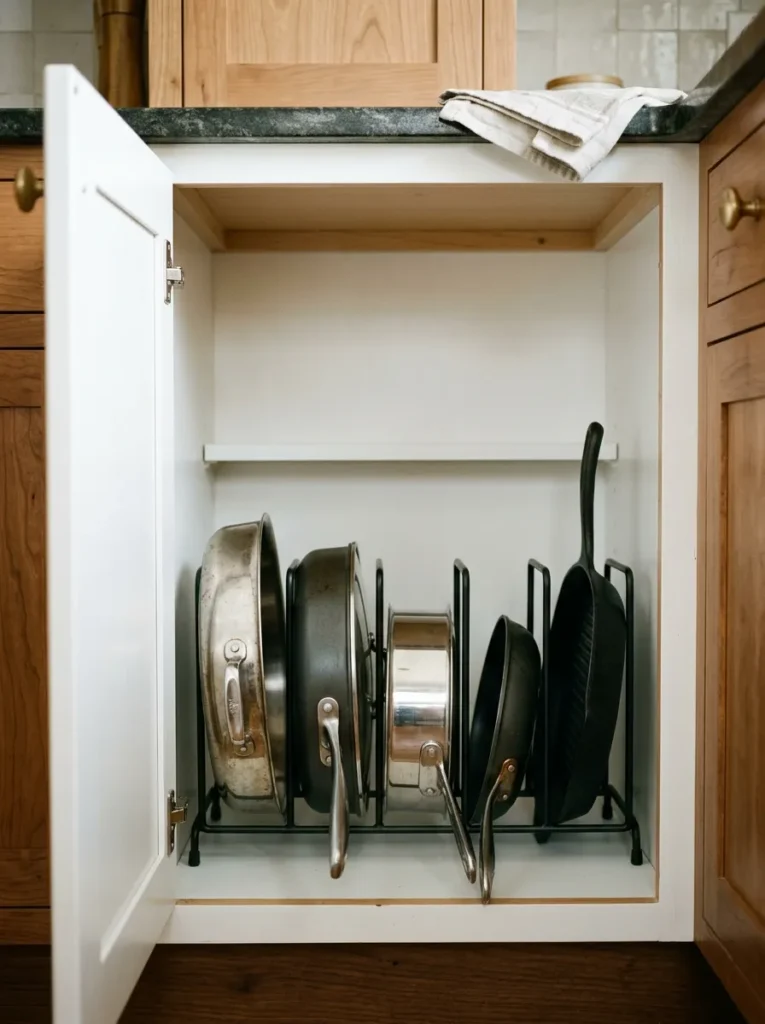
A tower of stacked pots and pans is one of the most universal kitchen cabinet frustrations. The pot needed is always underneath three others. Removing the top pots means balancing them against a cabinet wall or the adjacent counter while reaching for the one at the bottom. The tower collapses when unstacking and refuses to reassemble cleanly when restacking. The cast iron skillet at the bottom of the stack hasn’t been used in three months because reaching it once was enough to discourage a second attempt.
Vertical pan storage — a pan organizer with vertical dividers, or a deep drawer with vertical file-style inserts — gives each pan its own independent slot accessible without moving any other. Dividers at 2-to-3-inch intervals hold most pan widths securely upright. Nesting is still appropriate for matching graduated sets like saucepans — but each nest should be limited to two or three pans maximum, not the full set stacked six high.
12. Store Pot Lids in a Dedicated Rack Rather Than Inside the Pots
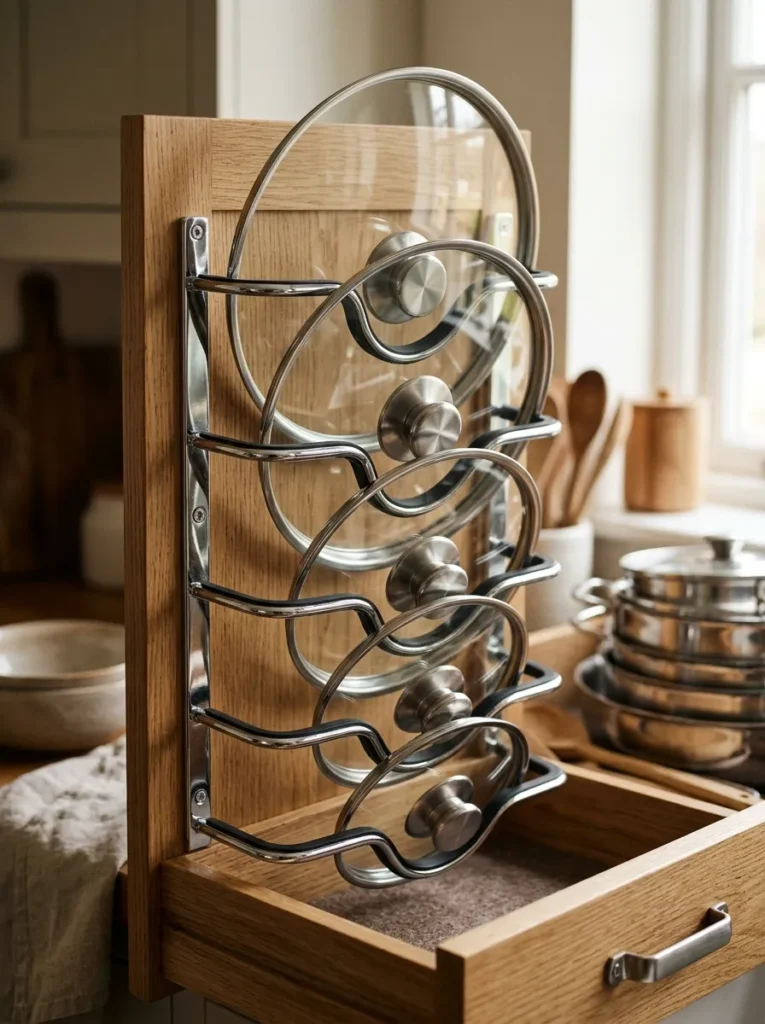
Pot lids are among the most organizationally difficult kitchen items because they don’t stack, they don’t store reliably inside the pots, and they slide on any flat surface. Most people resolve this by balancing them on top of stacked pots or floating them loosely in a cabinet, which contributes directly to the pot cabinet becoming the most chaotic zone in most kitchens — and the one most likely to produce an avalanche when the door is opened quickly.
A dedicated lid organizer with vertical slots — mounted on a cabinet door, positioned in a deep drawer, or placed on a shelf beside the pot storage — gives each lid an individually accessible vertical position. Finding the right lid requires one glance rather than dismantling the cabinet. Rubber-edged slot dividers grip the lid rim and prevent lateral sliding. This is one of the lowest-cost, highest-impact organizational improvements available in a kitchen and one of the most consistently overlooked.
13. Decant Dry Goods into Clear, Uniform Containers in Pantry Cabinets
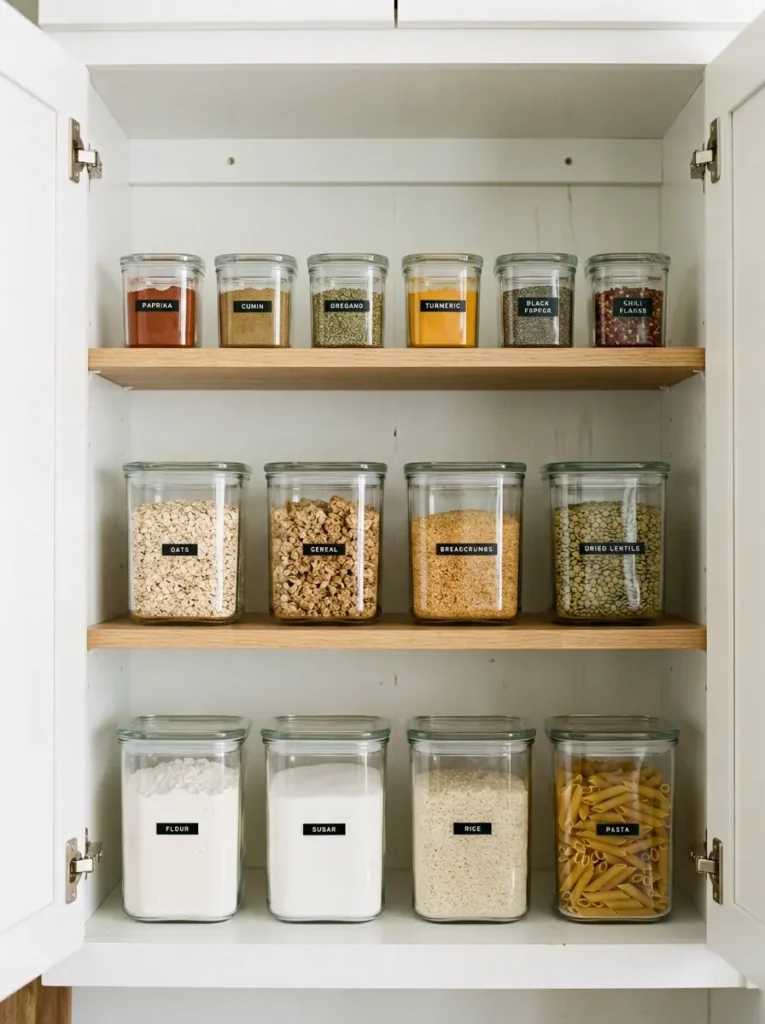
Pantry shelves stocked in original packaging — bags that don’t reseal cleanly, boxes that collapse when half-empty, cans in inconsistent heights, chipclip-sealed bags of inconsistent size — are visually and practically chaotic regardless of how often they’re tidied. The decanting approach transfers dry goods into a uniform set of clear containers, which solves several problems simultaneously: the containers stack and align predictably, quantities are visible at a glance without opening anything, and the shelf reads as organized whether it was tidied this morning or two weeks ago.
The system only delivers the visual benefit when the container set is genuinely uniform — same brand, same shape, same lid type. Mixed containers from different sets recreate visual inconsistency even when each individual piece is high quality. For shape: square and rectangular containers tile the shelf surface without the wasted corner gaps that round containers leave. Label each container with the contents. Clear containers holding items with distinctive colors or textures may not require labeling, but consistent labeling prevents incorrect items being added by anyone else in the household.
14. Solve the Corner Cabinet with a Lazy Susan or Pull-Out System
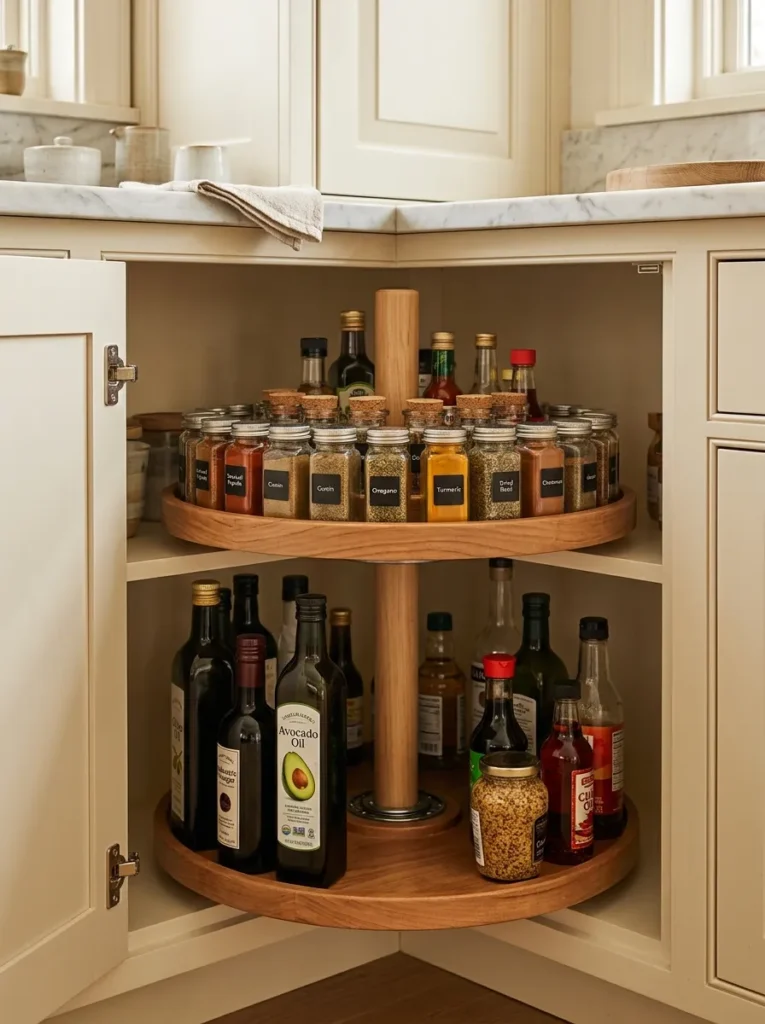
The corner cabinet is the kitchen’s most awkward storage zone. Its angular position and full depth mean whatever lives in its corners is functionally invisible — unreachable without removing everything in front of it and bending into the cabinet while searching blind. Most corner cabinets in American kitchens are substantially underused precisely because neither owners nor original installers addressed the accessibility problem, and items stored there simply stopped being retrieved.
Two solutions that genuinely work: a turntable lazy Susan (available in round and D-shaped configurations for standard and blind corner cabinets respectively) allows everything in the cabinet to rotate from the back to the front without reaching; a full-extension corner pull-out system brings the entire cabinet’s contents out toward you on a swing-out or slide-out mechanism. The right choice depends on whether the cabinet is a standard corner with partial front visibility or a blind corner where one cabinet runs behind another and the interior is completely inaccessible from the front.
15. Organize the Under-Sink Cabinet with a Tiered System Around the Plumbing
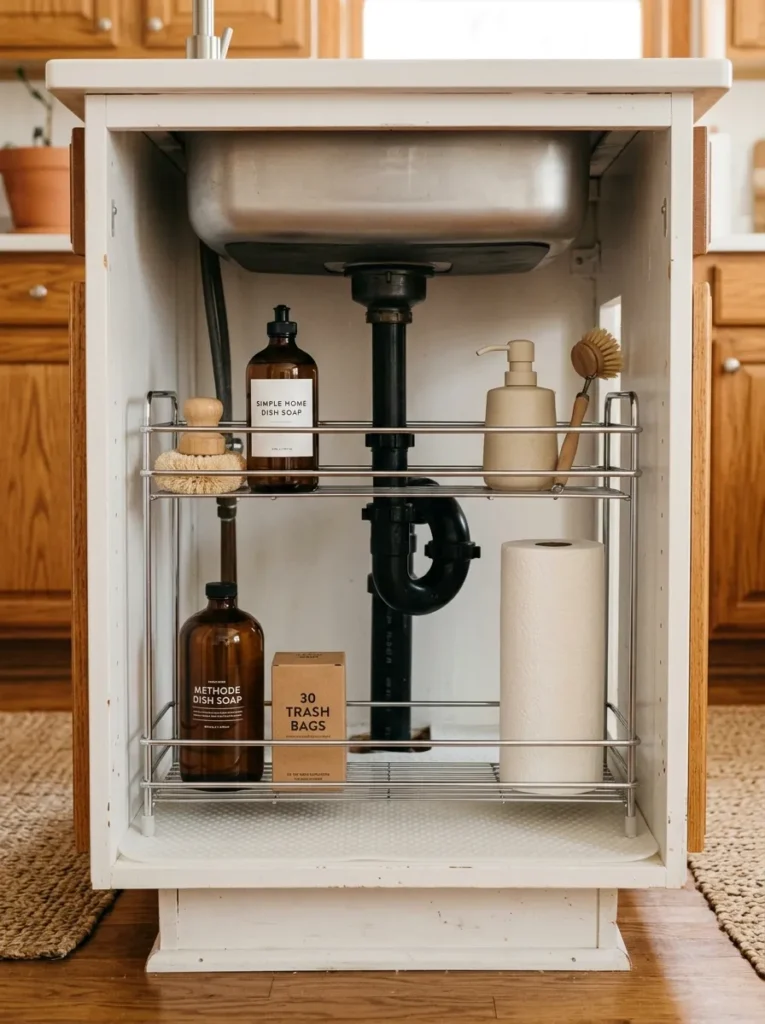
The under-sink cabinet is the most consistently disorganized storage zone in most kitchens, and the reason is physical: the plumbing runs through the center of the cabinet, creating two awkward compartments that standard shelves can’t span and standard bins can’t fit around. Most households default to dumping everything into a single layer around the drain pipe and calling it organized.
A tiered under-sink organizer with a notched or split-rail design that accommodates the drain pipe creates a genuine two-level system in each compartment. Upper tier: items used most frequently during daily kitchen cleanup — dish soap backup, scrub pads, a bottle brush. Lower tier: less frequently accessed cleaning supplies, trash bags, sponge backups. A waterproof silicone cabinet liner on the floor protects against the minor leaks that under-sink cabinets are periodically subject to and makes the cabinet interior easy to wipe clean. Measure the pipe diameter and position before purchasing any under-sink system — standard dimensions vary more in under-sink cabinets than in any other kitchen cabinet type.
16. Mount a Cleaning Supply Caddy on the Inside of the Under-Sink Door
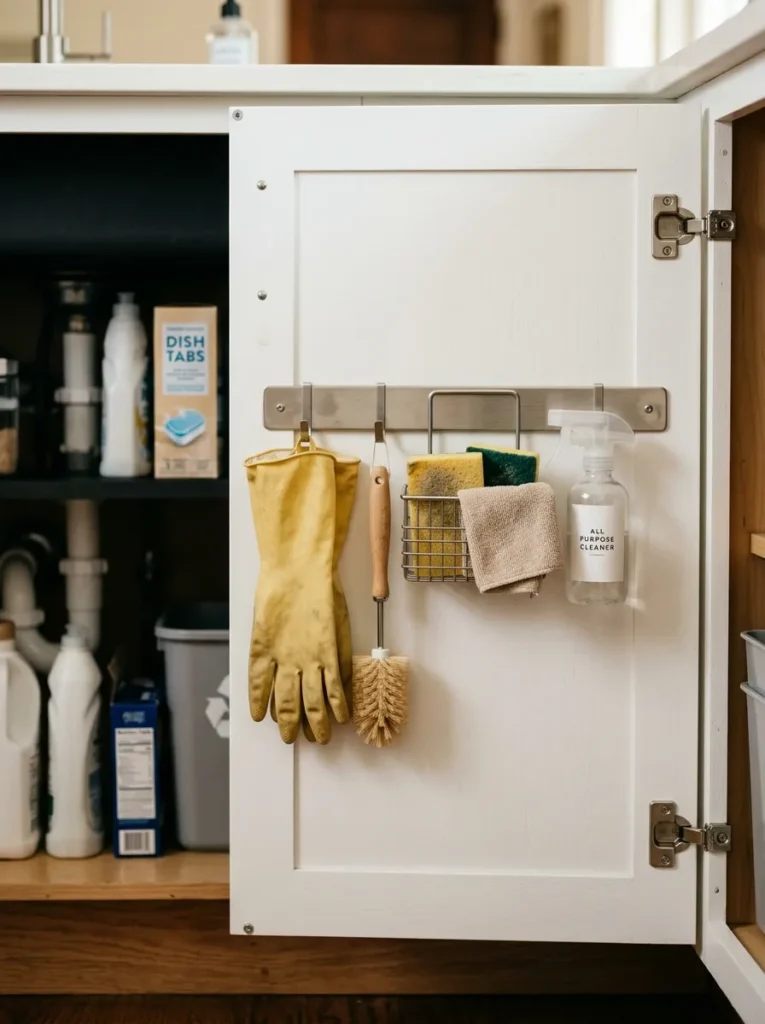
The under-sink cabinet door is the most underused storage surface in most kitchens, and it’s particularly valuable in this location because under-sink floor space is chronically limited by the plumbing. A mounted caddy or rail system on the door interior handles the items used most frequently during kitchen cleanup: rubber gloves, a bottle brush, a spare sponge, a bar of dish soap.
These items moved to the door free the cabinet floor for the taller bottles and bulkier supplies that don’t fit on a door. The caddy must fit within the door clearance — under-sink cabinets often have slightly less door clearance than upper cabinets because the depth of the plumbing fixtures reduces the interior. Adhesive-mounted rails and caddies work on most painted cabinet door surfaces without drilling. For rental kitchens, tension-mount systems that brace between the cabinet floor and the door interior require no adhesive or hardware.
17. Create a Dedicated Baking Zone Cabinet with Everything in One Location
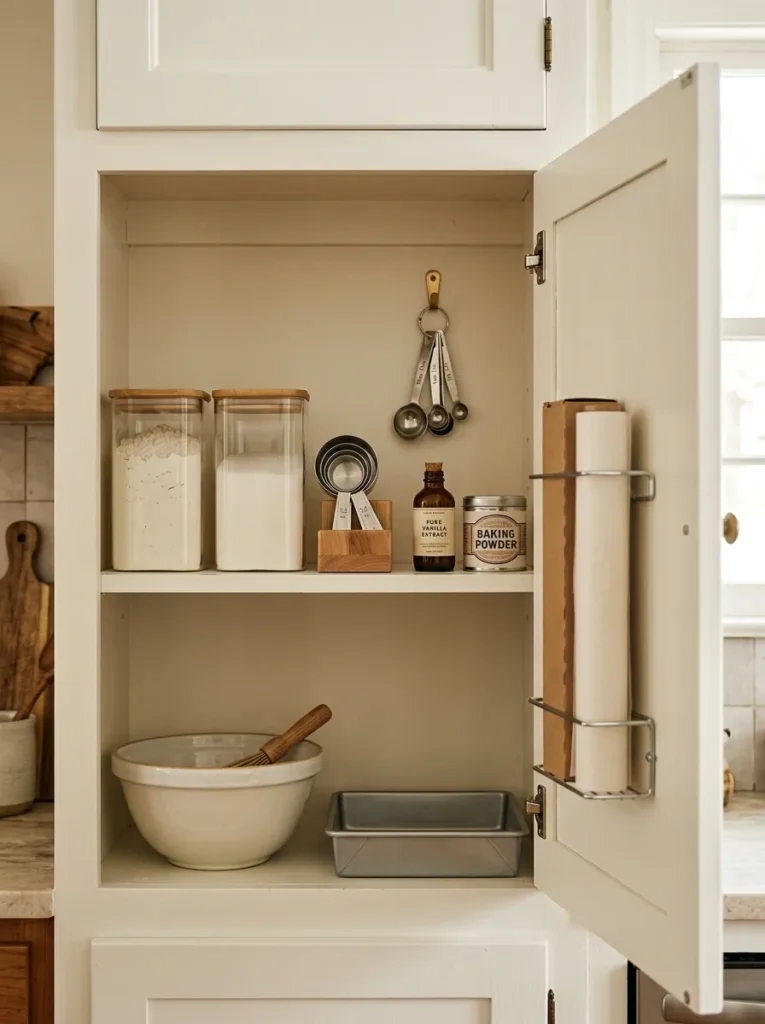
The kitchen task that raids the most cabinets in a single session is baking. Flour and sugar from the pantry cabinet, measuring cups and spoons from a drawer, mixing bowls from a lower cabinet, baking powder and vanilla from the spice area, parchment paper from a drawer beside the stove — a standard baking session typically opens five to seven storage locations before work begins.
A baking zone cabinet consolidates the items used in the majority of baking sessions: measuring cups and spoons, core dry ingredients (flour, sugar, baking powder, baking soda, vanilla extract, cocoa), mixing bowls if the cabinet accommodates them, and parchment and wax paper. It doesn’t need to hold every baking item — a complete holiday baking inventory can occupy a separate box in a higher cabinet. The everyday baking zone needs to hold the items that would be needed for a standard batch of cookies or a simple cake on a Tuesday evening, and nothing more.
18. Label Every Container and Every Cabinet Zone

Labeling is the step that determines whether a cabinet organization system maintains itself or gradually reverts to chaos over the following months. Without labels, the system depends on every household member remembering where each category lives — which works immediately after organizing, when the memory is fresh, and fails as habits drift and items are set down wherever is convenient rather than wherever they belong.
With clear, visible labels, the correct location is self-evident for every item and every person in the household, including anyone who didn’t participate in the organizing session. Restocking groceries becomes automatic: the label tells the person putting items away exactly where each category goes without requiring them to open every cabinet and guess. Invest in a label maker for consistency. Hand-written labels work functionally but look less deliberate over time, which subtly communicates that the system is less worth maintaining.
19. Use Uniform Containers Within Each Cabinet to Eliminate Visual Noise
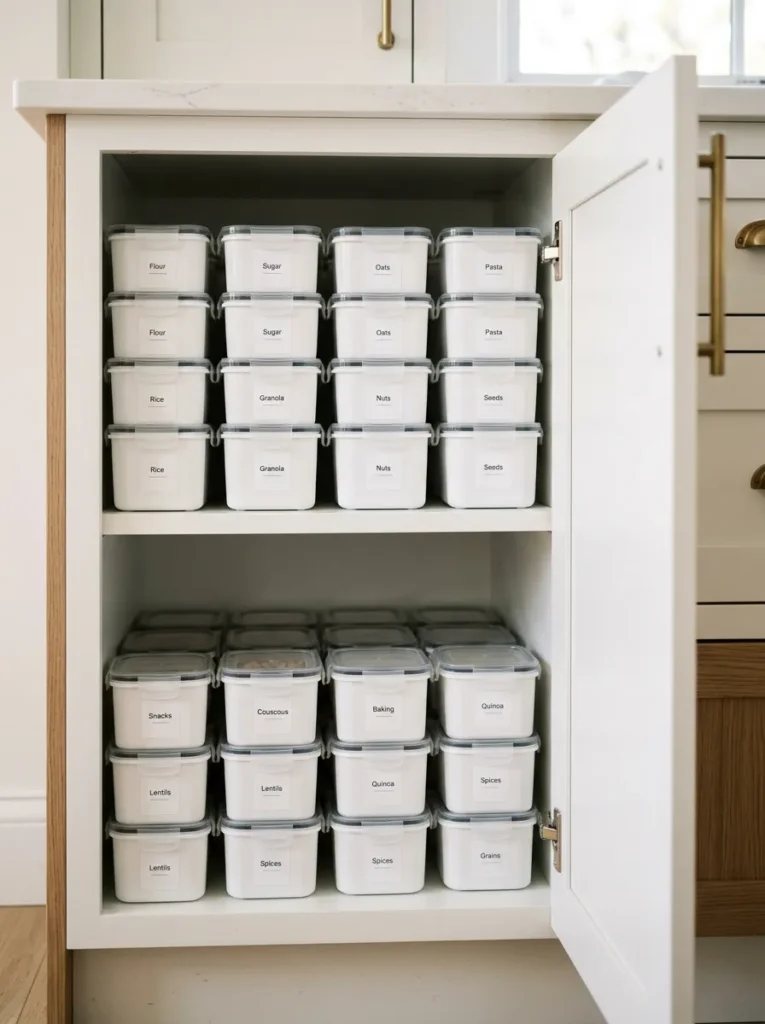
Visual chaos in an organized cabinet is almost always caused by container variety: canisters from different sets, bins of different heights, lids of different styles, baskets in different materials. Even when every item has a designated location, a cabinet with mismatched containers reads as disorganized because the visual inconsistency communicates that the storage decisions accumulated over time rather than being made intentionally.
Committing to a single container style within each cabinet — not necessarily the same across all cabinets, but consistent within each one — eliminates this visual noise. Uniform square or rectangular containers create aligned, predictable shelf surfaces that look as organized as they function. Shape matters practically as well: square containers leave no wasted corner gaps on rectangular shelves, while round containers of the same volume lose 20 to 25 percent of the shelf surface to the curved gaps between them. This difference adds up to a meaningful increase in total shelf capacity.
20. Leave Intentional Empty Space Rather Than Filling Every Available Inch
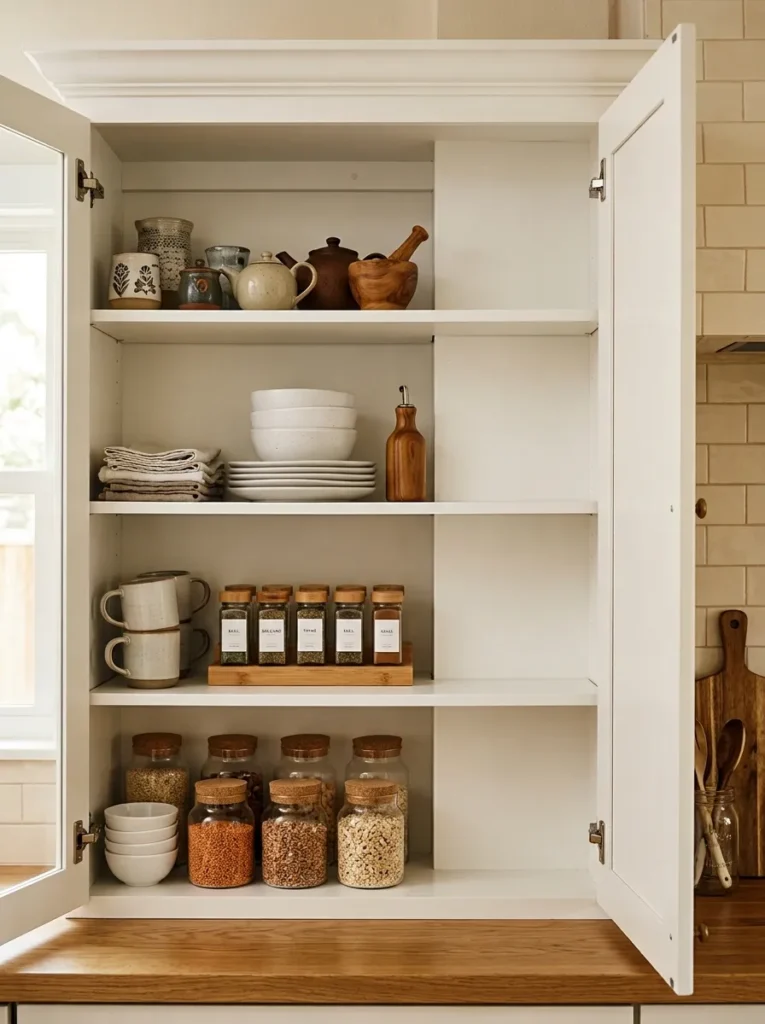
The instinct in cabinet organization is to use every available inch — if there’s empty shelf space, it should be filled. This instinct produces cabinets that look maximally used but function poorly: every available surface has been assigned an item, which means adding anything new (a different brand of dry good, a new kitchen tool, a product bought in a slightly larger size) has nowhere to go without disrupting the existing system.
Intentional empty space serves three functions: it allows the eye to distinguish between categories clearly, it provides expansion room for practical additions without system disruption, and it makes cleaning the shelf interior straightforward. A cabinet at 70 percent capacity maintains its organization better than one at 95 percent over time. When a cabinet fills consistently to maximum, the response should be another editing pass rather than the addition of more storage products.
21. Apply a One-In, One-Out Rule for Every Category at the Point of Purchase
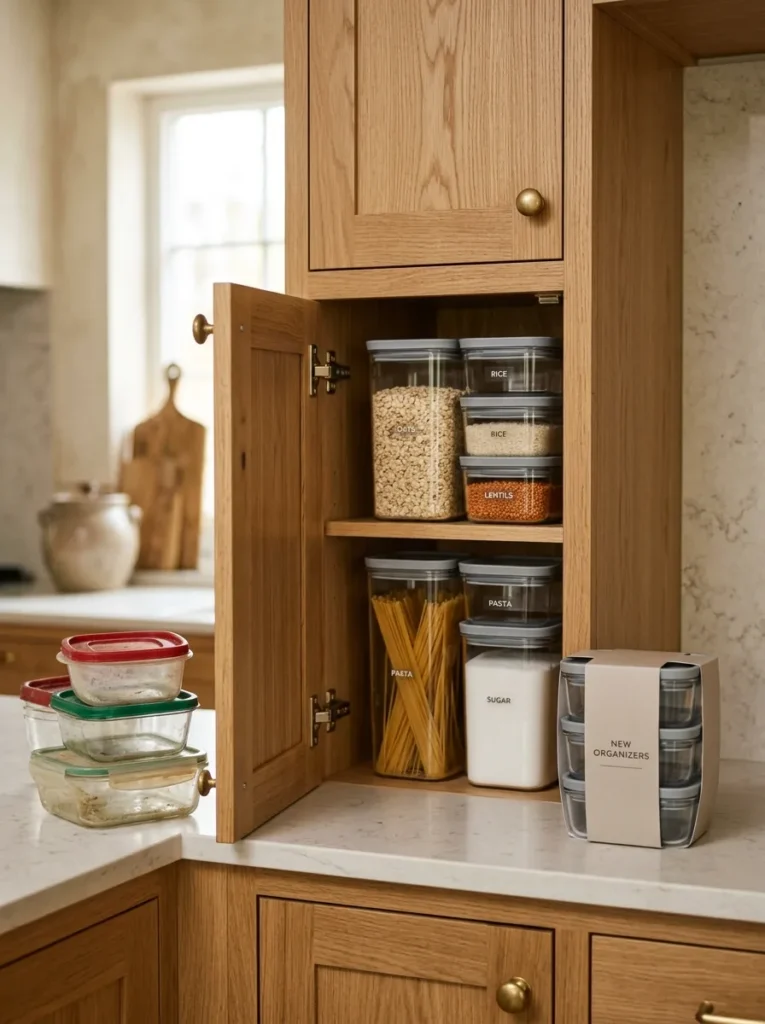
The most effective long-term maintenance strategy for kitchen cabinet organization isn’t a regular reorganizing session — it’s a purchasing habit. For every new item that enters a category, one existing item in that category leaves. A new set of mixing bowls means an existing bowl gets donated before the new ones are shelved. A new set of storage containers means an equivalent quantity of old containers go. A new specialty appliance is assessed against what’s already in that zone before it enters the cabinet.
The one-in, one-out rule works best when it’s applied at the point of purchase — before the new item enters the home — rather than retroactively when the cabinet has already become overcrowded and the original rule was abandoned. This single habit eliminates the slow accumulation that is the primary cause of organized cabinets reverting to clutter over time. It also makes the annual or biannual edit significantly faster because the accumulation has been addressed continuously rather than all at once.
22. Schedule a Quarterly Cabinet Reset — One Afternoon Every Three Months
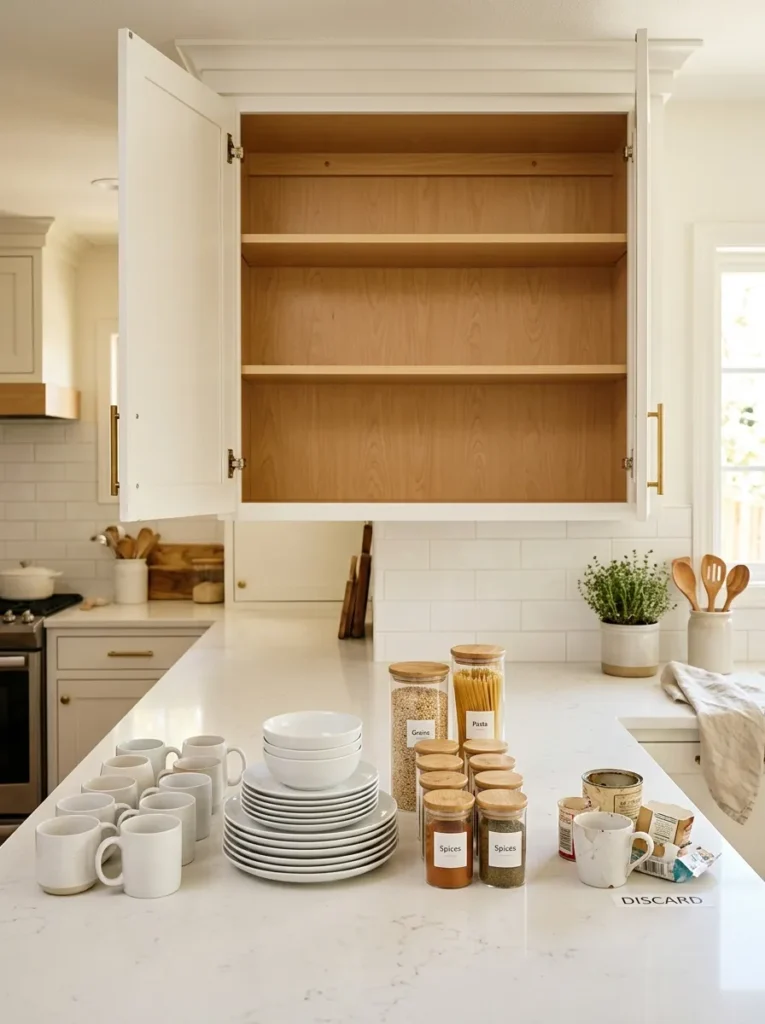
No organization system remains in perfect condition indefinitely. Items drift out of their designated zones. New things find temporary homes that become permanent. Expiration dates pass unnoticed. A category that made sense six months ago no longer matches current habits. A quarterly cabinet reset — approximately one afternoon every three months — prevents this drift from compounding into a full-scale reorganization project.
The reset process is distinct from reorganizing: remove everything from each cabinet, wipe the shelf surfaces, discard anything expired or no longer needed, and return each item to its designated location. Don’t redesign the system — return to it. A full-kitchen reset should take 90 minutes to two hours when the system is already established. When it takes significantly longer, the system needs simplification rather than an addition of new organizers. The reset is maintenance, not a project.
Common Mistakes to Avoid
Organizing before editing. The most expensive organizing mistake is buying containers before deciding what to keep. The result is neatly contained unnecessary items, and a cabinet that feels organized briefly before reverting to the same overcrowded chaos because the volume of items was never addressed.
Buying round containers for rectangular shelves. Round containers leave wasted gaps at each corner on every shelf. Square and rectangular containers tile the shelf surface efficiently. For a pantry cabinet where multiple containers sit across a shelf, the shape decision has a material effect on total capacity — the same shelf can hold 20 to 25 percent more square containers than round ones of equivalent volume.
Organizing for the photo rather than the function. An organizing system that photographs beautifully but requires three steps to access a commonly used item will be abandoned within weeks. When choosing between two systems, always ask which one is easier to return to its correct state after a busy weeknight dinner. The easier system is the one that will last.
Over-labeling. Labeling each individual container rather than each zone creates a system that requires constant label maintenance as contents change. Label the zone (BAKING, OILS, PASTA) rather than the specific item within it when possible. The zone label stays accurate even when the specific items within the zone change.
Ignoring the maintenance question at the point of purchase. Every organizing product should be evaluated at purchase time with the question: how easy is it to return this system to its correct state after a week of normal kitchen use? Products that require frequent adjustment, careful restacking, or manual realignment will not be maintained. Products that return to their correct state naturally through use — pull-out drawers, vertical dividers, dedicated door caddies — will.
Adding more organizers when the problem is too much stuff. More containers don’t solve an overfilled cabinet. They add cost, create additional surface complexity, and in many cases make the cabinet harder to access because more items are competing for the available space. If a cabinet feels overcrowded after every reorganization attempt, the volume of items is the problem — not the organizing method.
Final Thoughts
The kitchen cabinet organization systems that hold up for years rather than months have one thing in common: they were designed around how the kitchen is actually used, not around how an organized kitchen looks in a photograph. That distinction matters more than any specific product.
Start by editing — honestly, not lightly. Then apply frequency logic before zoning. Then measure before purchasing anything. Then organize within the system you’ve established. The products that make the most practical difference — shelf risers, pull-out drawer inserts, vertical pan dividers, uniform clear containers with labels — are modest investments that deliver their promised results only when the editing and zoning work has been done first.
Apply the one-in, one-out rule at every subsequent purchase. Schedule the quarterly reset. Leave empty space. The easiest system to maintain is the one that will actually be maintained, and the hardest cabinet clutter to address is the kind that comes back within weeks of every organizing attempt because the underlying volume problem was never resolved.