How to Organize Your Room: A Simple Step-by-Step Guide
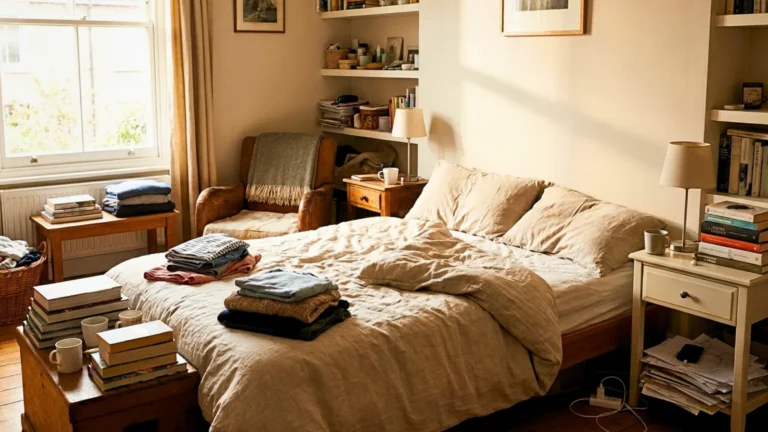
How to organize your room starts with a simple plan, not a giant cleaning session.The usual mistake is trying to organize everything at once—emptying drawers, pulling clothes from the closet, moving furniture, and creating piles without a clear plan.
A better approach is to work through the room in a fixed order.
Assess → Clear → Declutter → Sort → Zone → Assign Homes → Store → Reset
This process helps you organize your room without simply moving clutter from one place to another. More importantly, it helps you create a system that makes your belongings easier to find, easier to put away, and easier to keep organized.
Whether your room is mildly messy or completely overwhelming, you can work through the same basic process one area at a time.
Before You Organize Your Room, Decide What the Space Needs to Do
Before moving anything, take a few minutes to think about how you actually use your room.
A bedroom may be used for sleeping, getting dressed, relaxing, reading, studying, working, exercising, hobbies, or storing personal belongings. If your room serves several purposes, its organization should reflect those activities.
Ask yourself:
- What do I use this room for most often?
- Which activities need the most space?
- Which areas become messy repeatedly?
- Which belongings do I use every day?
- What do I want to be easier after the room is organized?
For example, if you regularly study at a desk, your books, stationery, electronics, and paperwork should be easy to access. If you get dressed in the room, everyday clothes should have convenient storage. If you regularly read before bed, keeping your current books near the bed makes more sense than storing them across the room.
Identify Your Room’s Problem Areas
Before you start organizing, look around and identify the places where clutter accumulates most often.
Common problem areas include:
- The floor
- Bed
- Desk
- Dresser
- Nightstand
- Closet
- Chair
- Open shelves
- Corners
- The area near the door
Don’t assume that every messy area needs more storage.
Sometimes the real problem is that an item doesn’t have a designated home. Other times, you simply have too many things for the available space.
Understanding the problem first will make the actual organizing process much easier.
How to Organize Your Room Step by Step
1. Clear the Obvious Clutter First
Start with the easiest items to deal with.
Walk around your room and remove anything that obviously doesn’t belong where it is.
Collect:
- Trash and empty packaging
- Dirty dishes and cups
- Laundry
- Recycling
- Items that belong in another room
- Broken or unusable items
- Things that are clearly ready to be discarded
Don’t start making complicated decisions about every possession yet.
The purpose of this first pass is simply to create some working space and reduce the visual chaos.
If your floor is covered with clothes, papers, bags, and random objects, you may find it difficult to think clearly about organization. Removing obvious clutter first gives you a much better starting point.
2. Declutter Before You Organize

This is one of the most important rules of room organization:
Don’t spend time organizing things you don’t actually need.
If you have too many belongings, buying more containers won’t solve the underlying problem. You may simply end up with boxes, baskets, and drawers full of things you rarely use.
Work through your belongings and separate them into four practical categories:
Keep: Items you use, need, or genuinely want.
Donate: Useful items you no longer need that someone else could use.
Discard or recycle: Broken, unusable, expired, or disposable items that no longer have a practical purpose. Follow appropriate local disposal or recycling options when necessary.
Move elsewhere: Items that belong in another room or another person’s space.
You don’t have to make every decision immediately. If you’re genuinely unsure about an item, set it aside and return to it after you’ve made easier decisions.
If decluttering itself feels overwhelming, our step-by-step guide to starting decluttering when you’re overwhelmed can help you work through that part in more detail.
3. Sort Similar Items Together

Once you’ve removed things you don’t need, group similar belongings together.
Depending on your room, categories might include:
- Clothes
- Shoes
- Books
- Electronics
- Chargers and cables
- Papers
- Accessories
- Personal-care products
- Hobbies and crafts
- School supplies
- Work supplies
- Decor
- Sentimental items
Don’t worry about making everything look neat yet.
The purpose of sorting is to find out what you actually have.
For example, you might discover that you have books on your nightstand, desk, floor, and several shelves. Or you may find phone chargers in three different drawers.
Once similar items are together, you can make better decisions about how much storage you actually need.
4. Create Functional Zones

Now organize the room according to how you use it.
You can create simple functional zones without physically dividing the room.
For example:
Sleeping zone: Bedside items, books, alarm clock, and things used around bedtime.
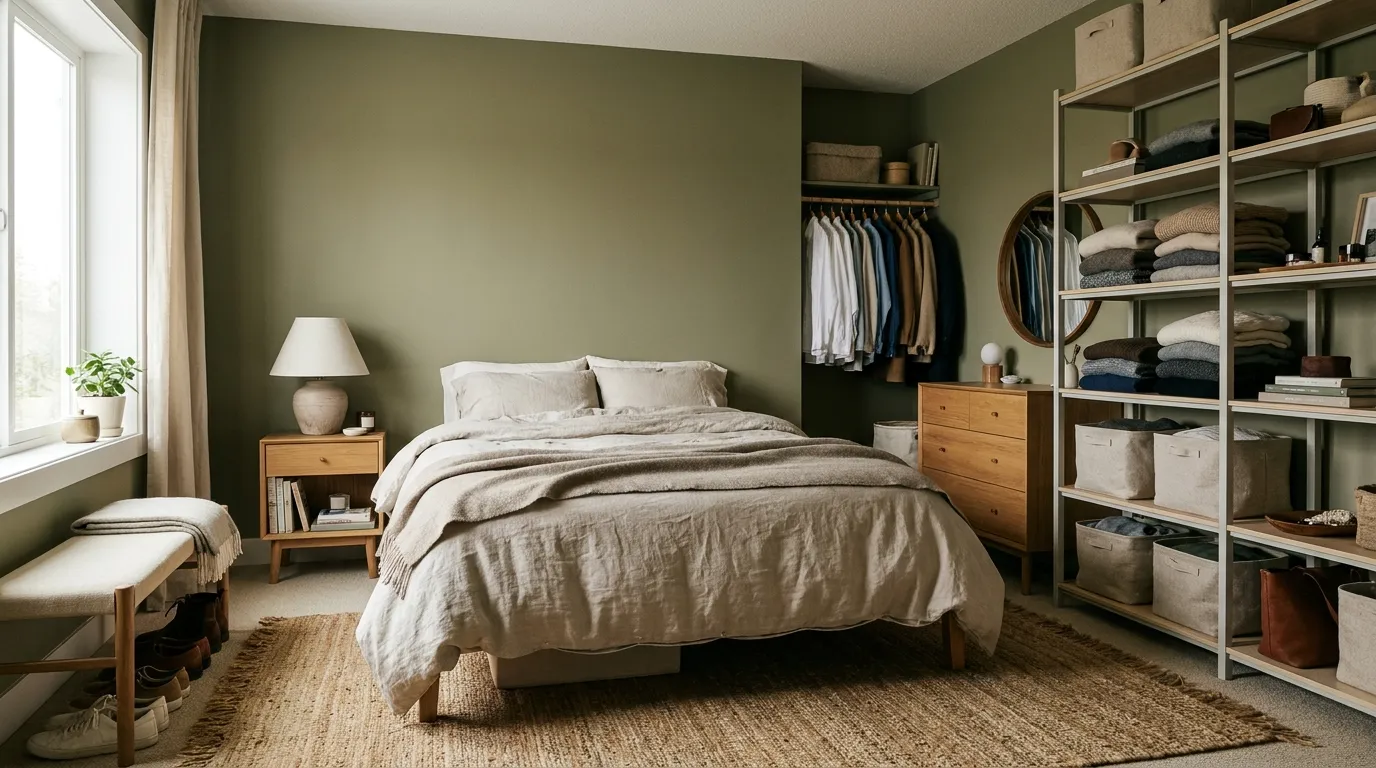
Dressing zone: Clothes, shoes, accessories, mirror, and other getting-ready items.
Work or study zone: Desk, computer, stationery, paperwork, and school or work supplies.
Relaxation zone: Reading materials, hobbies, comfortable seating, or entertainment items.
Storage zone: Seasonal clothing, occasional-use belongings, and items that don’t need daily access.
The purpose of zones is to keep related activities and belongings together.
This reduces unnecessary movement around the room and makes it easier to return things to the correct place.
5. Give Every Category a Specific Home

After sorting your belongings, decide where each category will permanently live.
Avoid vague decisions such as:
“I’ll put these somewhere in the closet.”
Instead, decide:
“Everyday clothes go in these drawers.”
“Chargers stay in this small drawer.”
“Books I’m currently reading stay on this shelf.”
“Important papers stay in this folder.”
A useful test is:
Could someone else put this item away without asking me where it belongs?
If the answer is no, the item’s home may not be specific enough.
A good home should also be convenient. If an item is used every day but its storage location is difficult to reach, you may eventually stop putting it away.
6. Store Things According to How Often You Use Them
Not everything needs the same level of accessibility.
A simple system is:
Daily use → easiest access
Weekly use → convenient access
Occasional use → secondary storage
Rarely used → harder-to-reach storage
For example, everyday clothing should be easier to reach than seasonal clothing. Your current skincare products should be more accessible than products you use only occasionally. The book you’re currently reading should be easier to reach than books you haven’t opened in years.
This principle makes an organization system much more practical.
You aren’t simply asking:
“Where can I fit this?”
You’re asking:
“Where does this belong based on how I use it?”
7. Organize the Main Clutter Hotspots

Most rooms have certain surfaces or areas that repeatedly attract clutter.
Instead of repeatedly cleaning them, give them specific solutions.
Floor
Keep walking paths clear first.
If items repeatedly end up on the floor, ask why. You may need a nearby basket, hook, hamper, shelf, or another convenient home.
Bed
Try not to use the bed as temporary storage for clothes, bags, paperwork, or miscellaneous items.
If the bed becomes a dumping ground during the day, decide where those items should go instead.
Chair
If a chair regularly becomes a pile of clothes, create a realistic system for worn clothing.
For example, you might use a designated hook, hamper, clothing rail, or other appropriate location rather than expecting yourself to fold every item immediately.
Desk
Remove items unrelated to work or study.
Keep frequently used supplies within reach and move occasional-use items into drawers or other storage.
Nightstand
Keep only the things you actually use beside the bed.
A nightstand doesn’t need to hold every book, product, charger, and object you own.
Dresser
Group similar belongings and avoid filling every drawer simply because there is available space.
Leave enough room to remove and return items without creating a struggle.
Closet
Group clothing logically and keep the things you wear most often easiest to access.
Seasonal and rarely used items can be moved to less accessible areas when practical.
How to Organize a Very Messy Room When You Don’t Know Where to Start
When a room is extremely messy, the biggest problem is often not the amount of work. It’s not knowing what to do first.
Don’t empty every drawer and closet at the same time.
Use this sequence:
Trash → Laundry → Misplaced Items → Surfaces → Floor → Categories → Homes
Start With Trash
Remove obvious rubbish, empty packaging, and things that clearly need to be discarded.
Don’t spend five minutes deciding where a piece of trash belongs.
Collect the Laundry
Separate dirty laundry from clean clothing.
Put dirty clothes into your normal laundry system and return clean clothes to their proper category.
If you have clothes that are worn but not dirty, decide on a specific place for them rather than leaving them on the floor or chair.
Remove Things That Belong Elsewhere
Use a basket or box for items that belong in another room.
This prevents you from constantly walking around the house and getting distracted.
Once you’ve finished organizing the room, return everything in the relocation basket to its proper place.
Clear Major Surfaces
Work through the bed, desk, dresser, nightstand, and other large surfaces.
Don’t try to perfectly organize each one yet.
Your immediate goal is to create usable working space.
Clear the Floor
Once the floor is accessible, the room will usually feel much more manageable.
Separate remaining floor items into categories rather than simply moving everything onto another surface.
Sort What Remains
Group similar items together.
Now you’ll have a much clearer picture of what you’re actually dealing with.
Decide What Stays
Before buying or adding storage, remove things you no longer need.
This is particularly important if the room feels like it has too much stuff.
Assign Homes
Finally, decide where the remaining belongings should live.
If you still have more belongings than your available storage can comfortably hold, return to the decluttering step instead of immediately adding more containers.
Work in Small Sessions if Necessary
If the room is overwhelming, you don’t have to finish it in one marathon session.
Try a focused 15- or 20-minute session.
Choose one small area, finish it, and then decide what comes next.
The goal is to create completed zones, not endless half-finished piles.
How to Organize a Small Room

Small rooms require more deliberate decisions because every piece of furniture and every storage area takes up valuable space.
The goal isn’t to fill every available corner.
It’s to make the space work better.
Use Vertical Space
Walls can provide useful storage without taking additional floor space.
Depending on your room, you might use:
- Shelves
- Hooks
- Pegboards
- Wall-mounted organizers
- Tall storage furniture
Choose solutions that actually match what you need to store.
Use Under-Bed Space
The space under the bed can be useful for seasonal clothing, spare bedding, luggage, or other occasional-use belongings.
Use containers that allow you to access those items without turning the space into a hidden clutter zone.
Make the Back of the Door Useful
Depending on the door and its construction, the back of a door may provide space for hooks or suitable organizers.
This can be particularly useful for accessories, bags, or other lightweight items.
Keep Surfaces Intentional
In a small room, cluttered surfaces can make the entire space feel crowded.
Give desks, dressers, shelves, and nightstands specific purposes.
You don’t need to display every item you own.
Choose Furniture Carefully
Large furniture can consume a significant amount of space.
Before adding another storage unit, consider whether an existing piece can be used more effectively or whether an unnecessary piece of furniture can be removed.
Multifunctional furniture can help, but only if it genuinely solves a storage or usability problem.
Keep Everyday Items Accessible
Small rooms become frustrating when the things you use every day are difficult to reach.
Keep frequently used items convenient and move occasional-use belongings into less accessible storage.
How to Keep Your Room Organized
Getting your room organized once is only half the job.
The real test is whether the system still works weeks later.
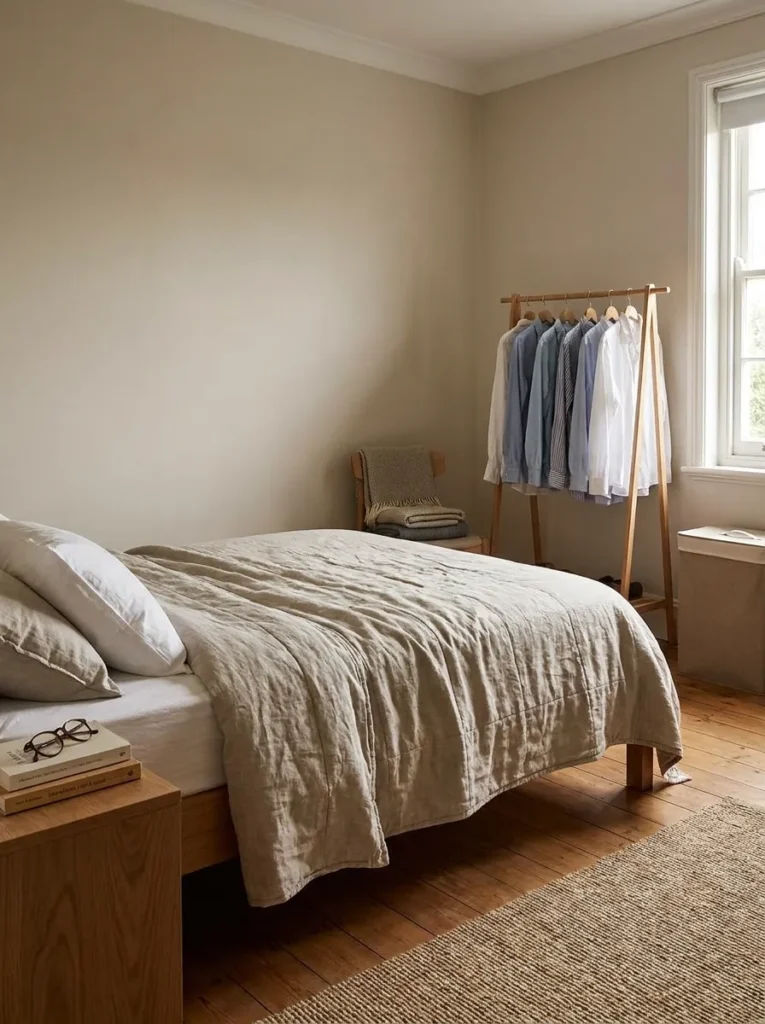
A room stays organized when putting things away is simple enough to become part of your normal routine.
Try a Five-Minute Daily Reset
At the end of the day, spend a few minutes:
- Returning items to their homes
- Putting clothes away
- Clearing major surfaces
- Removing trash
- Taking dishes out
- Straightening obvious problem areas
You don’t need to reorganize the entire room every night.
The purpose is simply to stop small amounts of clutter from becoming a large weekend project.
Put Things Away After Using Them
If an item has a home, return it there when you’re finished.
But if you repeatedly fail to put something away, don’t automatically assume you need more discipline.
Ask whether its current home is inconvenient.
If something is used every day but stored far away or in a difficult-to-access container, the system may need to change.
Control Your Clutter Hotspots
If the same area becomes messy repeatedly, don’t just clean it again.
Ask:
Why does everything keep ending up here?
If bags always land near the door, create a designated bag area.
If clothes always land on a chair, create a realistic worn-clothing solution.
If papers always accumulate on the desk, create a dedicated paper location.
Organize around what you actually do rather than an ideal routine you rarely follow.
Do a Weekly Reset
Once a week, check the areas that tend to get messy:
- Floor
- Desk
- Dresser
- Nightstand
- Closet
- Laundry
- Chair
- Items without permanent homes
A short weekly reset is much easier than waiting until the room becomes overwhelming again.
Reassess What You Own
If you repeatedly run out of storage, the answer isn’t always another storage container.
Sometimes the better question is:
Do I need all of this?
As you use your room, you’ll discover which belongings genuinely contribute to your daily life and which ones simply occupy space.
Regularly reassessing those belongings can keep your organization system from becoming overloaded.
Common Room Organization Mistakes to Avoid
Buying Storage Before Decluttering
This is one of the easiest ways to spend money while solving the wrong problem.
If you buy containers before deciding what you’re keeping, you may simply create organized-looking clutter.
Better approach: Declutter first, assess what remains, then choose storage based on actual needs.
Keeping Things Simply Because You Have Space
Available space doesn’t mean you need to fill it.
A half-empty drawer is often easier to use than an overstuffed one.
Leave some breathing room in shelves, closets, and drawers so items can be removed and returned easily.
Overfilling Containers
A storage container isn’t useful if you have to remove half its contents to reach one item.
Storage should improve access, not make it harder.
Creating a Giant Miscellaneous Box
A miscellaneous box can quickly become a permanent hiding place for things you don’t know how to organize.
If something doesn’t fit into a category, ask:
- Does it actually belong in this room?
- Does it need its own category?
- Can it be grouped with something else?
- Do I use it enough to justify keeping it?
Organizing Everything at Once
Emptying every drawer, closet, shelf, and cabinet simultaneously may feel productive at first, but it can quickly turn a messy room into a much bigger mess.
Finish one zone or category before opening another whenever possible.
Creating a System That Doesn’t Match Your Habits
If you always leave your bag beside the door, give the bag a home there.
If you always drop clothes on a chair, create a realistic solution for worn clothing.
If you always charge your phone beside the bed, keep the necessary charging items there.
A system that works with your habits is more sustainable than one that looks perfect but feels inconvenient.
Making Organization Too Complicated
You don’t need a different container for every tiny category.
You also don’t need to label everything.
Use the simplest system that allows you to:
- Find what you need.
- Return it easily.
- Keep the area from becoming cluttered again.
Simple systems are usually easier to maintain.
Quick Room Organization Checklist
When you’re ready to organize your room, follow this sequence:
- Decide what the room needs to do
- Identify the main clutter hotspots
- Remove obvious trash
- Collect laundry and dishes
- Remove items that belong elsewhere
- Declutter belongings you no longer need
- Group similar items together
- Create functional zones
- Give every category a specific home
- Store frequently used items within easy reach
- Organize the floor and major surfaces
- Organize the closet and drawers
- Use vertical or hidden storage where it genuinely helps
- Improve furniture flow if necessary
- Clean the room after organizing
- Try a short daily reset
- Do a weekly clutter check
- Reassess belongings when storage becomes difficult to manage
Frequently Asked Questions
What Is the Best Way to Start Organizing a Messy Room?
Start with the easiest problems first. Remove obvious trash, collect laundry and dishes, and move things that belong elsewhere. Then clear major surfaces and the floor before decluttering and sorting the belongings that remain. Avoid emptying the entire room at once.
What Should I Organize First in My Room?
Start with the areas that create the most visual and functional disruption, usually the floor and major surfaces. Once you have working space, organize belongings by category rather than randomly moving individual items from one place to another.
How Can I Organize My Room Quickly?
Use a fixed sequence instead of trying to do everything simultaneously: trash → laundry → misplaced items → surfaces → floor → declutter → sort → organize. Work in short, focused sessions and finish one area before moving to another.
How Do I Keep My Room Organized?
Give frequently used belongings specific homes and return them after use. Try a short daily reset and a weekly check of your main clutter hotspots. If the same area keeps becoming messy, change the organization system instead of repeatedly cleaning the same problem.
How Do I Organize a Small Room?
Prioritize function and make careful use of available space. Keep frequently used items accessible, use vertical and under-bed storage where appropriate, reduce unnecessary furniture, and avoid filling every surface or storage area simply because space is available.
Final Takeaway
You don’t need to organize your room perfectly in one giant effort.
Start by deciding what the room needs to do. Then clear the obvious clutter, declutter what you don’t need, group similar belongings, create functional zones, give everything a home, choose storage based on how you actually use the space, and establish a simple reset routine.
Remember the sequence:
Assess → Clear → Declutter → Sort → Zone → Assign Homes → Store → Reset
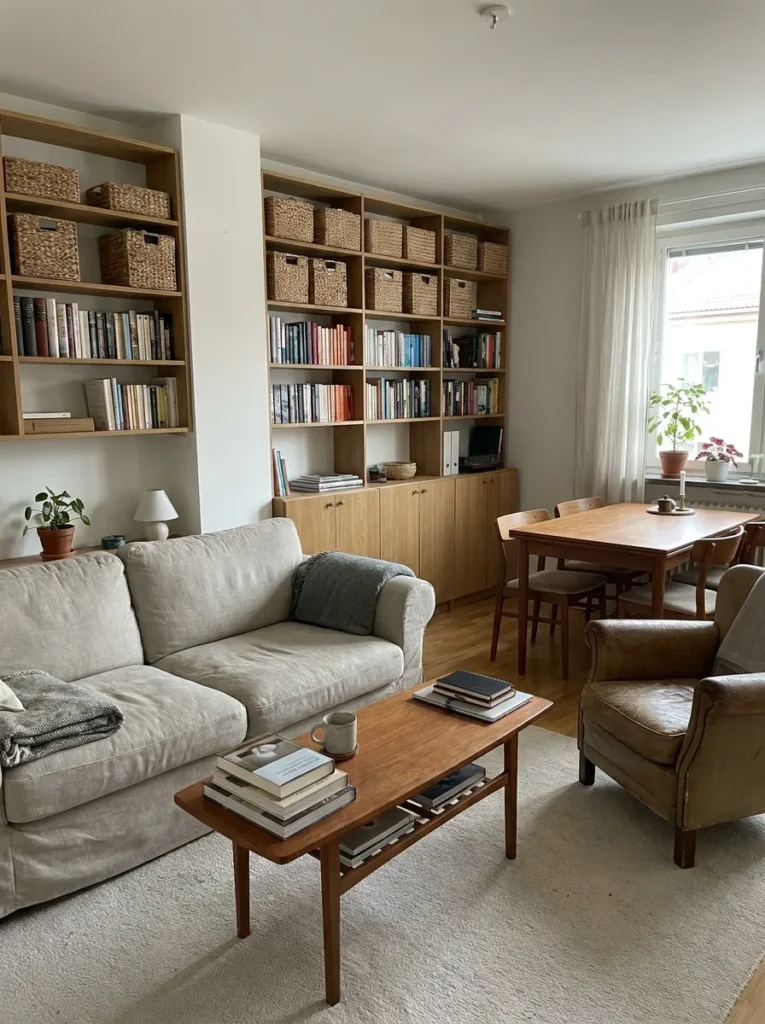
The goal isn’t simply to have a room that looks organized today.
It’s to create a room where finding things is easier, putting them away is simple, and staying organized requires less effort.